
Have you heard of AT&T APN? It stands for Access Point Name, a setting that tells your phone how to connect to the internet. If you’re an AT&T customer, you must set your APN to the correct settings to connect to the internet through their network.
Think of it like a secret code your phone needs to know to access the internet through AT&T’s network. With the correct code, your phone can connect, and you’ll be stuck without internet access.
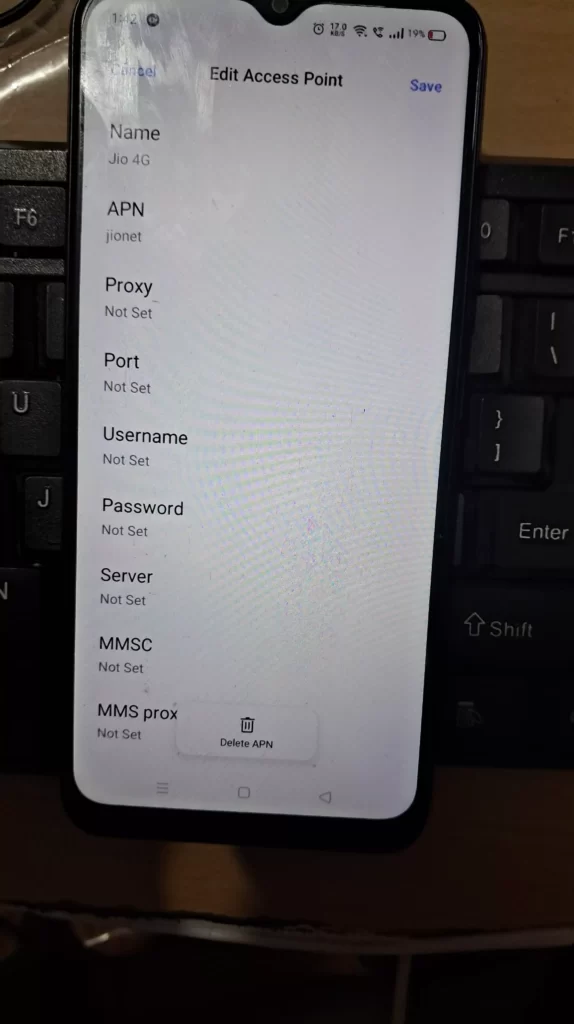
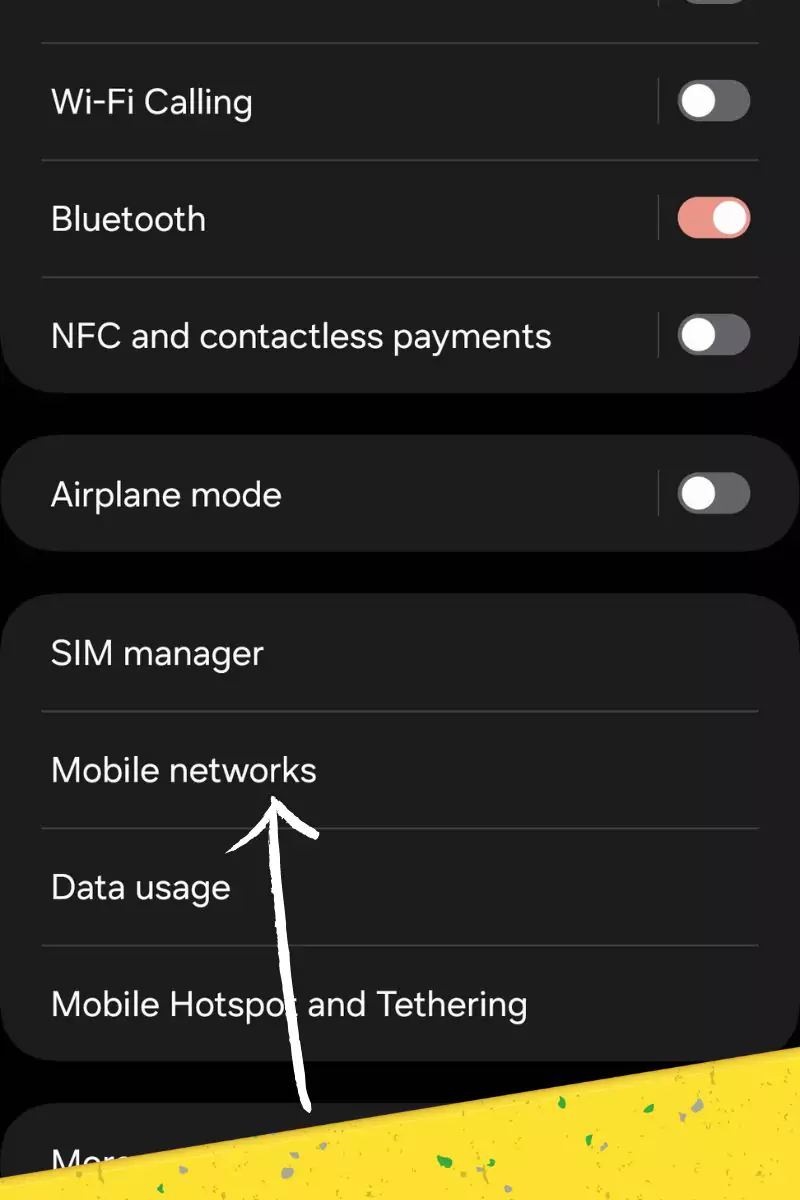
Setting up your APN is straightforward. All you need to do is your phone’s settings, find the section for mobile networks, and look for Access Point Names. From there, you can enter the correct settings for AT&T’s APN, and voila!
That’s a quick rundown of AT&T APN and how it works. Let me know if you have any questions or need help setting it up!
AT&T APN Types: Overview of different APN types and when to use them
Are there different APN settings you can use on your AT&T device? Each type is designed for a specific purpose and can be used in different situations.
The three main types of APN settings are:
- Default APN: This is the most commonly used APN type and is usually the default on most AT&T devices. It’s designed to balance speed and reliability and should work for most users in most situations.
- MMS APN: This APN type is designed for sending and receiving multimedia messages (MMS) like pictures and videos. If you’re having trouble sending or receiving MMS messages, switch to this APN type.
- WAP APN: This APN type is designed for older devices that don’t support the newer, faster data networks. It’s slower and more reliable than the default APN, but it can help you connect to the internet on an older device.
When should you use each type of APN setting? You’ll want to stick with the default APN unless you’re having trouble with MMS messages or using an older device.
Most Suitable APN for AT&T
| APN Name | ATT NXTGENPHONE |
| APN | NXTGENPHONE |
| Proxy | |
| Port | |
| Username | |
| Password | |
| Server | |
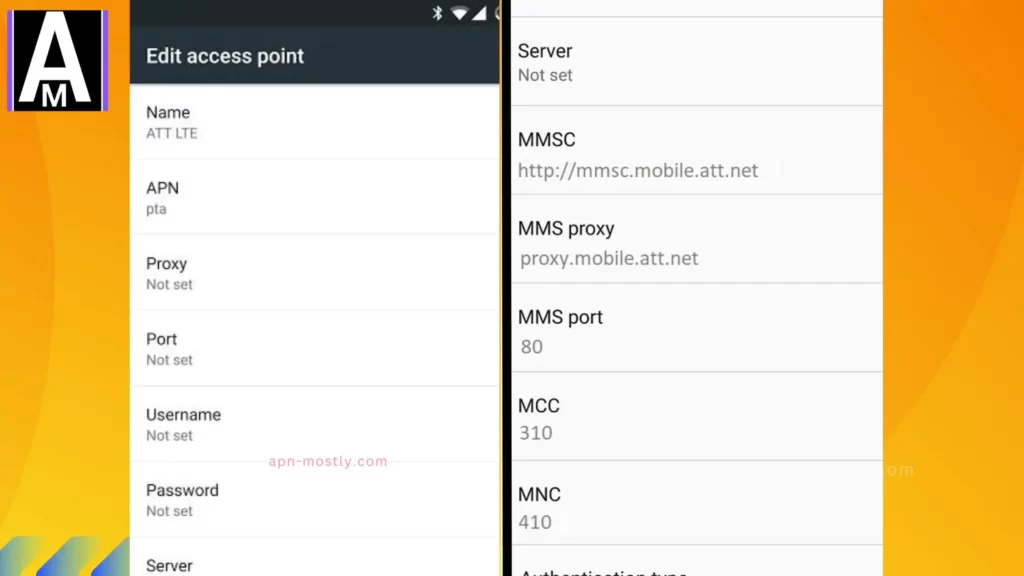
| MMSC | http://mmsc.mobile.att.net |
| MMS Proxy | proxy.mobile.att.net |
| MMS Port | 80 |
| MCC | 310 |
| MNC | 410 |
| Authentication Type | none |
| APN Type | default,mms,supl,hipri |
| APN Protocol | IPv4 |
| APN Roaming Protocol | |
| Bearer | |
| MVNO Type | |
| MVNO Type |
How to Configure Your AT&T APN Settings
Configuring your AT&T APN settings is a relatively simple process. Here’s what you need to do:
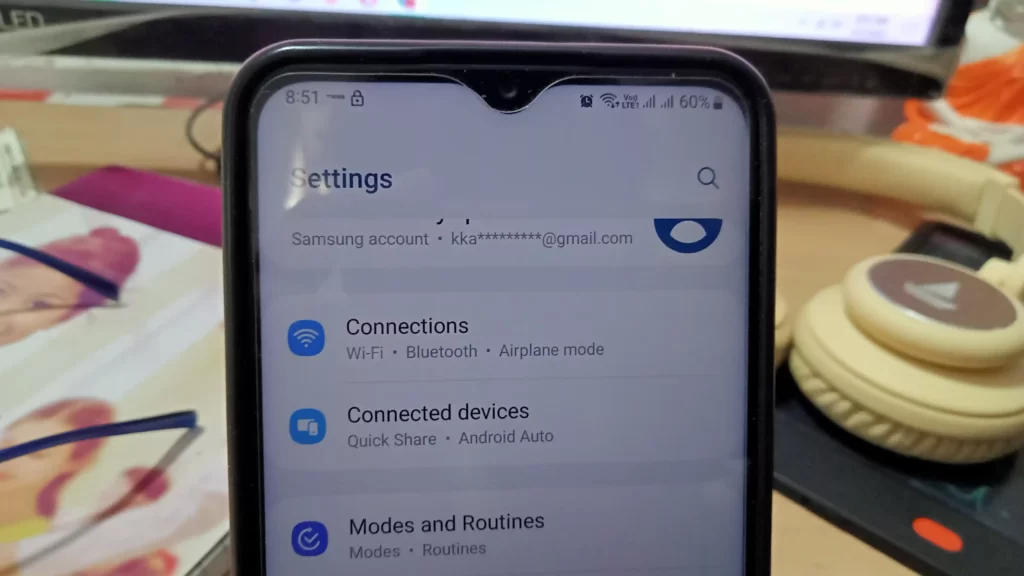
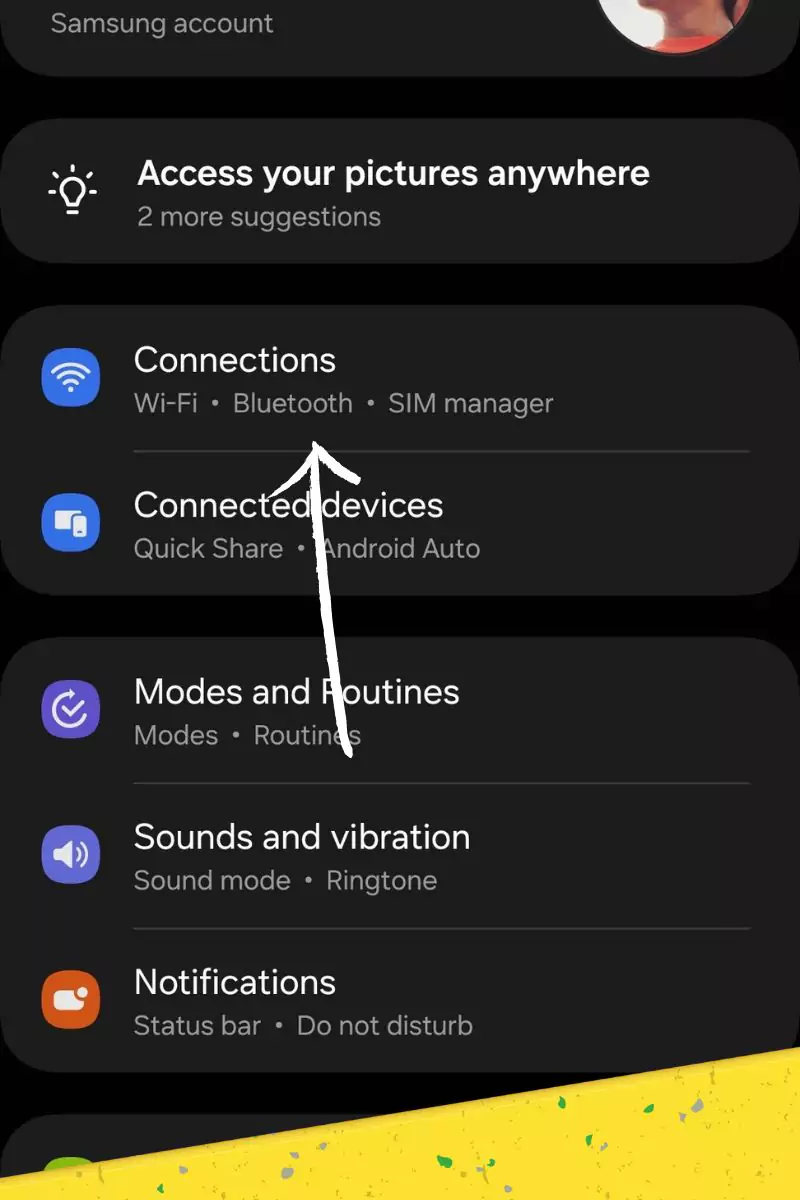
Step 1: Go to your phone’s “Settings” app.
Step 2: Tap “Connections” or “Network & Internet.”
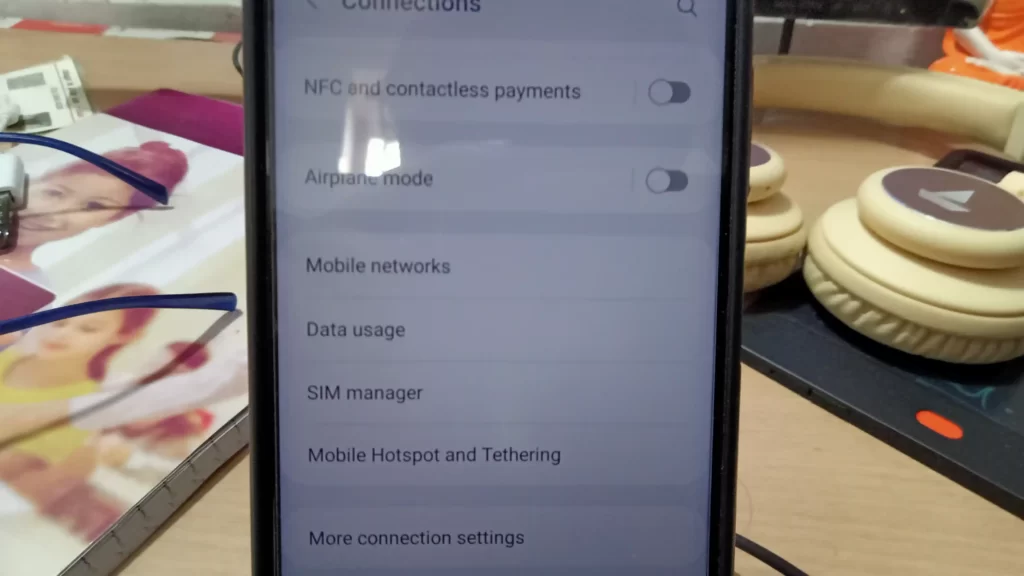
Step 3: Tap “Mobile Networks.”
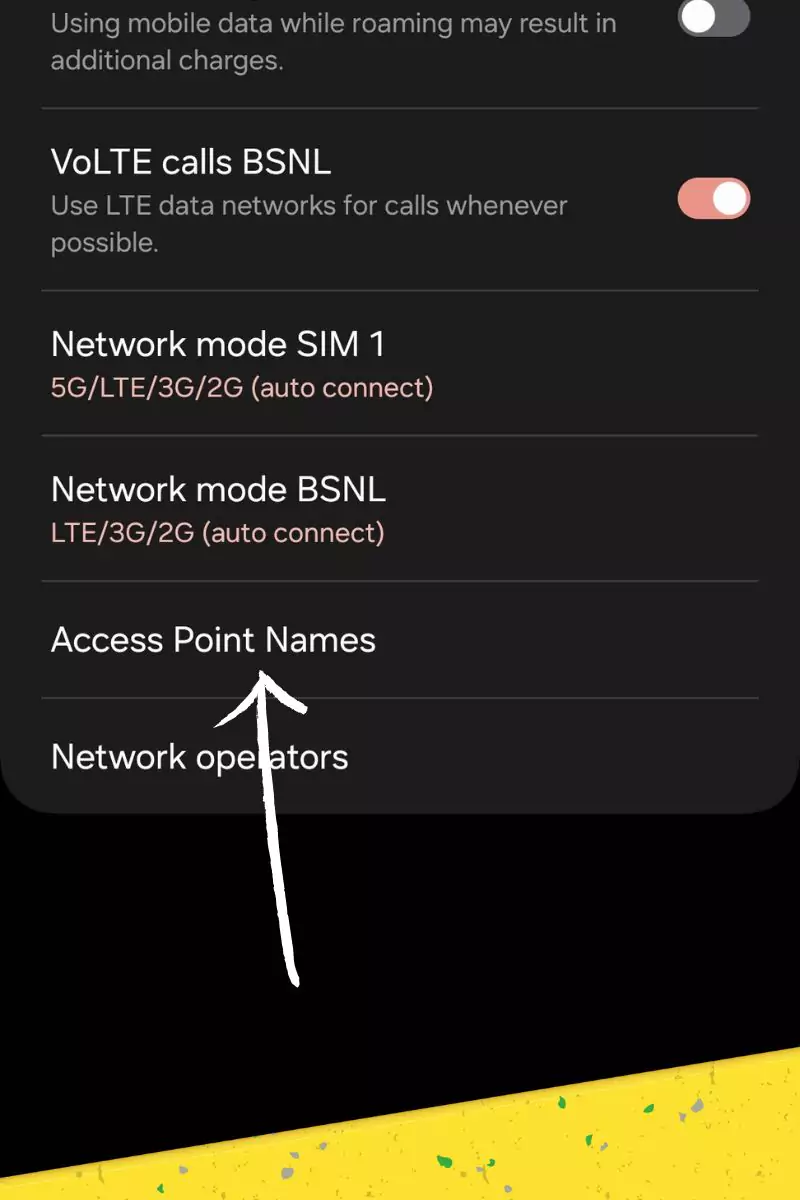
Step 4: Tap “Access Point Names.”
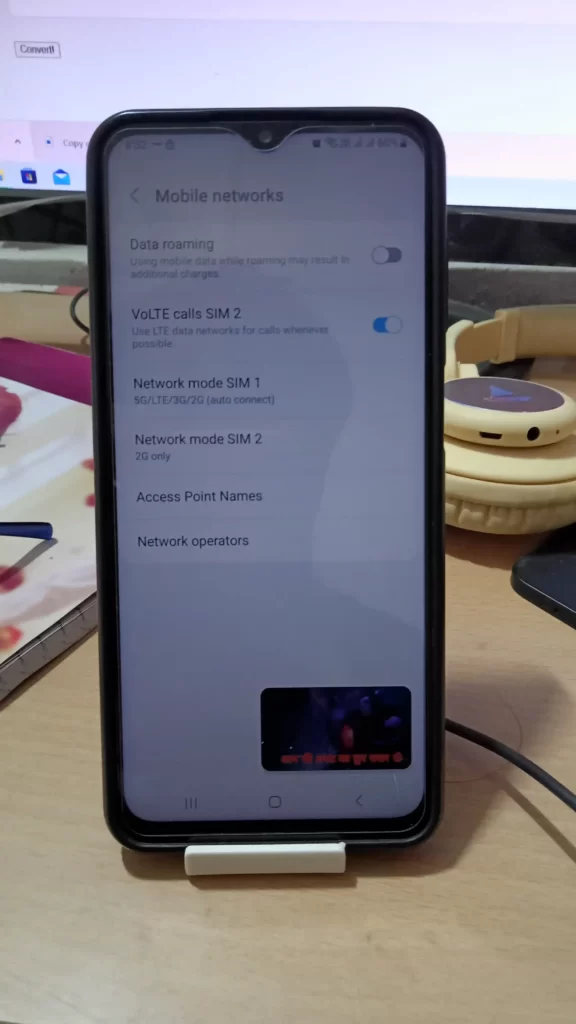
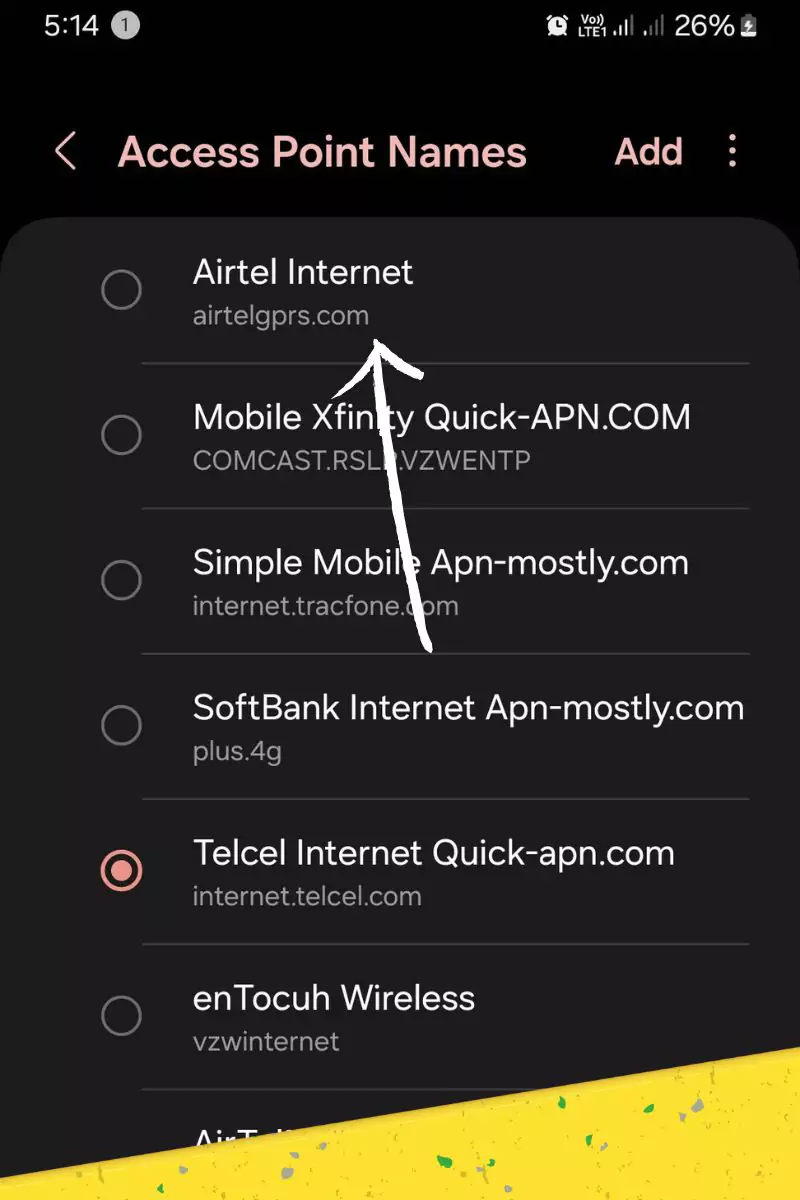
Step 5: Tap the “+” symbol in the top right corner of the screen to create a new APN.
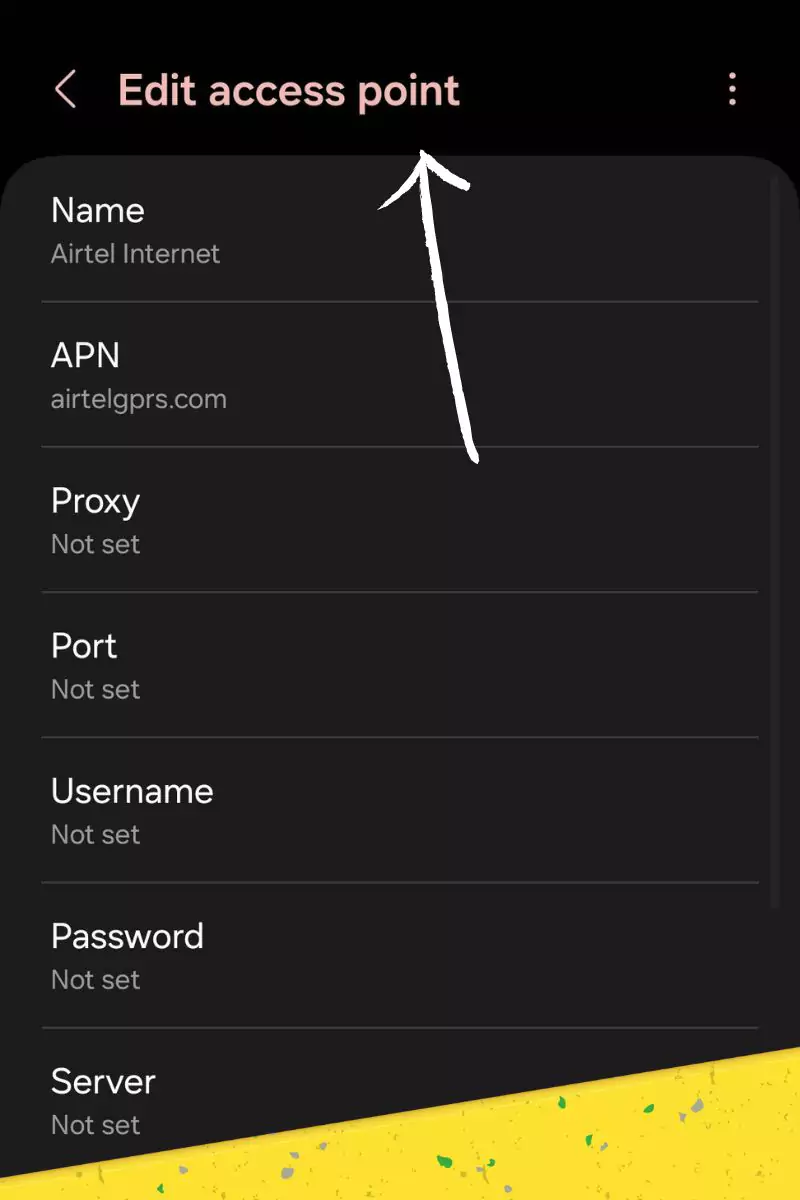
Step 6: Enter the following information:
- Name: AT&T
- APN: nxtgenphone
- Proxy: Leave blank
- Port: Leave blank
- Username: Leave blank
- Password: Leave blank
- Server: Leave blank
- MMSC: http://mmsc.mobile.att.net
- MMS proxy: proxy.mobile.att.net
- MMS port: 80
- MCC: 310
- MNC: 410
- Authentication type: None
- APN type: default,mms,supl
- APN protocol: IPv4/IPv6
Also read: MCC & MNC in APN Settings? Ultimate
Step 7: Save your changes and exit the settings app.
AT&T APN For iOS Devices
Here are the steps to configure the APN settings for AT&T on an iOS device:
- Go to the Settings app on your iPhone or iPad.
- Select “Cellular” or “Mobile Data,” depending on your device.
- Select “Cellular Data Network” or “Mobile Data Network.”
- Under “APN,” enter “phone” (without the quotes).
- Leave the Username and Password fields blank.
- Under “MMSC”, enter “https://mmsc.mobile.att.net”.
- Under “MMS Max Message Size,” enter “1048576”.
- Save the settings and exit the menu.
- Restart your device and check if the mobile data is functioning correctly.
AT&T APN For Windows
Here are the steps to configure the APN settings for AT&T on a Windows device:
- Go to “Settings” and select “Network & Wireless.”
- Select “Cellular & SIM.”
- Click “SIM settings.”
- Under “APN,” enter “phone” (without the quotes).
- Leave the “Username” and “Password” fields blank.
- Under “MMSC”, enter “https://mmsc.mobile.att.net”.
- Under “MMS proxy,” enter “proxy.mobile.att.net.”
- Under “MMS proxy port,” enter “80”.
- Leave the remaining fields blank.
- Save the settings and exit the menu.
- Restart your device and check if the mobile data is functioning correctly.
Suppose you still have issues connecting to the internet or sending/receiving MMS messages after configuring your APN settings. In that case, you may need to restart your phone or contact AT&T customer support for further assistance.
Editing the APN Setup: A Step-by-Step Guide
Follow these simple steps to edit your APN settings on any Android device:
- Firstly, Navigate to your device’s Settings app, then select the “SIM Card & Mobile Data” or “Network & Internet” option.
- Now the second step, Identify and select the SIM card or mobile data network you wish to modify.
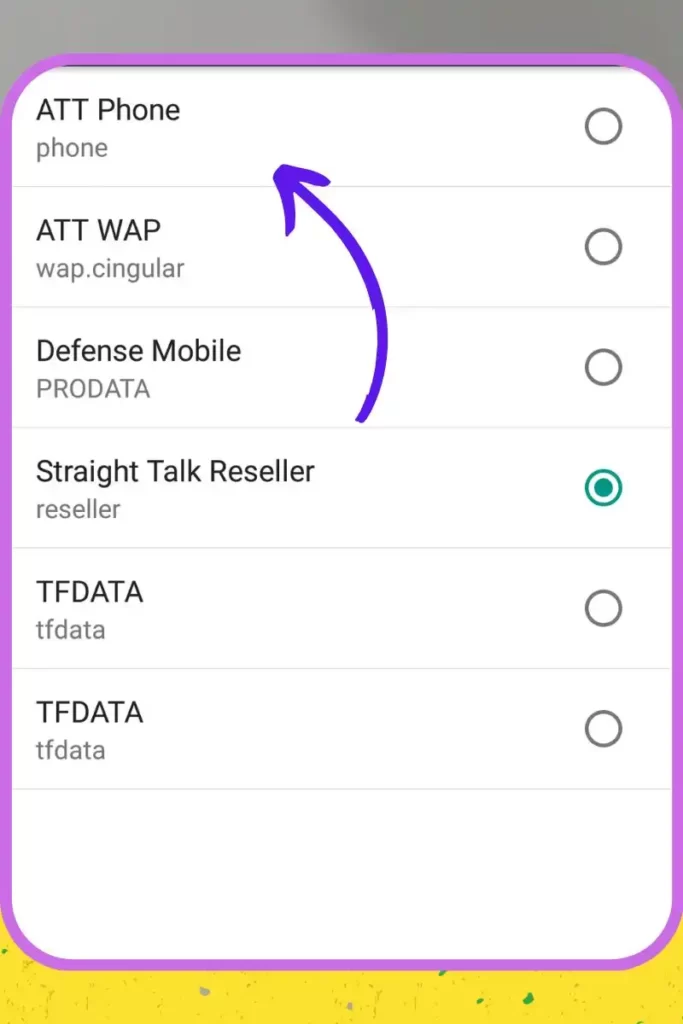
- Locate the APN Menu: Look for the “Access Point Names” or “APN” option and tap on it.
- Finally editing the apn, Tap the menu icon (three dots or “i” symbol) next to the APN entry to edit its settings, such as the APN address, proxy details, or authentication credentials provided by your carrier.
Restoring Default APN Configuration
Sometimes, custom APN tweaks may cause conflicts or connectivity issues. In such cases, resetting to the default settings can resolve the problem:
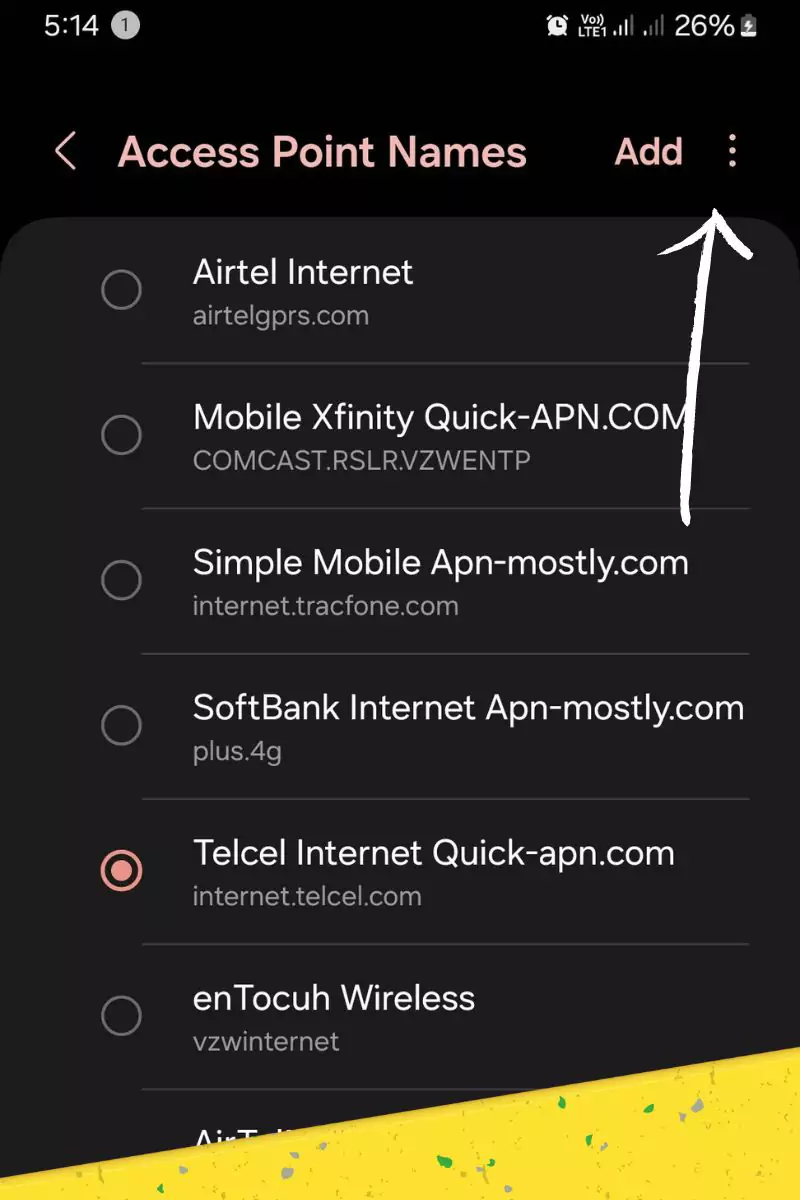

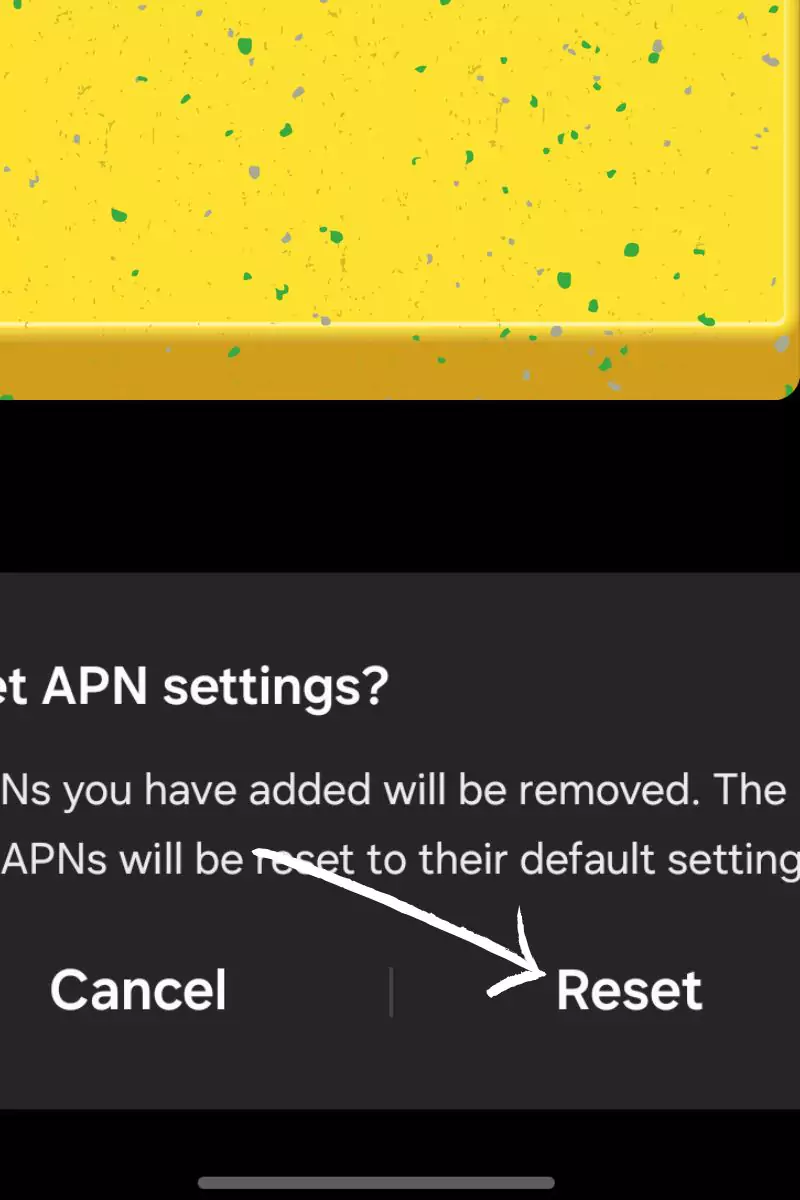
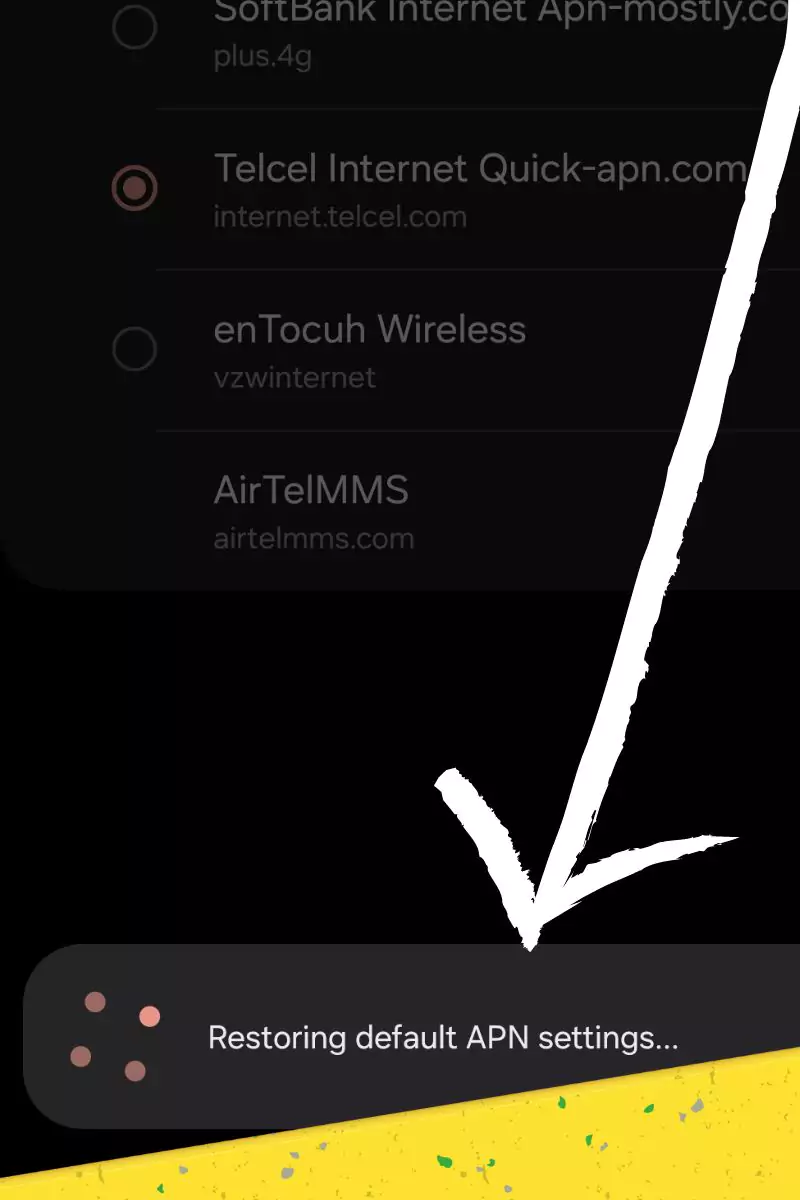
- Return to the APN menu within your mobile data settings.
- Locate the “Reset to default” option, usually represented by three dots or a menu icon.
- Confirm the reset action to restore your device’s original APN configuration.
Conclusion
Configuring your AT&T APN settings is essential in ensuring you can connect to the internet and use other data services on your phone. While configuring these settings is relatively easy, ensuring you enter the correct information is essential to avoid connectivity issues. If you’re still experiencing issues after configuring your APN settings, don’t hesitate to contact AT&T customer support for further assistance.
FAQs about AT&T APN Settings
- Question: What happens if I enter the wrong APN settings on my phone?
- Answer: If you enter the wrong APN settings on your phone, you may be unable to connect to the internet or use other data services.
- Question: Do I need to configure my APN settings while traveling internationally?
- Answer: If traveling internationally, you may need to manually adjust your APN settings to ensure you can connect to the internet and use data services.
- Question: Can I change my APN settings using a prepaid AT&T plan?
- Answer: You can change your APN settings using a prepaid AT&T plan.
- Question: Will configuring my APN settings affect my phone’s battery life?
- Answer: Configuring your APN settings will significantly affect your phone’s battery life when not using the correct one.
- Question: How do I find my APN settings on my AT&T device?
- Answer: The location of APN settings may vary depending on your device, but generally, you can find them under “Mobile Networks” or “Cellular Data Network” settings. If you need help finding them, contact AT&T customer support or visit their website for guidance.
- Question: Do I need to be an AT&T customer to use AT&T APN settings?
- Answer: Yes, AT&T APN settings are only available to AT&T customers. If you’re not an AT&T customer, you’ll need to use the APN settings provided by your carrier.
Doesn’t work. 410 causes APN to not save.
Try changing it, to something else.
Is this setting work for any phones without ATT sim cards
Thank you for your question. The AT&T APN settings are specifically designed for use with AT&T SIM cards and network. They typically won’t work for phones without AT&T SIM cards, as each carrier has its own unique APN settings