This is what you are looking at: the APN settings for SmarTone internet services, for Android, iOS, and other users. These are officially recommended settings, and I’ve added a bonus tip—a trick that can improve your downloading speed by a few more percentage points. Let’s get started!
Understanding SmarTone APN Settings

But here’s the thing: to really make the most of SmarTone’s network, you’ve got to have your APN settings configured correctly. APN stands for Access Point Name, and it’s essentially the secret handshake between your device and SmarTone’s network, allowing you to access all those sweet mobile data services.
So, how do you ensure your APN settings are spot-on? It’s easier than you might think! Just follow these simple steps:
APN Mostly😉.
SmarTone LTE APN Settings for Hong Kong
Now, one of the pro tips while configuring the APN settings, specifically for Android users, is to simply add “hipri” into the APN type menu. You will find other APN types too in the APN settings, like default, mms, internet, etc. So, you have to add hipri by including a simple comma and then save it. In most cases, adding hipri actually improves internet speed. In terms of downloading, we have seen an increase of 15-18%.
For iPhone
| Settings | Details |
| Cellular Data | |
| APN | SMARTONE |
| Username | Blank |
| Password | Blank |
| MMS | |
| APN | SMARTONE |
| Username | Blank |
| Password | Blank |
| MMSC | http://mms.smartone-vodafone.com/server |
| MMS Proxy | 10.9.9.9:8080 |
| MMS Message Size | 1048576 |
| MMS UA Prof URL | Blank |
Path: SETTINGS -> CELLULAR -> CELLULAR DATA NETWORK -> APN
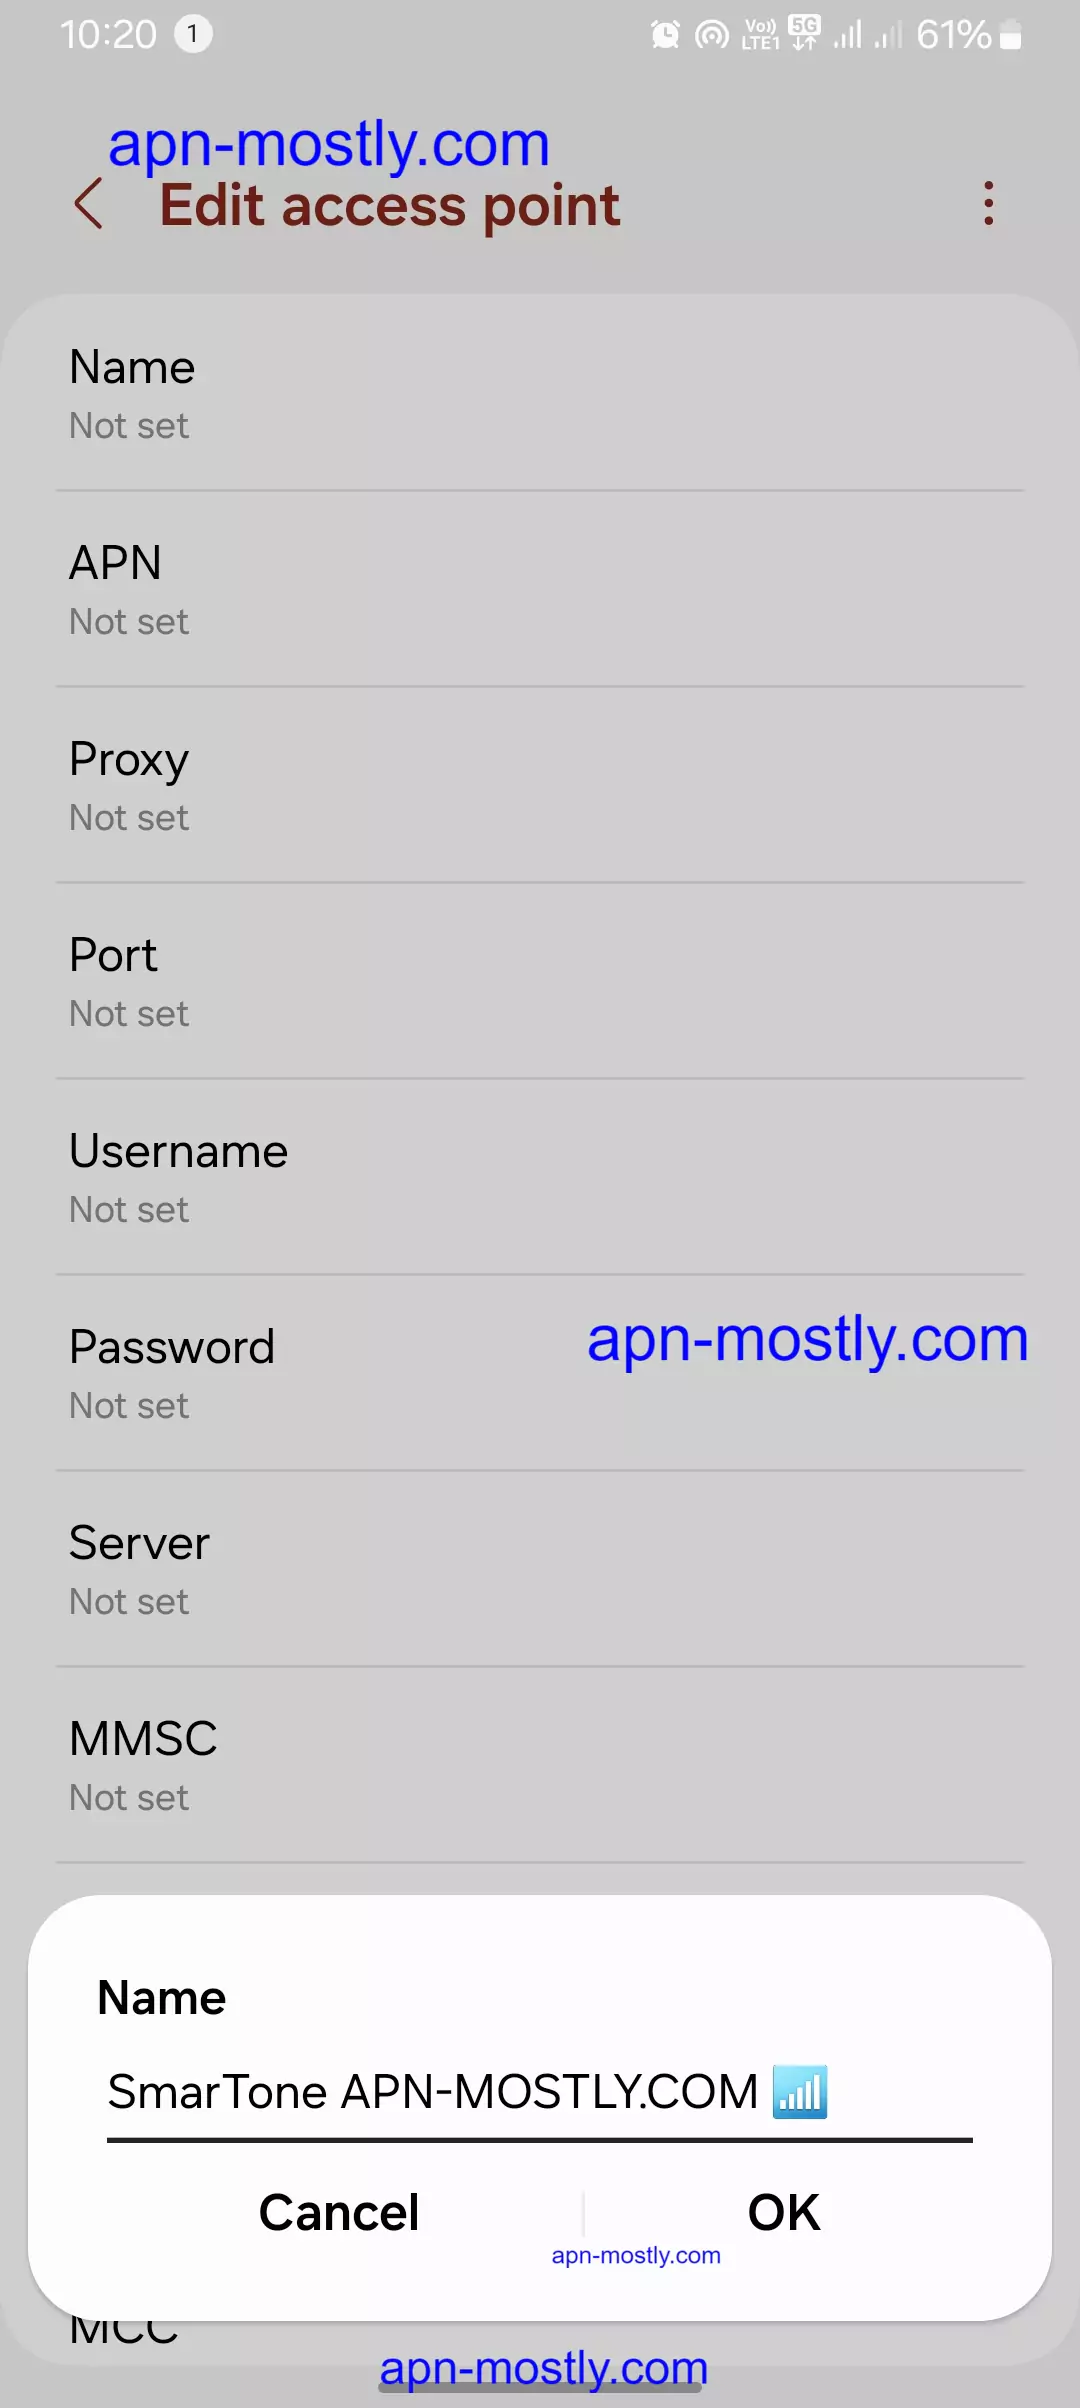
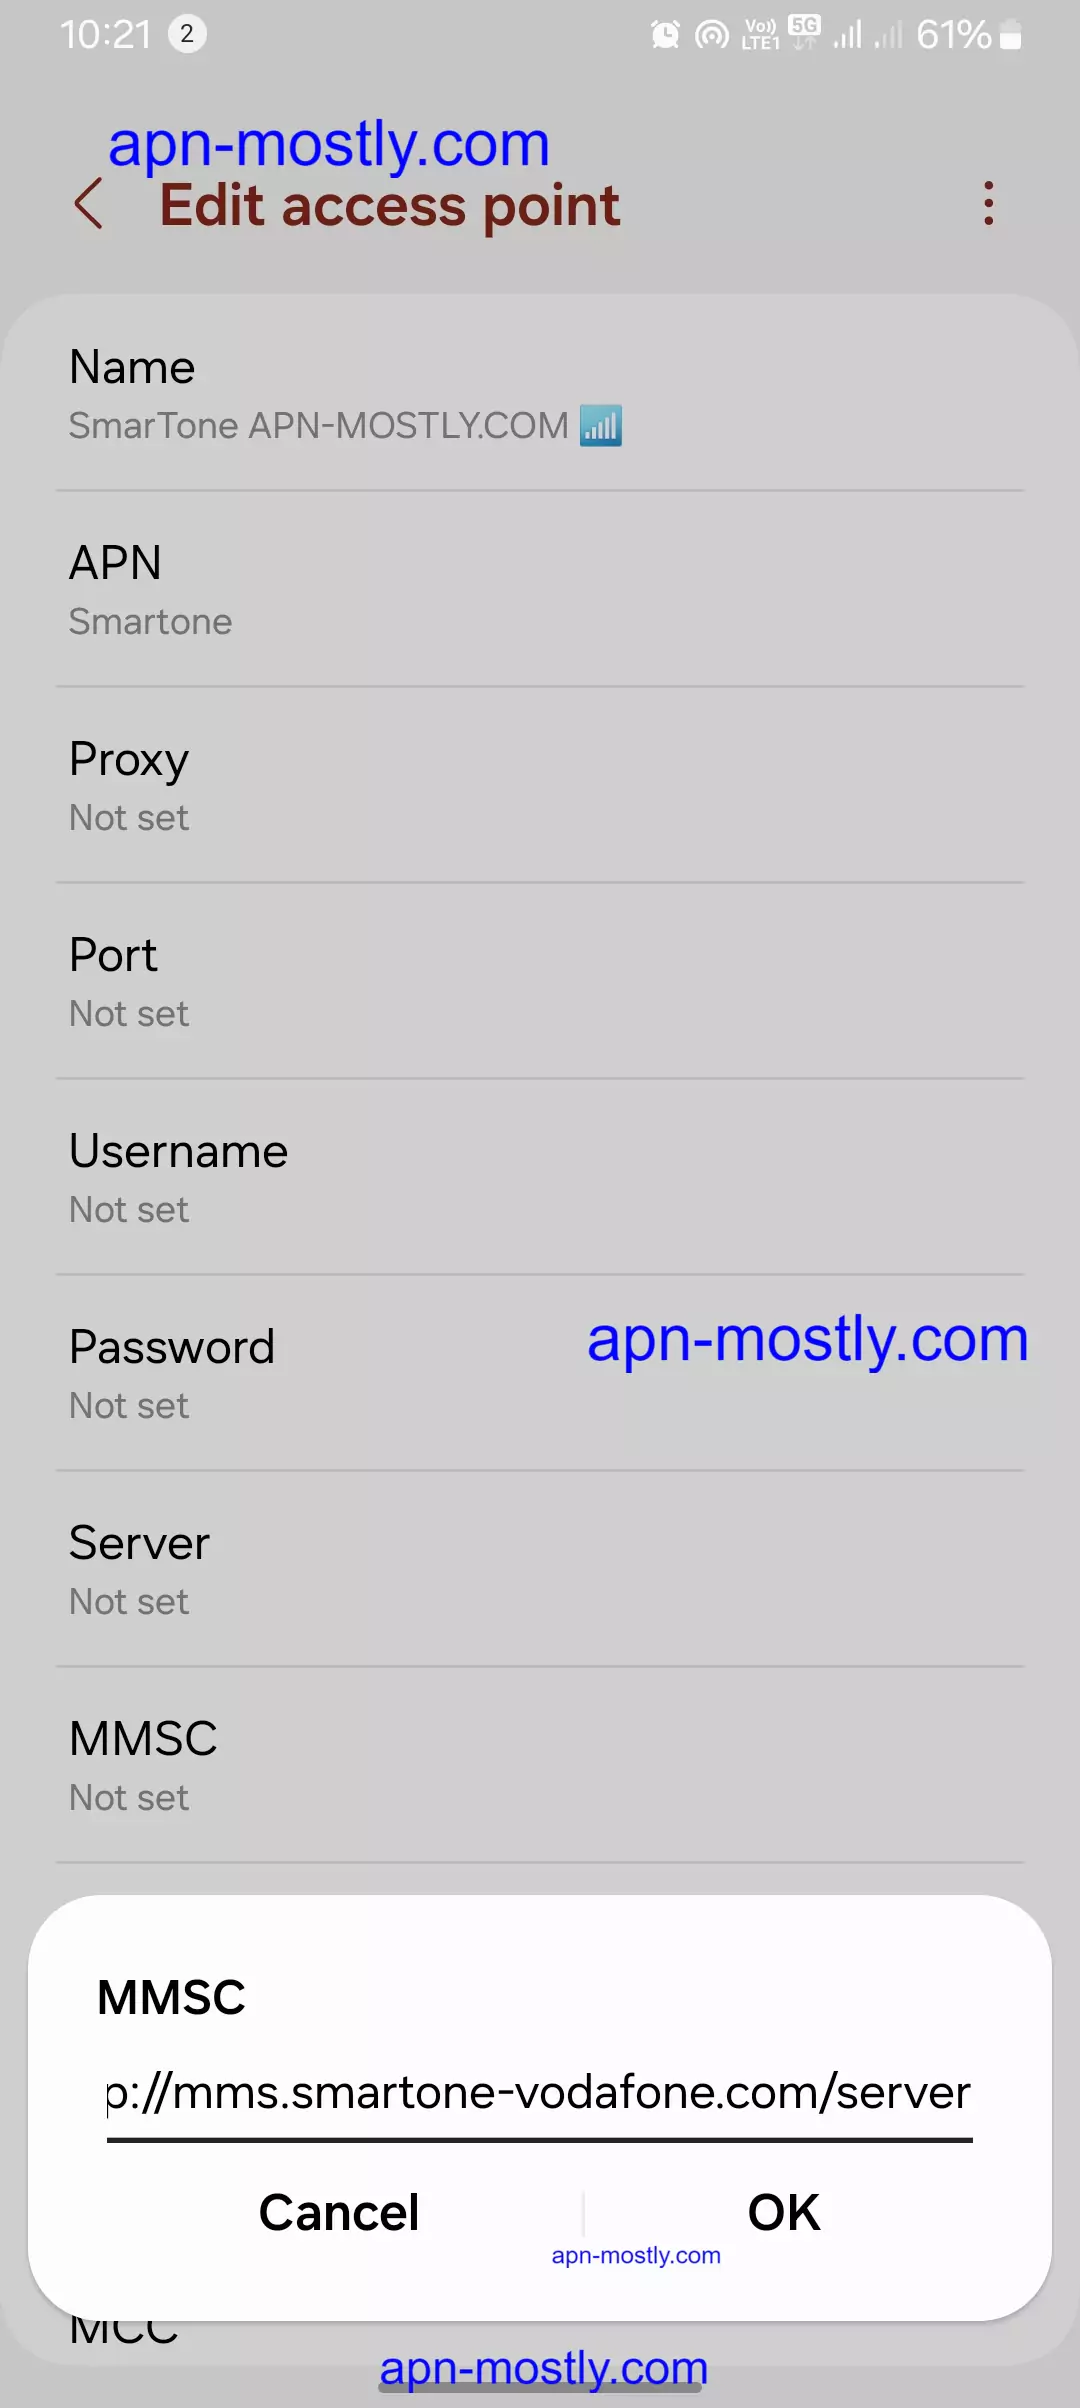
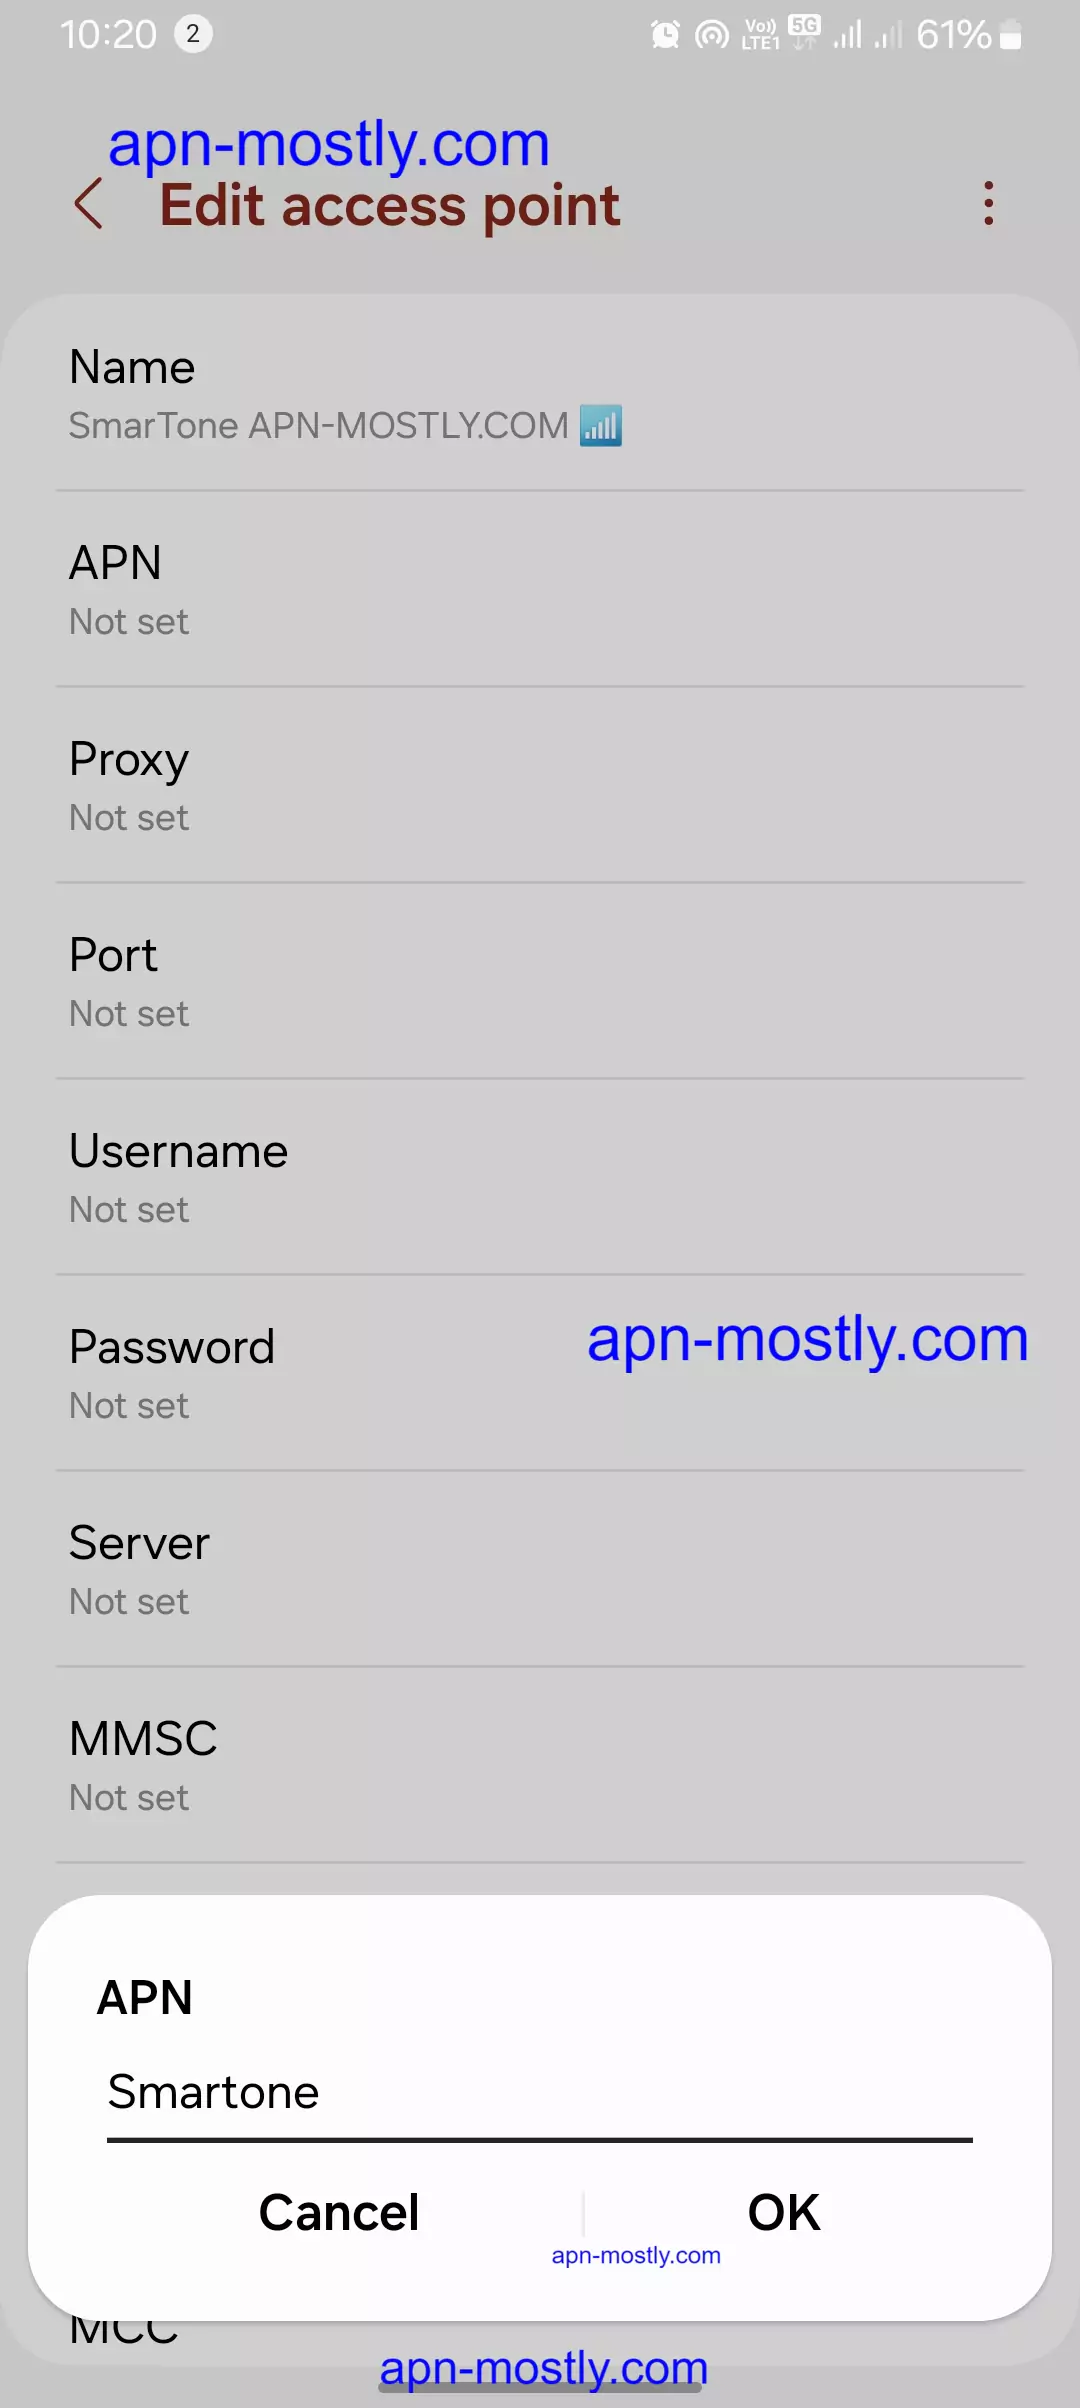
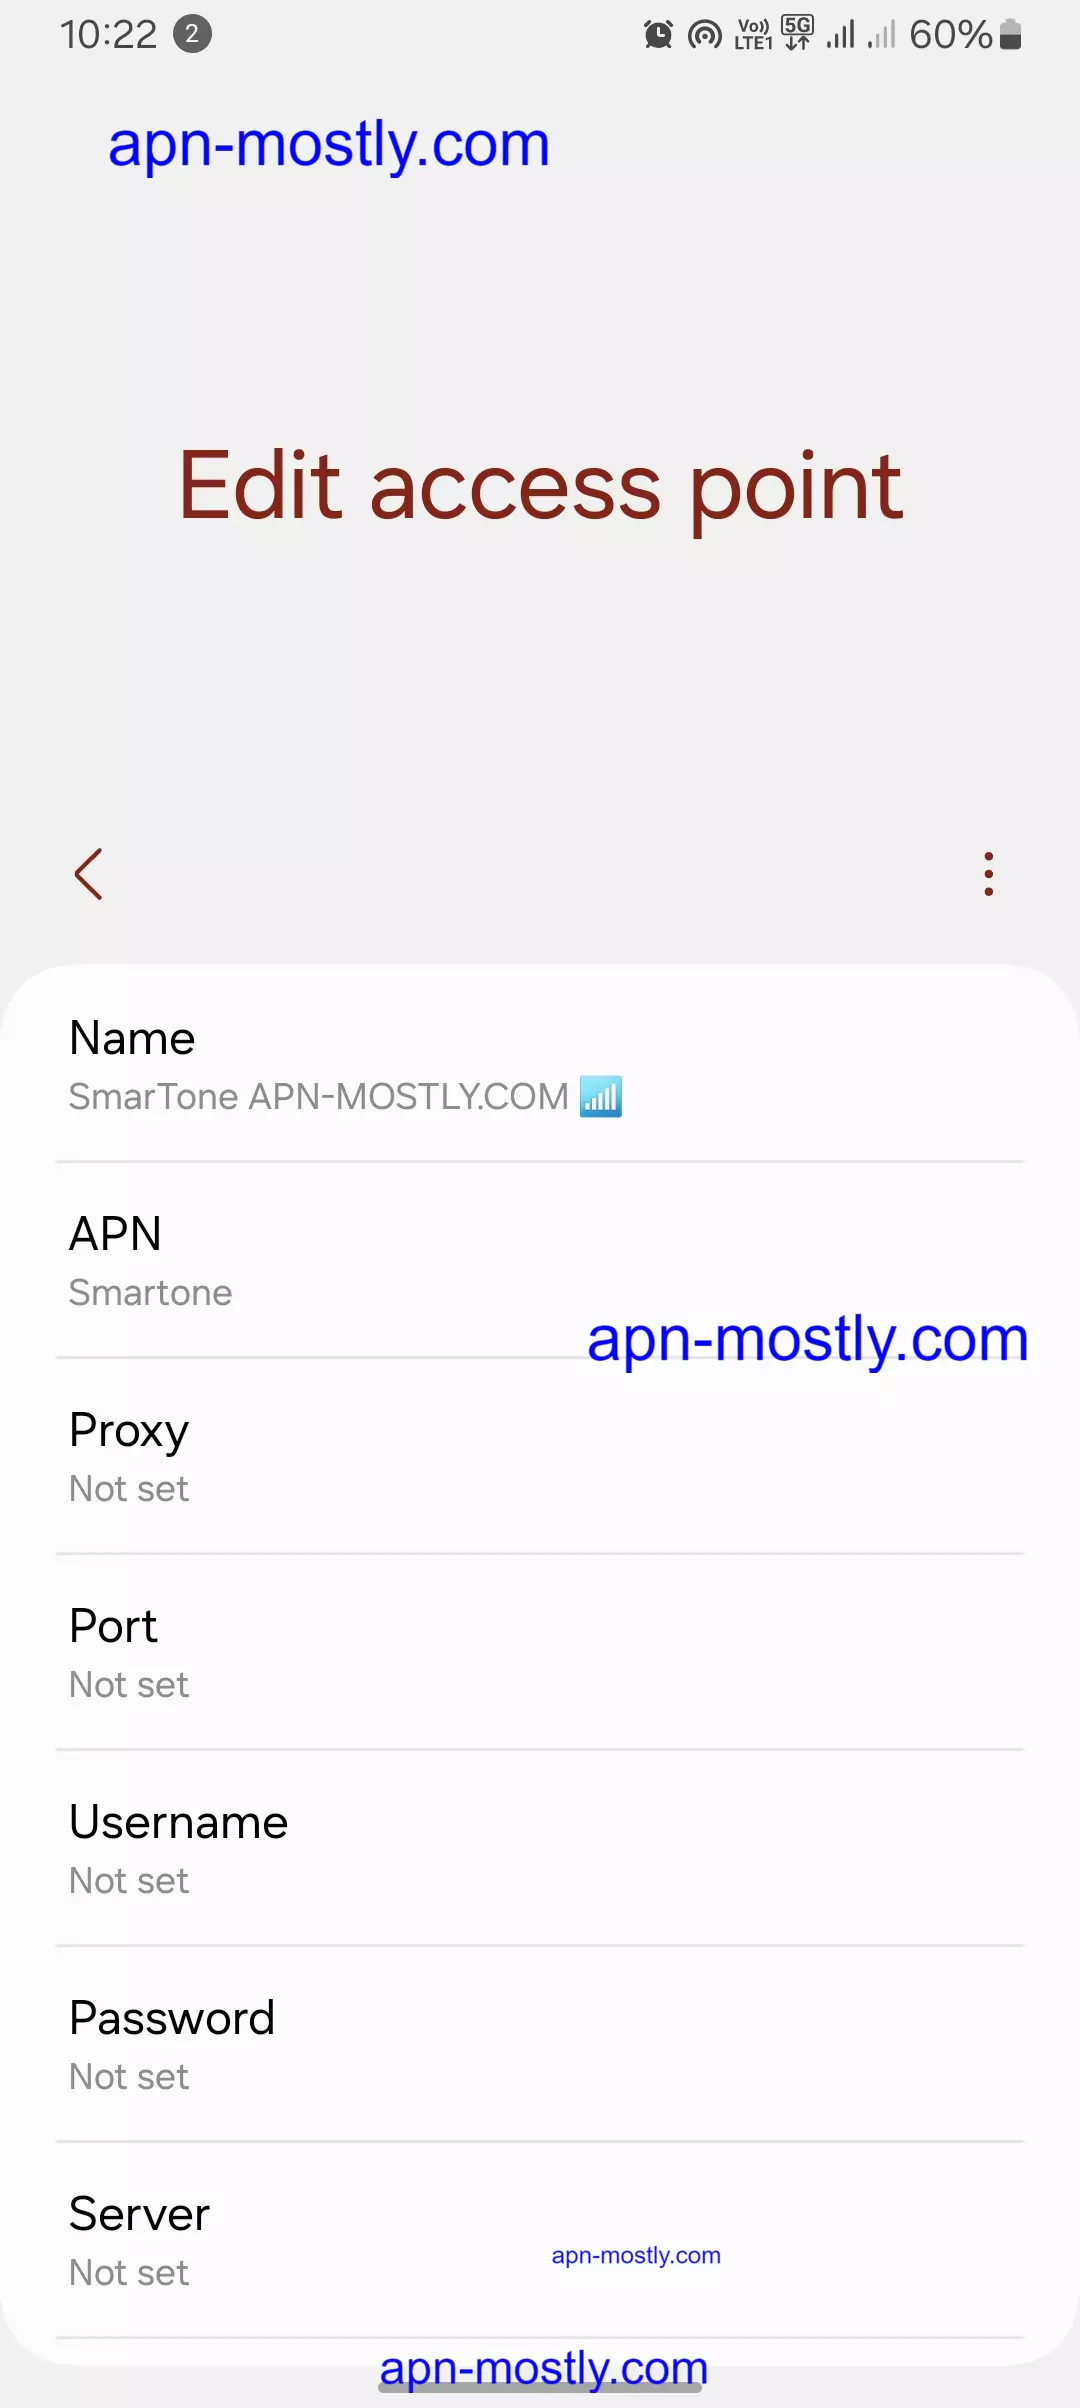
SmarTone APN Settings for Android
| Settings | Details |
| Name | SmarTone |
| APN | SMARTONE |
| Proxy | Not Set |
| Port | Not Set |
| Username | Not Set |
| Password | Not Set |
| Server | Not Set |
| MMSC | http://mms.smartone-vodafone.com/server |
| MMS Proxy | 10.9.9.9 |
| MMS Port | 8080 |
| MCC | 454 |
| MNC | 06 |
| Authentication Type | Not Set |
| APN Type | default,supl,mms |
| APN Protocol | IPv4 |
| APN Roaming Protocol | IPv4 |
| Enable/Disable APN | APN Enabled |
| Bearer | Unspecified |
| MVNO Type | None |
| MVNO Value | Not Set |
Path: SETTINGS -> MORE -> MOBILE NETWORK -> ACCESS POINT NAMES -> +
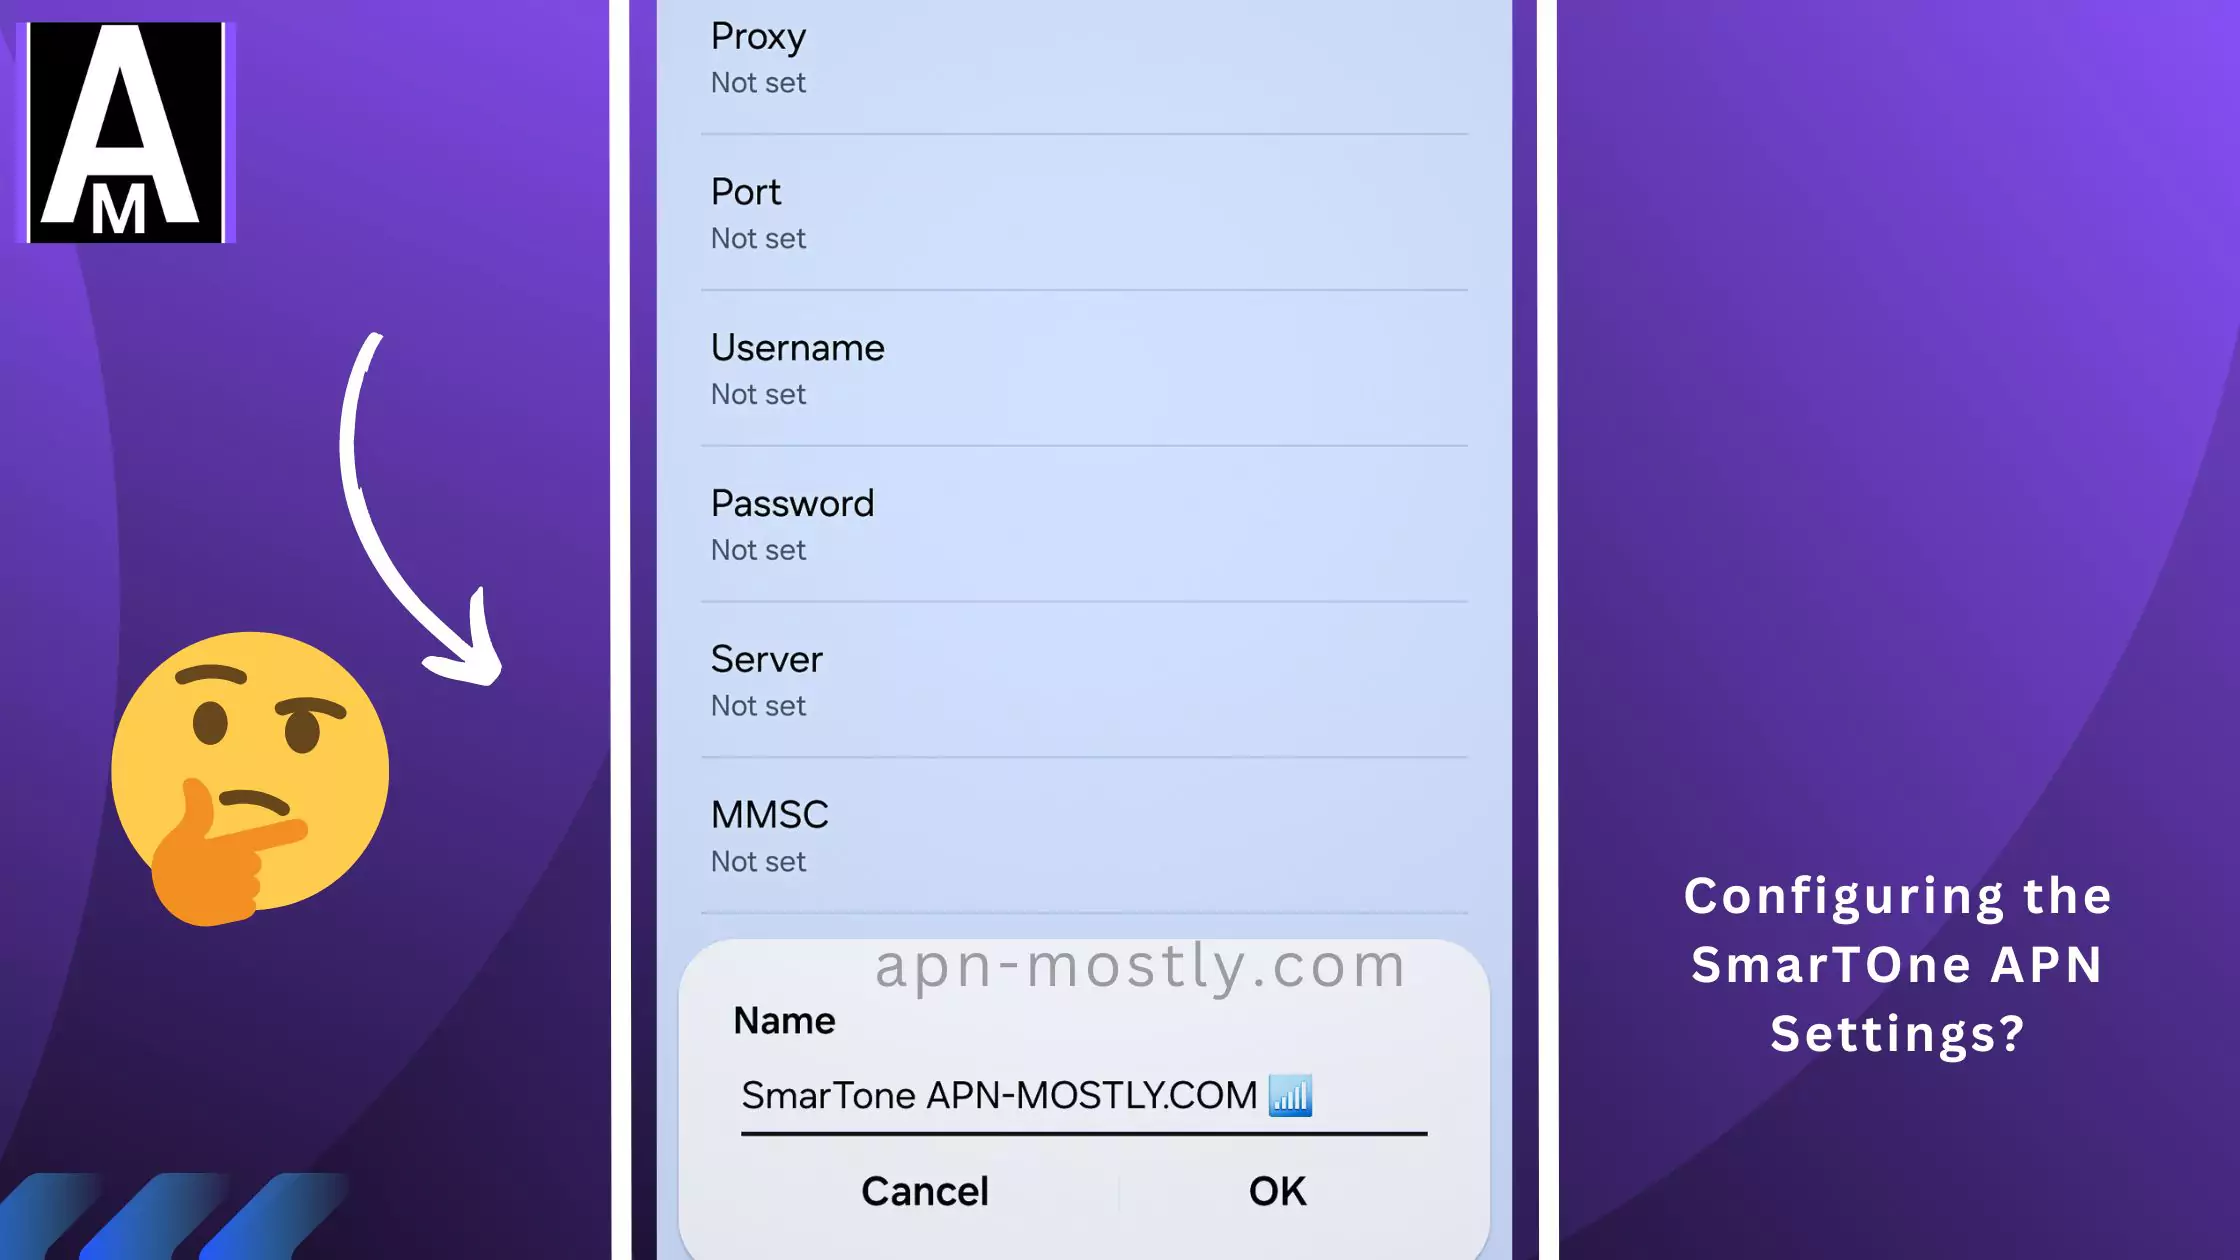
SmarTone APN Settings for Blackberry
Internet APN
| Settings | Details |
| Access Point Name (APN) | SMARTONE |
| Username | Blank |
| Password | Blank |

MMS APN
| Settings | Details |
| Access Point Name (APN) | SMARTONE |
| Username | Blank |
| Password | Blank |
| MMSC URL | http://mms.smartone-vodafone.com/server |
| Proxy URL | 10.9.9.9:8080 |
| Proxy Username | Blank |
| Proxy Password | Blank |
Path for Internet APN: SETTINGS -> NETWORK CONNECTIONS -> MOBILE NETWORK -> APN

Path for MMS APN: TEXT MESSAGES -> … -> SETTINGS -> TEXT MESSAGES -> MMS -> ADVANCED
Configuring SmarTone APN Settings (Step-by-Step Guide)
A. For Smartphones:
Follow these simple steps to edit your APN settings on any Android device:
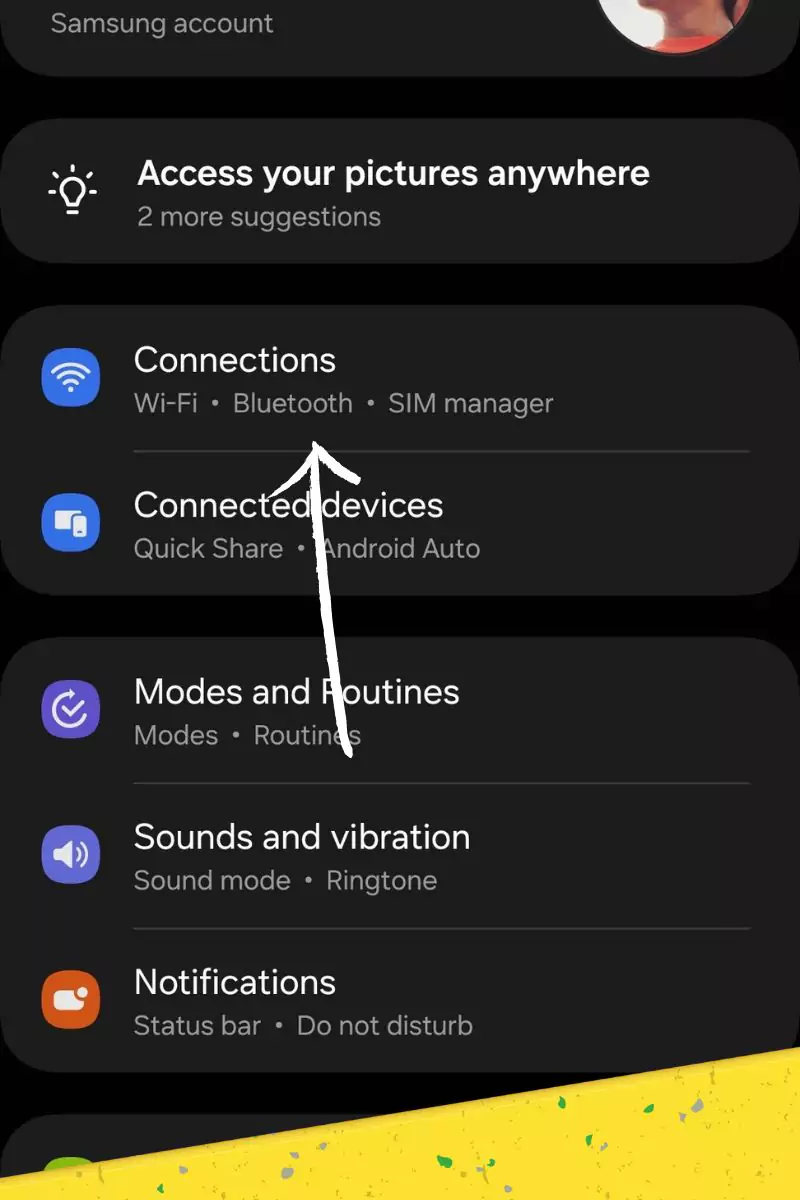
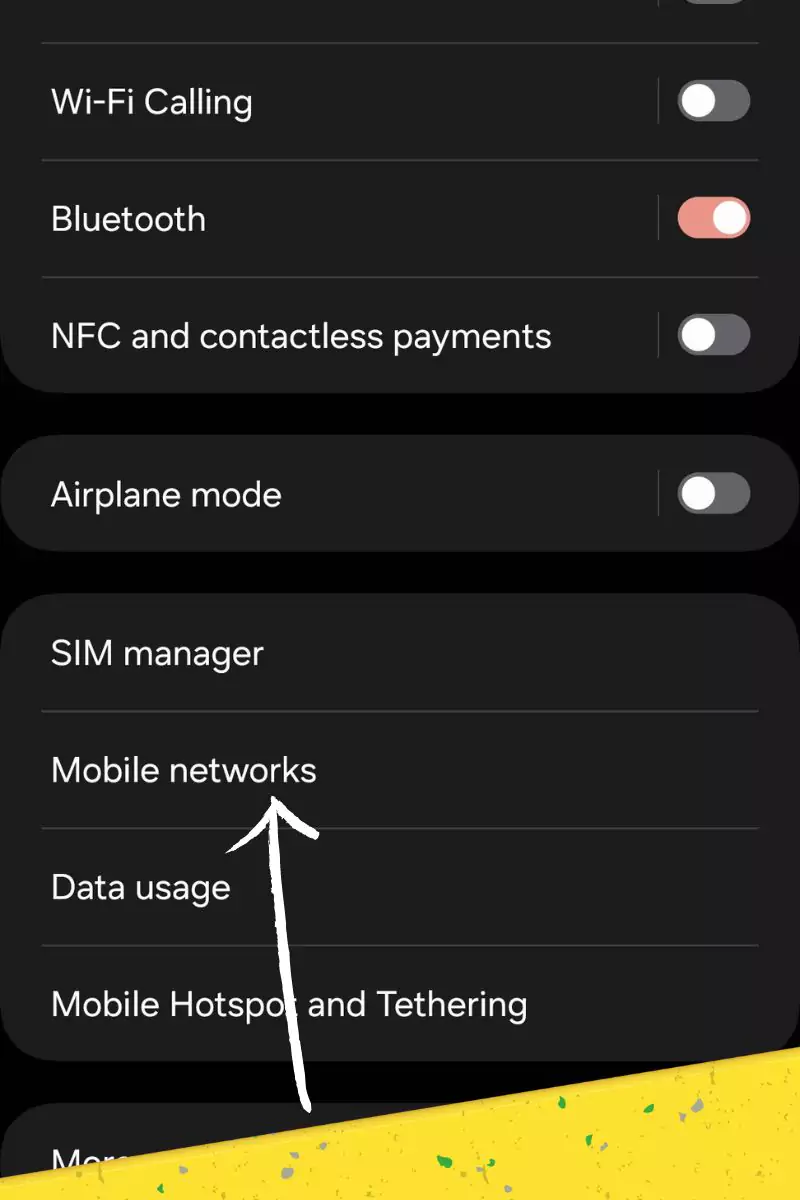
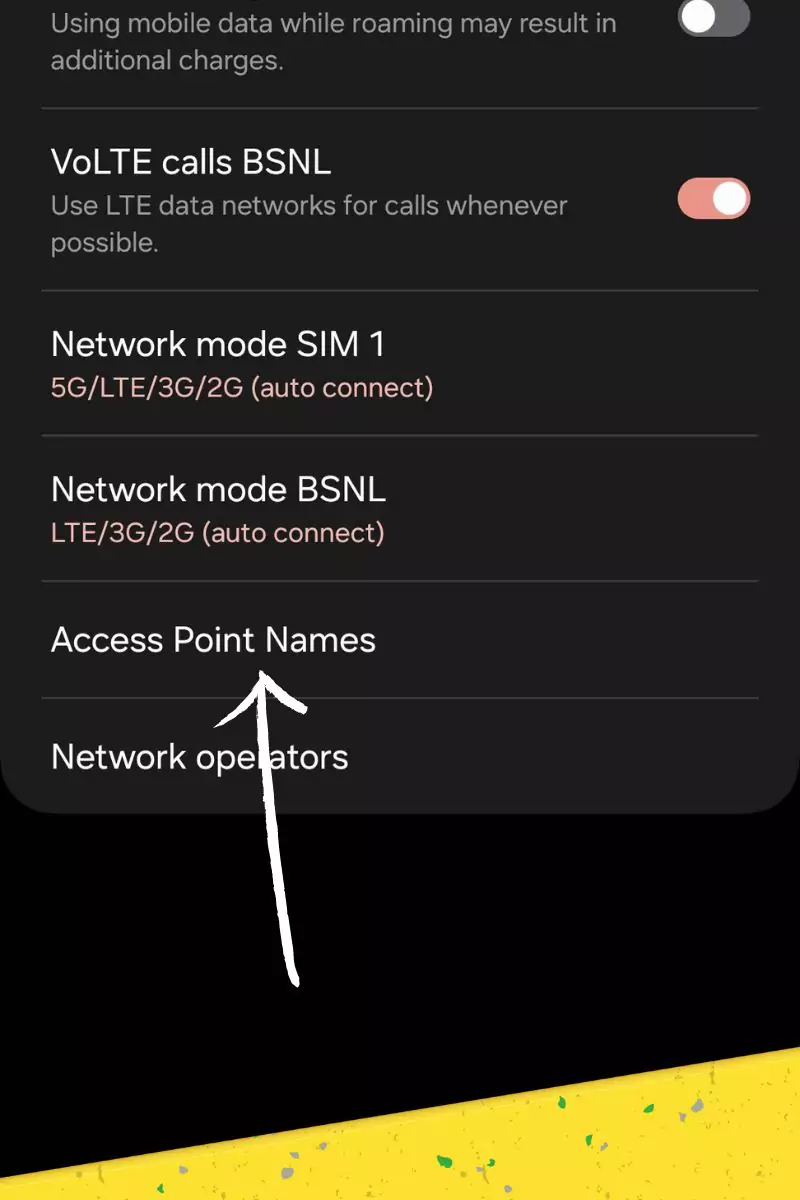
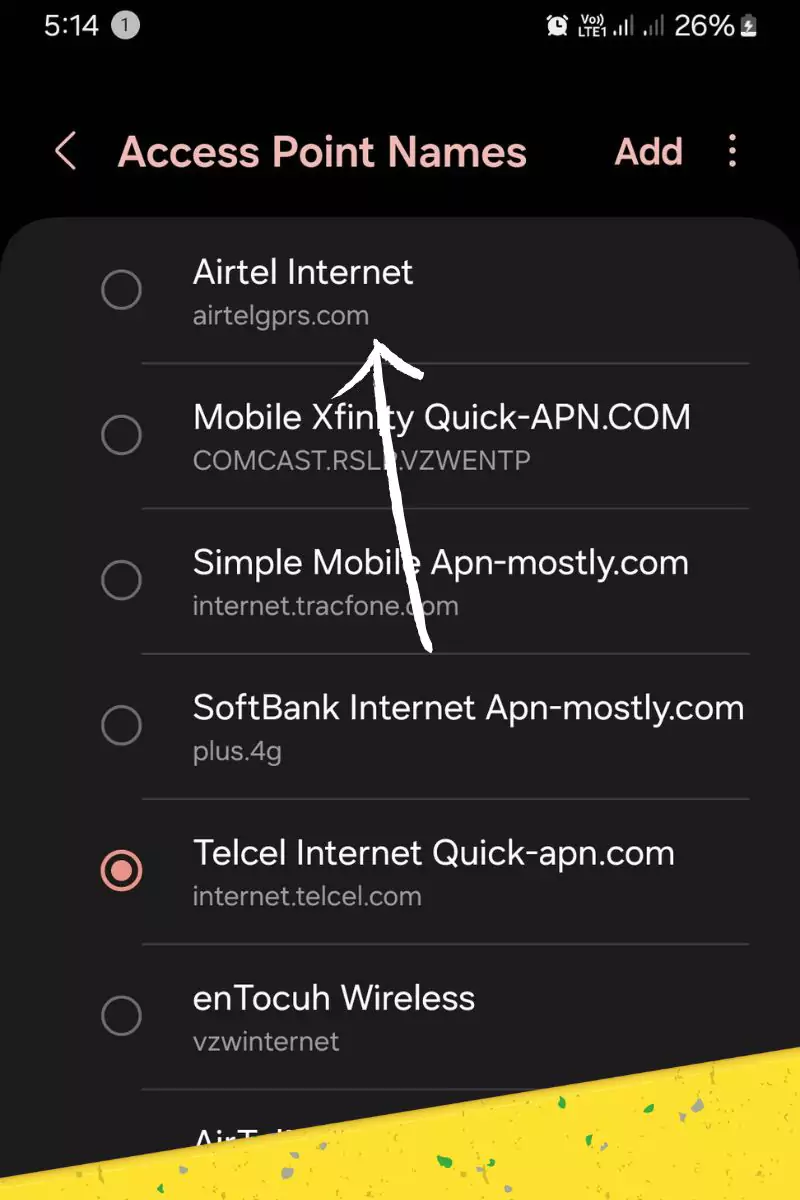
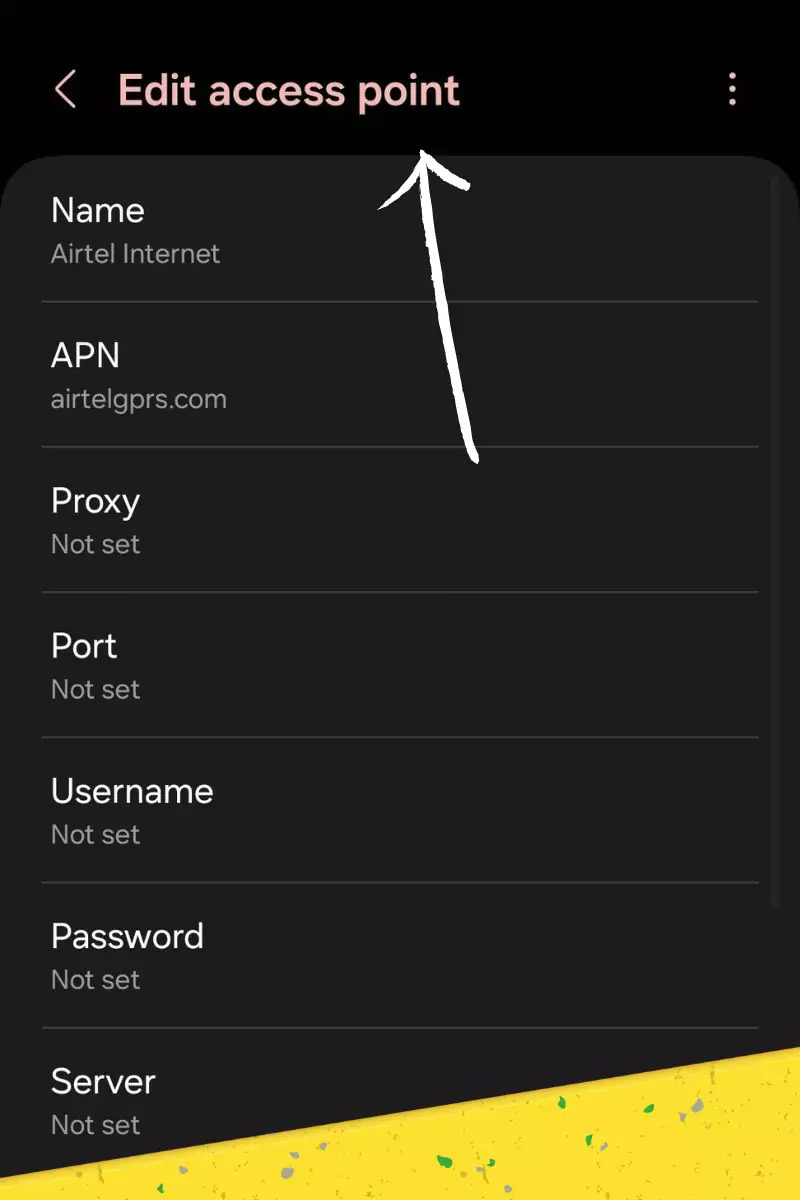
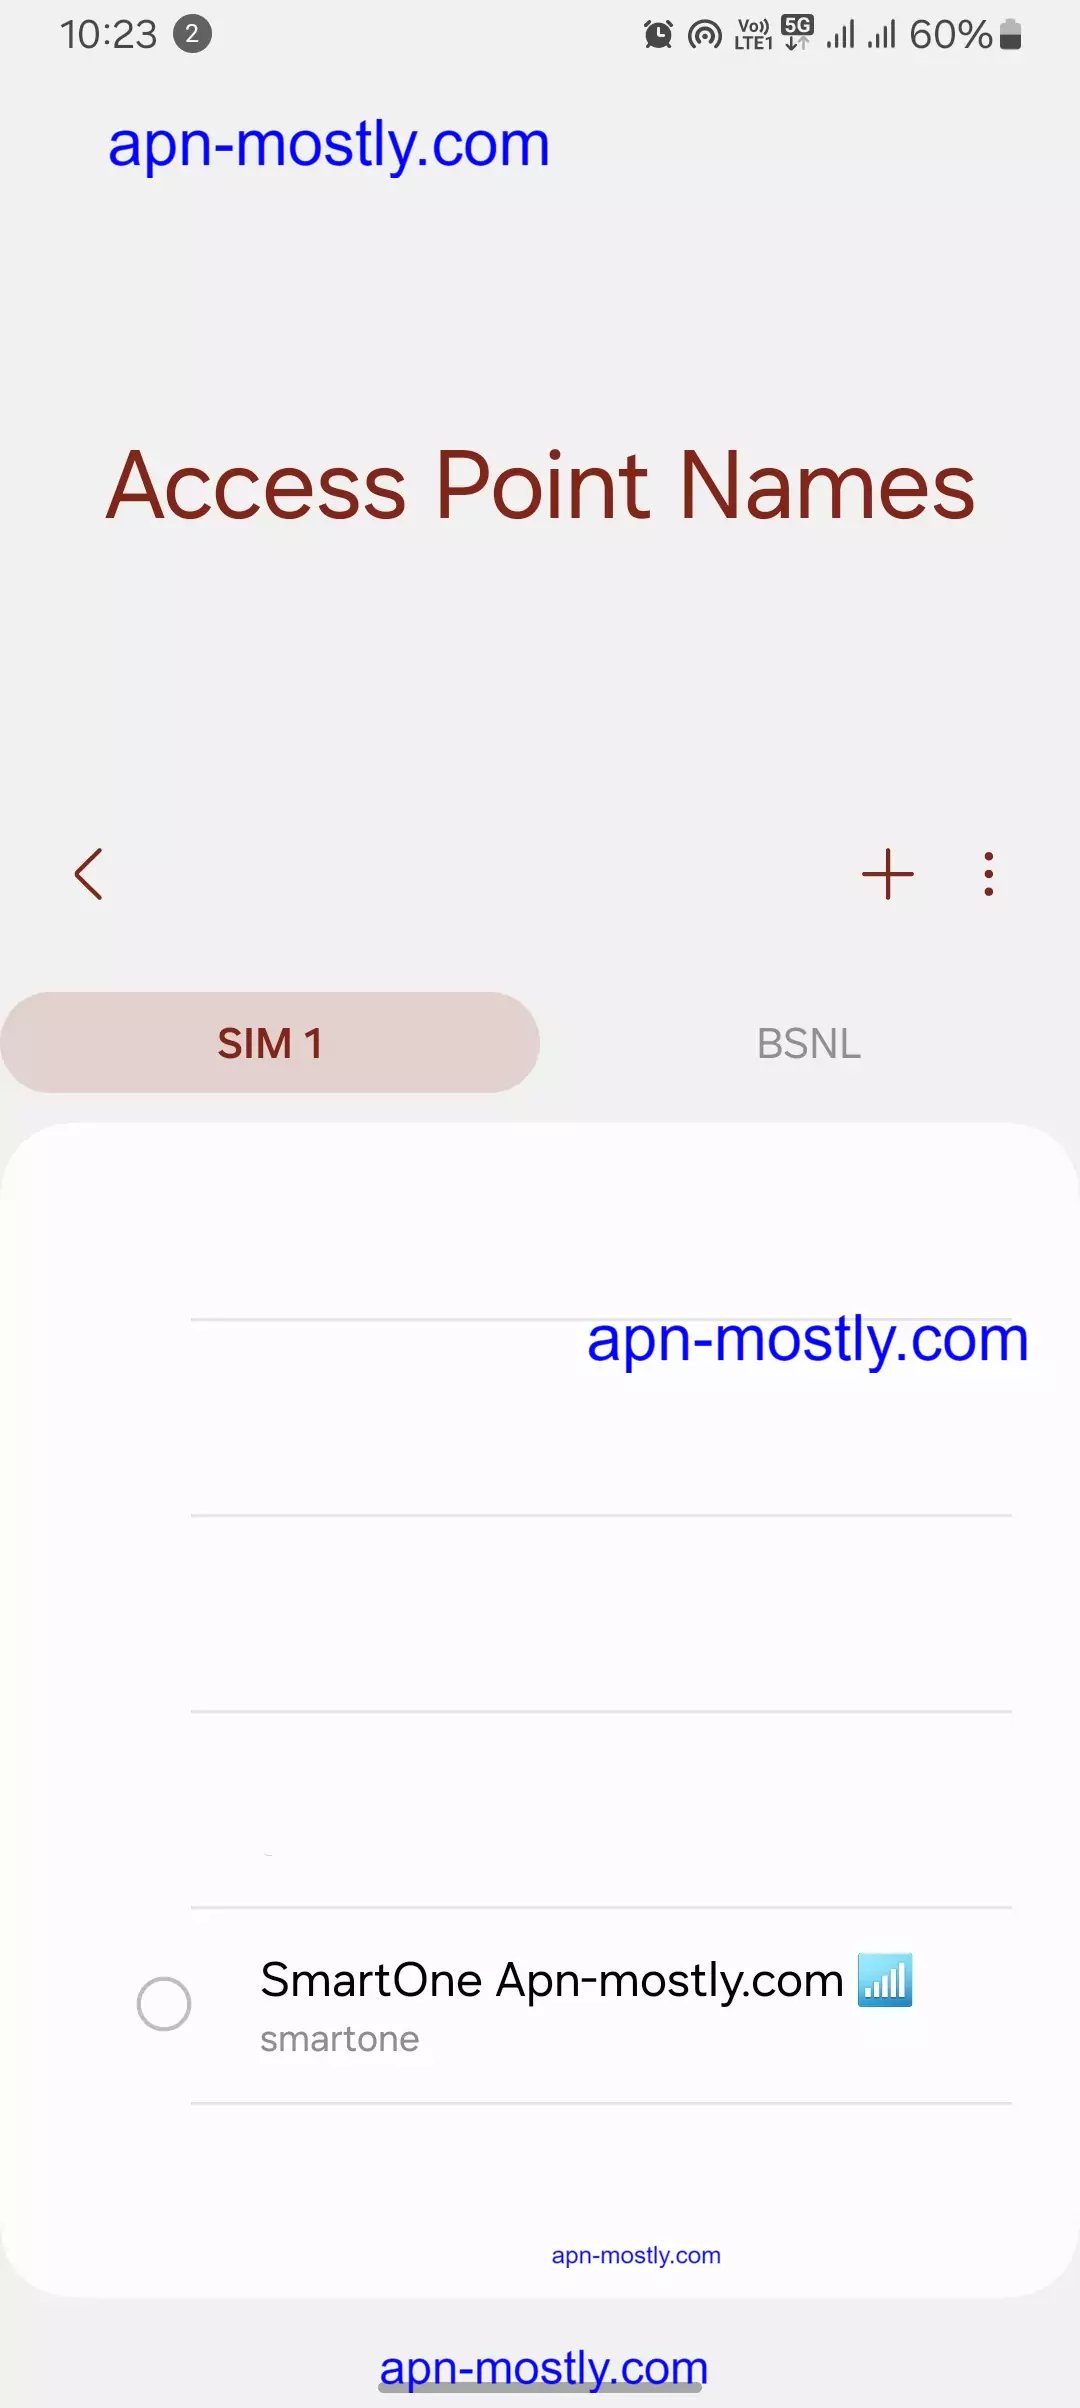
- Access your device’s Settings menu. The specific steps might vary slightly depending on your phone’s model and operating system. However, the general path is usually: Settings > Mobile Network (or Cellular Network) > Access Point Names (or APNs).
- Look for existing APN profiles. If none exist, create a new one by tapping the “+” symbol.
- Enter the following details for the APN settings:
- APN: smartone (This is the most crucial field)
- Username: (Leave blank)
- Password: (Leave blank)
- Tap “Save” to apply the new APN configuration.
B. For Other Devices (if applicable):
The steps for configuring APN settings on devices like tablets or mobile hotspots might differ. It’s recommended to consult your device’s user manual for specific instructions.
Troubleshooting Tips (Optional)
If you’re still facing issues with mobile data connectivity after configuring the APN settings, try these troubleshooting steps:
Fix 1: Verify Your APN Settings
First things first, let’s make sure your APN settings are all squared away. Here’s what you need to do:
- Navigate to your phone’s Settings, then tap on Mobile Networks, and finally, Access Point Names.
- Once you’re there, cross-check your settings with the following:
- Name: SmarTone
- APN: smarTone
- Proxy: Not set
- Port: Not set
- Username: Not set
- Password: Not set
- Server: Not set
- MMSC: Not set
- MMS Proxy: Not set
- MMS Port: Not set
- MCC: 454
- MNC: 06
- Authentication Type: Not set
- APN Type: default
- APN Protocol: IPv4/IPv6
- APN Roaming Protocol: IPv4/IPv6
- Bearer: Unspecified
- MVNO Type: None
If anything looks out of place, go ahead and make the necessary changes. Trust me, even the smallest typo can throw a wrench in the works!
Fix 2: Turn It Off and On Again
I know, I know. It’s the oldest trick in the book, but sometimes, a good old-fashioned restart is all your phone needs to get back on track. Once you’ve double-checked your APN settings, go ahead and restart your device. This will help apply the new settings and give your network connection a fresh start.
Fix 3: The Airplane Mode Dance
If a simple restart doesn’t do the trick, it’s time to bust out the Airplane Mode dance. Here’s what you do:

- Turn on Airplane Mode and wait for about 10 seconds.
- Turn Airplane Mode off again.
This little dance can help reset your device’s connection to the network and get things moving again.
Fix 4: Check Your Mobile Data
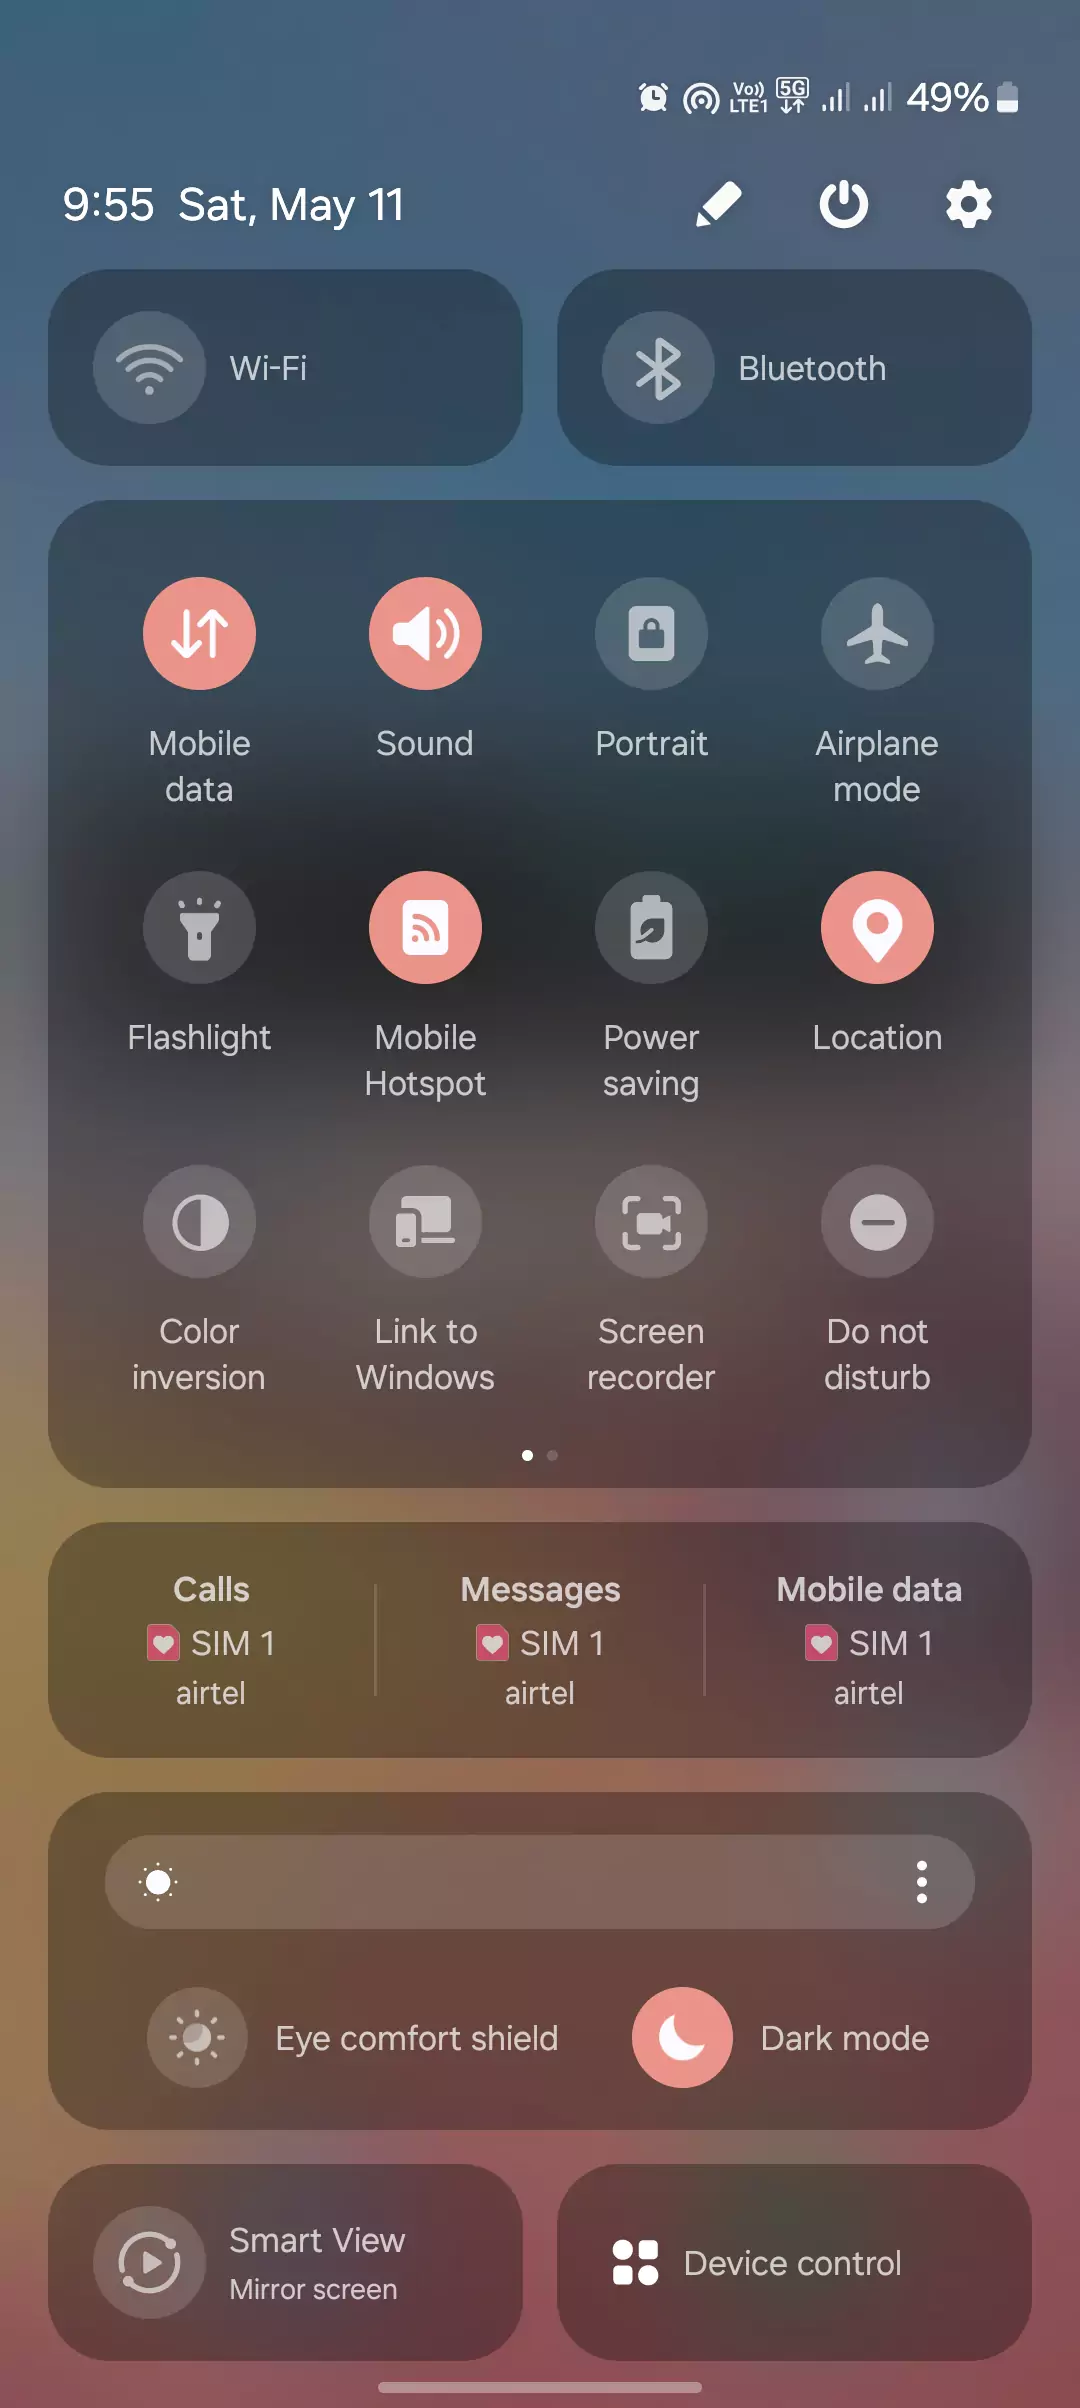
Sometimes, the simplest things can be the most overlooked. Make sure your Mobile Data is actually turned on in your device settings. You’d be surprised how often this little toggle can cause big headaches!
Fix 5: Network Outages: The Silent Culprit
If you’ve tried all of the above and you’re still stuck, it might be time to check for network outages in your area. Give SmarTone customer support a call or check their website for any known issues. If there’s an outage, sit tight and wait for the network to come back online.
Fix 6: SIM Card Woes
If you’re still having trouble, it’s time to take a closer look at your SIM card. Here’s what you can do:
- Make sure your SIM card is properly inserted in your device.
- Try popping your SIM card into another device to see if the issue follows the card or stays with your phone.
If the issue seems to be with your SIM card, contact SmarTone for a replacement.
Fix 7: Software Updates: Your Phone’s Best Friend
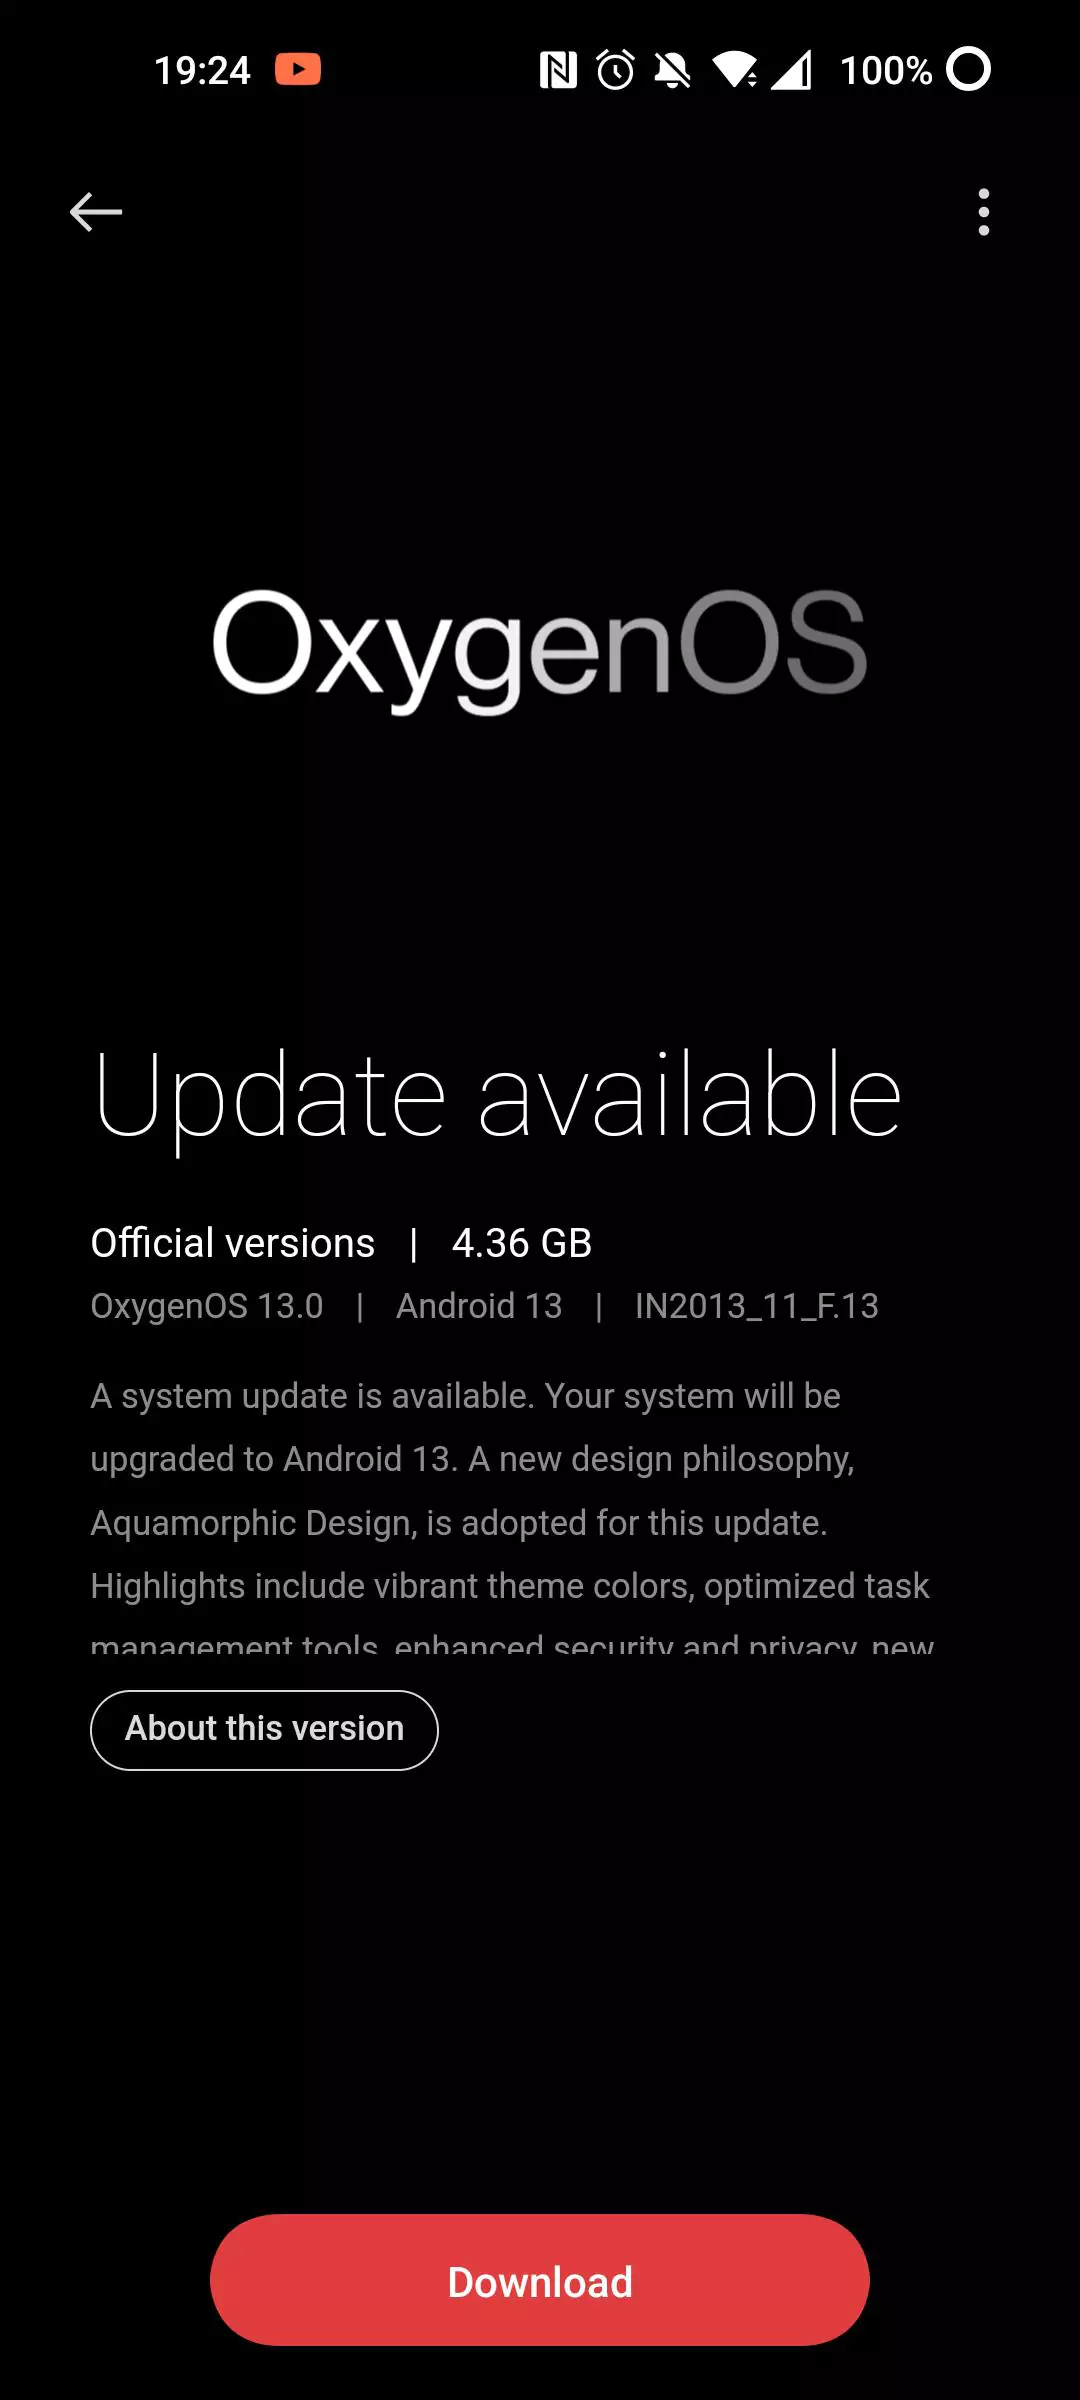
Make sure your device is running the latest and greatest software version. Outdated software can sometimes cause issues with network connectivity. Here’s how to check:
- Go to Settings, then Software Update.
- If there’s an update available, go ahead and install it.
Fix 8: Reset Network Settings
If all else fails, it might be time to break out the big guns and reset your network settings altogether. Here’s how:
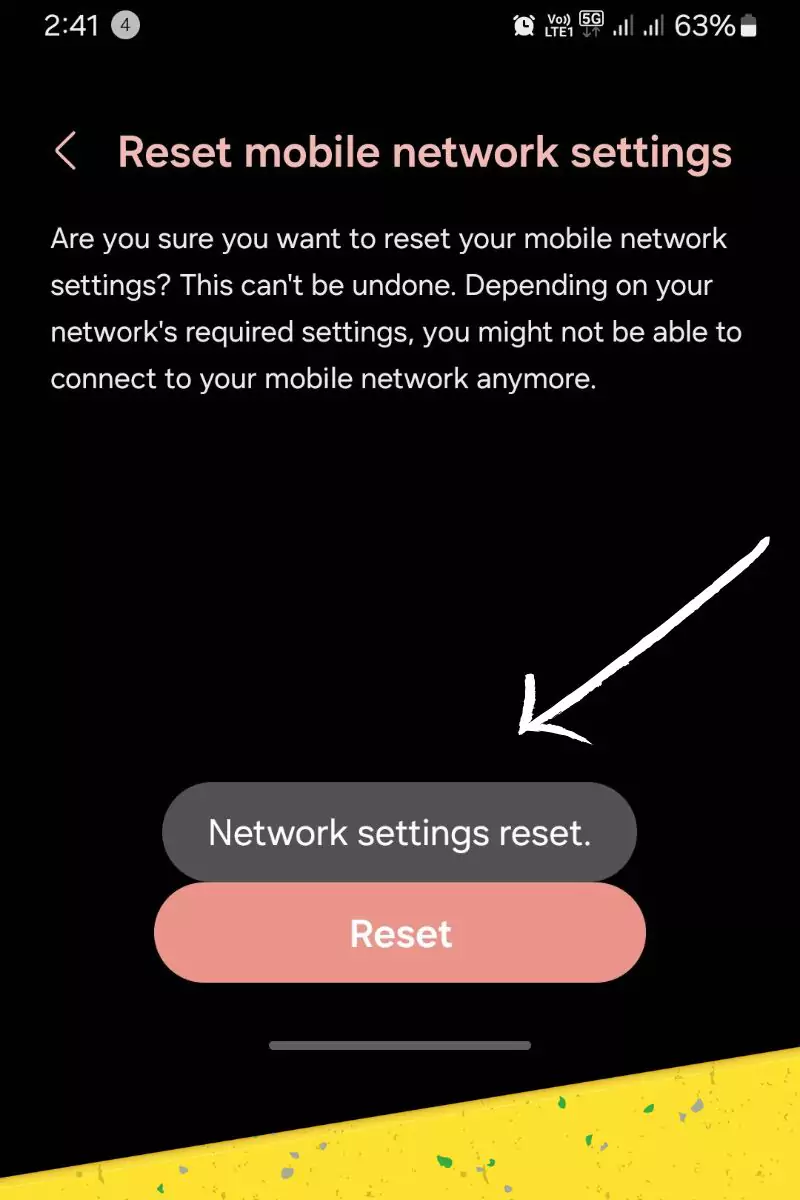
- Go to Settings, then System, then Reset Options.
- Tap on Reset Network Settings.
Keep in mind that this will erase all of your saved Wi-Fi networks and Bluetooth connections, so make sure you have that information handy before you hit the reset button.
Fix 9: Call in the Cavalry
If you’ve tried everything and you’re still stuck, it’s time to call in reinforcements. Contact SmarTone customer support for further assistance. They might have additional troubleshooting steps or be able to diagnose network issues that you can’t see on your end.
Alternative APN Settings
Finally, if you’ve exhausted all other options, it might be worth trying a different set of APN settings provided by SmarTone. Give customer support a call and ask if they have any alternative settings you can try.
Conclusion
So that’s it for today’s blog post! Today, I’ve shown you how to set up your SmarTone APN or internet settings on any Android device, iPhone, or even a Blackberry. These settings can boost your internet speed, signal strength, and overall connectivity. If you run into any issues while setting it up, don’t worry—I’ve included step-by-step instructions to guide you through the process. Just take a look at the tables and enter the values into your mobile phone settings under APN.
That’s it for now! I hope you found this information helpful. If you did, please share your thoughts in the comments section below. And if you have any questions or need further assistance, feel free to reach out to us. Stay connected and have a great day!


