In my experience, entering the correct Telalaska APN settings is vital. Even a small typo can prevent your device from connecting properly. I always double-check the APN information provided by Telalaska to ensure seamless connectivity.
This guide will walk you through locating and updating your device’s APN settings for Telalaska. I’ll also cover troubleshooting tips for any APN-related connection issues you may face.

Whether you’re a new or existing Telalaska customer, properly configuring the APN is key to accessing their reliable mobile internet service. Follow my guidance to get your device connected smoothly.
Why do I need a Telalaska APN?
In my experience, most devices require manual APN configuration when connecting to a new mobile network for the first time. Using the correct Telalaska APN ensures my device can recognize and connect to Telalaska’s mobile internet network seamlessly.
Without the proper APN settings, my device might struggle to establish a stable data connection or fail to connect altogether. That’s why configuring the accurate Telalaska APN is crucial for enabling mobile internet access on their network.
Telalaska Internet Settings
| Setting | Value |
| Name | TelAlaska Cellular |
| APN | akcell.mobi |
| Proxy | |
| Port | |
| Username | |
| Password | |
| Server | |
| MMSC | |
| Multimedia message proxy | |
| Multimedia message port | |
| MCC | 311 |
| MNC | 740 |
| Authentication type | |
| APN type | default,ia |
| APN protocol | IPv4/IPv6 |
| APN roaming protocol | IPv4 |
| Bearer | Unspecified |
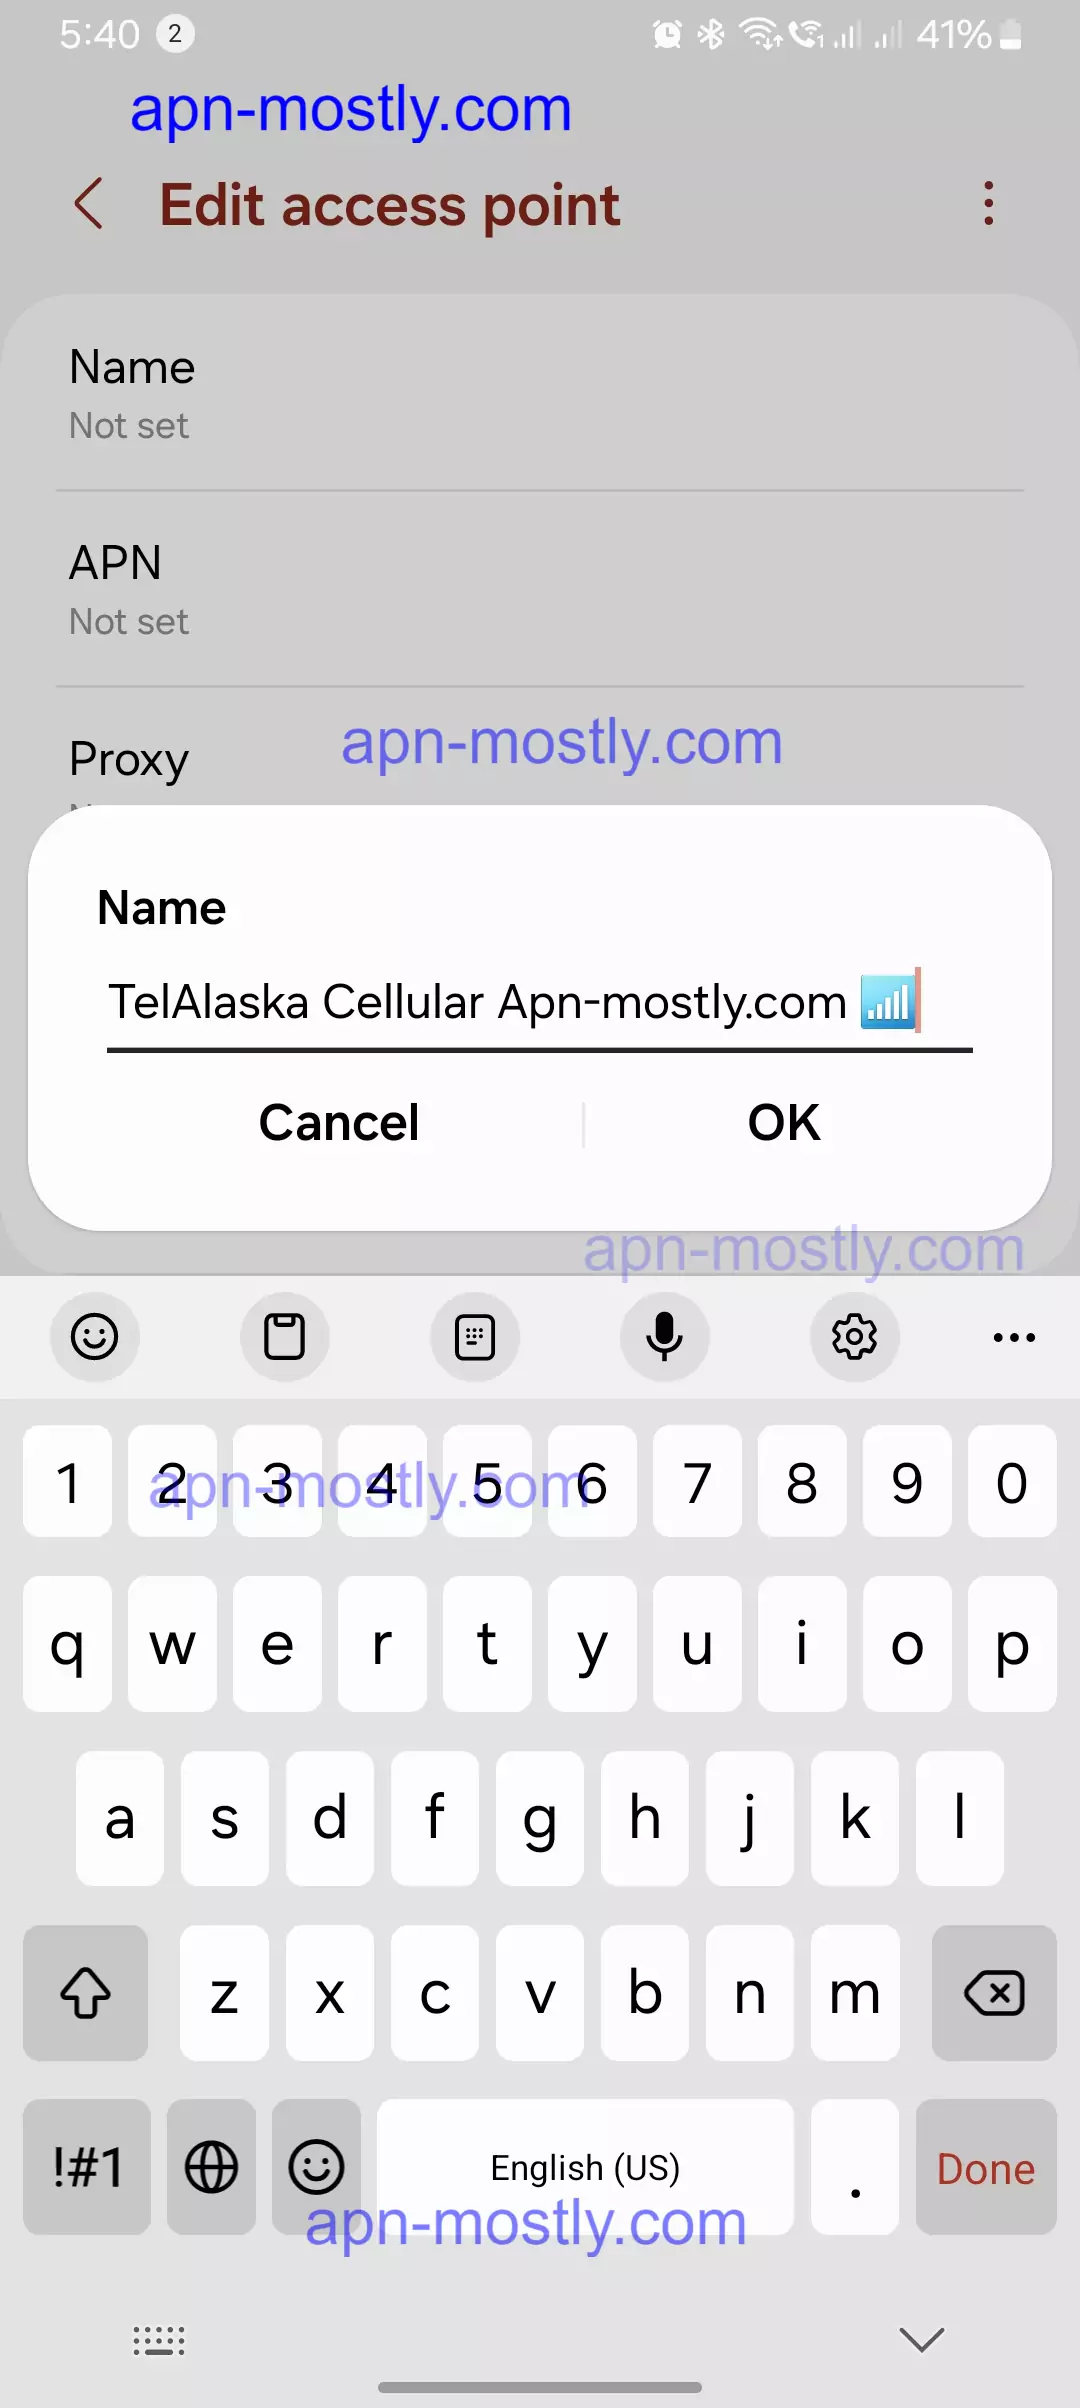
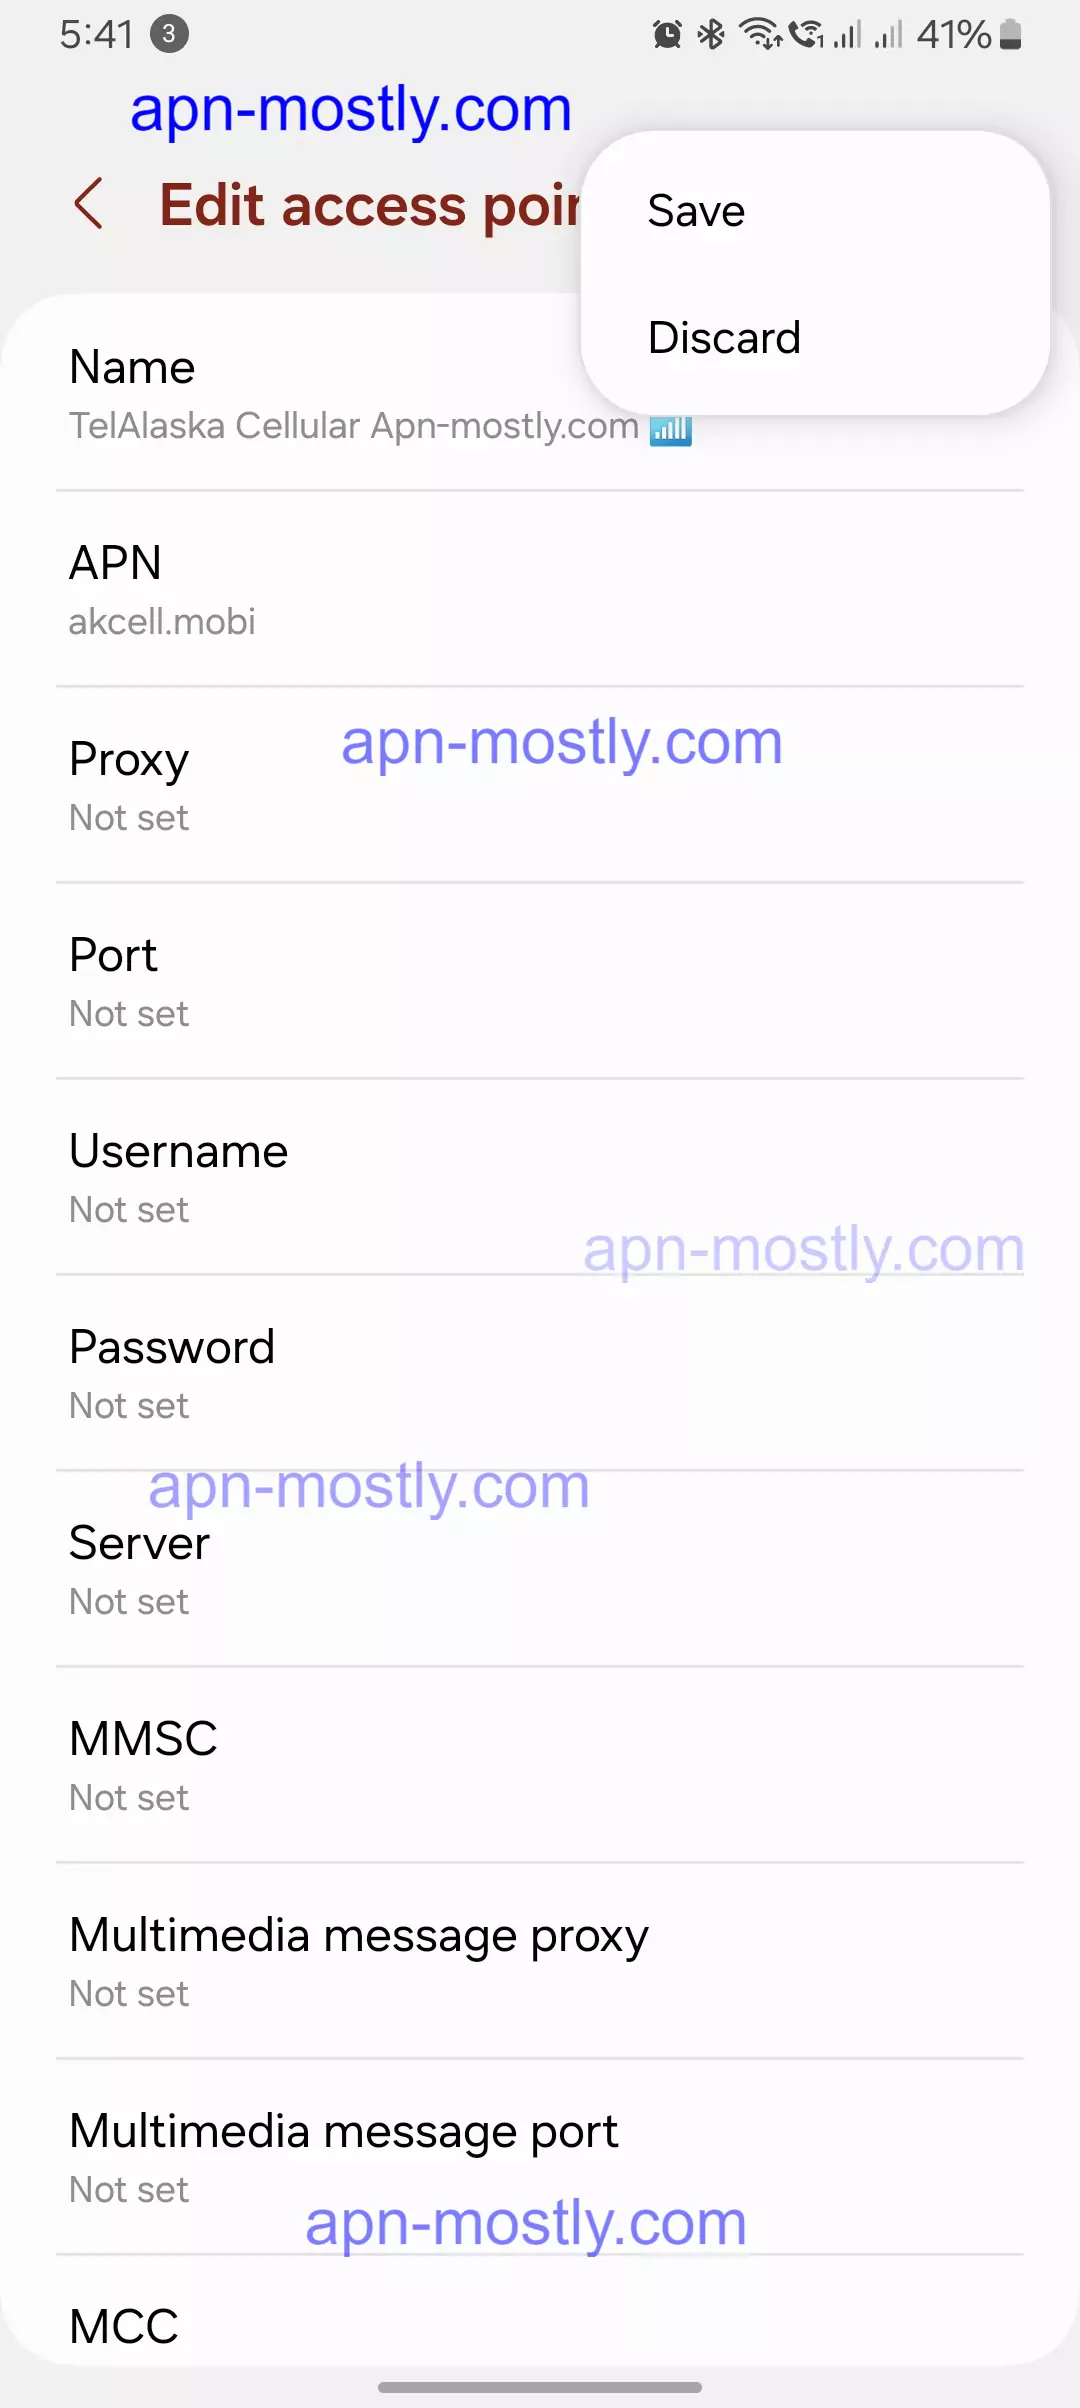
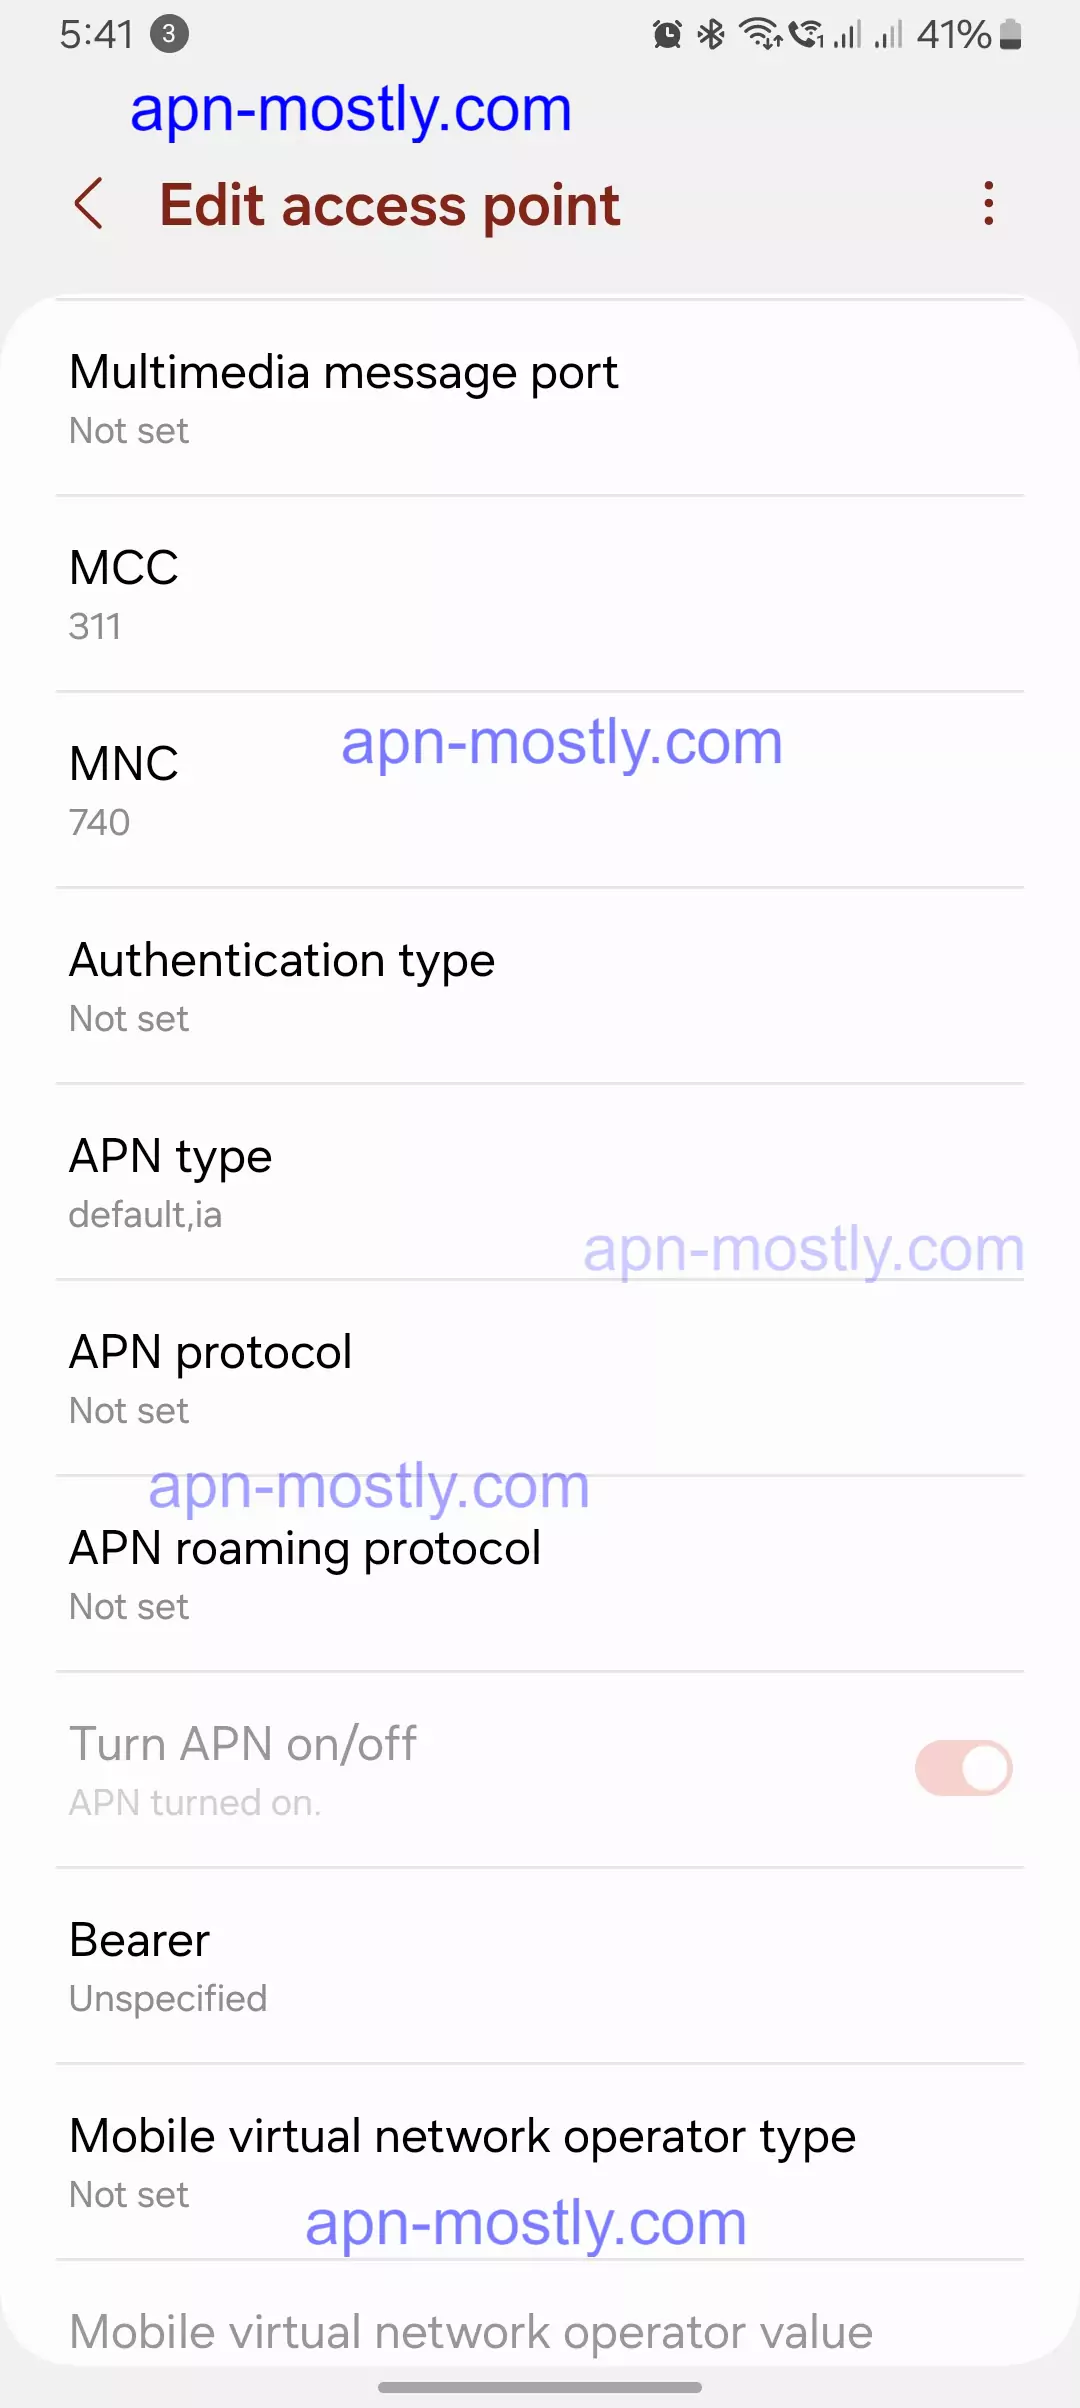
To apply these settings, follow these steps:
- Go to Settings on your device.
- Select SIM cards & mobile networks.
- Choose the SIM card for which you want to configure the APN.
- Tap on Access Point Names (APN).
- Tap on New APN.
- Enter the settings from the table above.
- Save the APN settings.
- Restart your phone to apply the new settings.
Finding the Telalaska APN settings
Locating the APN settings on your device depends on your operating system. Here’s a quick guide for both Android and iOS:
- Android:
- Go to Settings > Connections > Mobile networks (or Cellular networks).
- Tap on Access Point Names (APNs).
- You might see a list of existing APNs. Tap the “+” sign to add a new APN.
- iOS:
- Go to Settings > Cellular > Cellular Data Network.
- Under Cellular Data Options, you’ll find APN settings.

Configuring the Telalaska APN on your device
Once you’ve accessed the APN settings, you’ll need to enter the following details:
- APN name: TelalaskaAPN (or TESLTE)
- Username: (Leave blank)
- Password: (Leave blank)
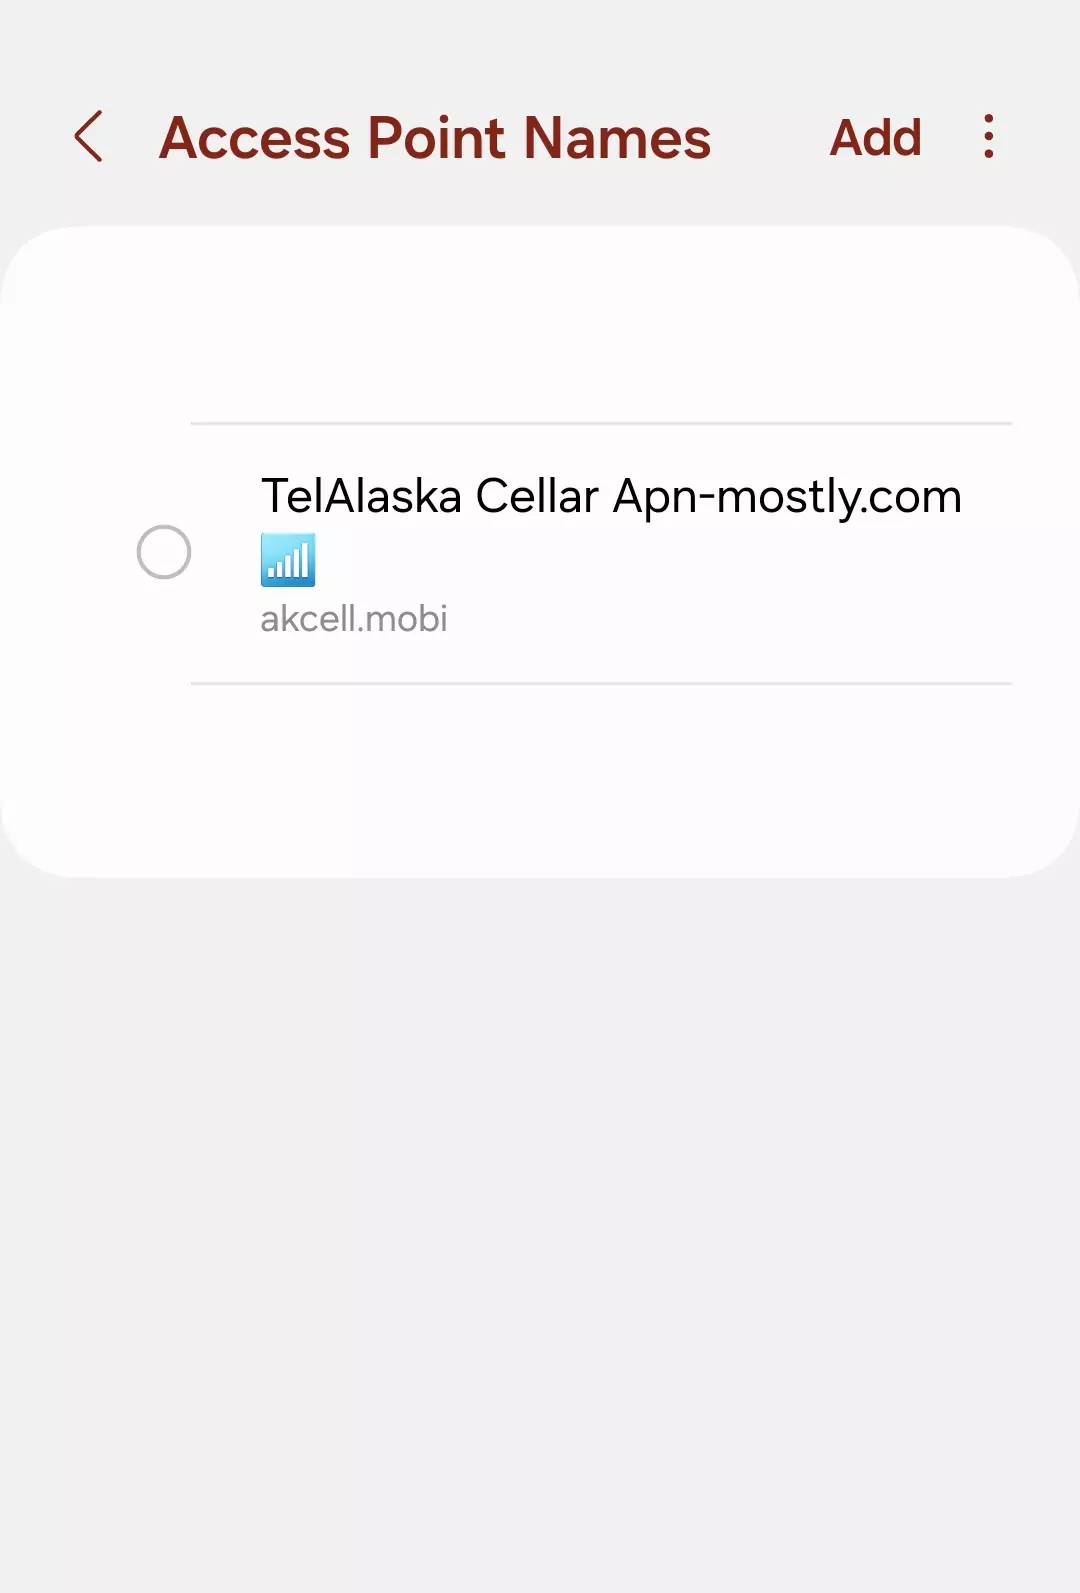
Important: It’s crucial to use the exact APN details provided by Telalaska. Typos or incorrect information can prevent your device from connecting.
Troubleshooting Telalaska APN Issues

If I’m facing trouble connecting to Telalaska’s mobile network after configuring the APN, here are a few things I should check:
- Double-check APN Settings: In my experience, ensuring I’ve entered the Telalaska APN details correctly, including any capitalization or spacing requirements, is crucial. Even a minor typo can cause connectivity issues.
- Restart my Device: A simple restart can often resolve temporary glitches that might be affecting my connection. When I face APN troubles, restarting my device is one of the first troubleshooting steps I take.
- Verify Signal Strength: If I have a weak signal from Telalaska’s mobile network, it can cause connection issues. In my case, I make sure to check the signal strength and move to an area with better coverage if needed.
- Reset APN Settings: When nothing else works, I try resetting my device’s APN settings to default, then re-entering the Telalaska APN details. This can help clear any conflicting settings that might be causing problems.
- Update Device Software: Outdated software on my device can sometimes cause APN conflicts. In such cases, I recommend checking for any available software updates and installing them promptly.
- Toggle Airplane Mode: Turning on Airplane Mode, waiting a few seconds, and then turning it off again can help refresh my device’s network connection. This simple step has resolved many APN issues for me in the past.
- Check Mobile Data Settings: Ensuring that mobile data is enabled on my device is crucial. I go to my device’s settings, locate the mobile data or cellular data option, and make sure it’s turned on.
- Reset Network Settings: As a last resort, I can try resetting my device’s network settings. While this will clear any conflicting network configurations, I’ll need to re-enter my Wi-Fi passwords afterward.
- Contact Telalaska Support: If none of the above steps work for me, I reach out to Telalaska’s customer support. Their knowledgeable representatives can assist with further troubleshooting or provide specific guidance for my device and plan.
Remember, troubleshooting APN issues can be a process of elimination, but following these steps systematically can often resolve the problems I might encounter with Telalaska’s network. If I continue to experience issues, I shouldn’t hesitate to contact Telalaska’s support team for additional assistance.

Resetting APN Settings
for Telalaska If I’m having persistent issues with my Telalaska APN connection, resetting the APN settings can sometimes help resolve the problem. Here’s how I would go about it:
- Access APN Settings: First, I navigate to the APN settings on my device. The exact path may vary depending on the make and model, but typically, I go to Settings > Network & Internet > Mobile network > Access Point Names (or something similar).
- Locate Telalaska APN: Once in the APN settings, I look for the Telalaska APN entry. It might be labeled something like “Telalaska” or “Telalaska Internet.”
- Reset or Delete Telalaska APN Here, I have two options:
- If there’s a “Reset” or “Reset to default” option, I select that to reset the Telalaska APN to its default configuration.
- If not, I simply delete or remove the existing Telalaska APN entry.
- Re-enter Telalaska APN Details: After resetting or deleting the previous APN settings, I create a new APN entry for Telalaska. I carefully enter the correct APN details, double-checking the spelling and capitalization.
- Save and Set as Default: Once I’ve entered the Telalaska APN details, I save the new entry and, if prompted, set it as the default APN for my device.
- Restart Device: To ensure the changes take effect, I restart my device. This allows the new APN settings to be properly applied and the connection to be refreshed.
- Test Connection: After the restart, I test my mobile data connection to see if the Telalaska APN is working correctly. If the issues persist, I may need to explore other troubleshooting steps or contact Telalaska support for further assistance.
Additional Tips
- Older Telalaska SIM Cards: In some cases, readers may be using an older Telalaska SIM card, where the APN name might be different from the standard settings. As an experienced guide, I always remind them to double-check the APN name if the common settings don’t work. In my experience, older SIM cards may show “internet.telaalaska.com” or “broadband.telaalaska.net” as the APN name. If that’s the case, I recommend trying these alternative APN names to establish a successful connection.
- Business or Enterprise Plans: For readers on Telalaska’s business or enterprise mobile internet plans, I understand that the APN settings might require additional configurations. These plans often involve specific authentication usernames and passwords for security purposes. In such cases, I advise reaching out to Telalaska’s customer support directly to obtain the precise APN details for their business plan. The representatives can provide the accurate settings, ensuring a smooth connection experience.
- Using a Telalaska APN: Outside Alaska It’s important to note that the Telalaska APN settings are designed specifically for their mobile network within Alaska. If readers plan to use their Telalaska service while roaming outside of Alaska, I inform them that they’ll likely need to use a different APN specific to the network they’re connected to. In these situations, I recommend referring to the roaming service provider for the appropriate APN details to ensure a seamless mobile internet experience while traveling.
Conclusion
That wraps up today’s blog post! I’ve shared the proven and effective APN settings that can enhance your TelAlaska internet connection, improving both upload and download speeds. I hope you find this information useful. If you have any questions or need further assistance, please leave a comment below. Remember, optimizing your APN is a community effort. Feel free to reach out to us directly as well.

