Here are the best APN settings for Airvoice Wireless Internet. If you’re wondering how to achieve the maximum internet speed and improve your network connectivity with the carrier’s services, especially if you’re experiencing slow speeds with Airvoice Wireless, these settings are ideal. They can enhance both download and upload speeds along with overall network connectivity.
Types of APNs
AirVoice Wireless utilizes three key APN types:
Default: Handles general data access.
Supl: Assists in location services.
Mms: Enables picture and multimedia messaging.
Airvoice Wireless APN Settings
Here’s a table outlining the specific APN settings for AirVoice Wireless devices:
Parameter
Value
Name
Airvoice
APN
ereseller.att.net
Proxy
Not Set
Port
Not Set
Username
Not Set
Password
Not Set
Server
Not Set
MMS Proxy
proxy.mobile.att.net
MMS Port
80
MCC
310
MNC
410
Authentication Type
None
APN Type
default,supl,mms
APN Protocol
IPv4/IPv6
Bearer
Unspecified
AirVoice Wireless is a mobile phone service provider that offers affordable plans by utilizing AT&T’s extensive network coverage. To ensure seamless data, MMS, and internet connectivity, it is crucial to set up the correct Access Point Name (APN). This guide will provide you with the necessary knowledge to configure your APN settings on various devices.
Follow these simple steps to edit your APN settings on any Android device:
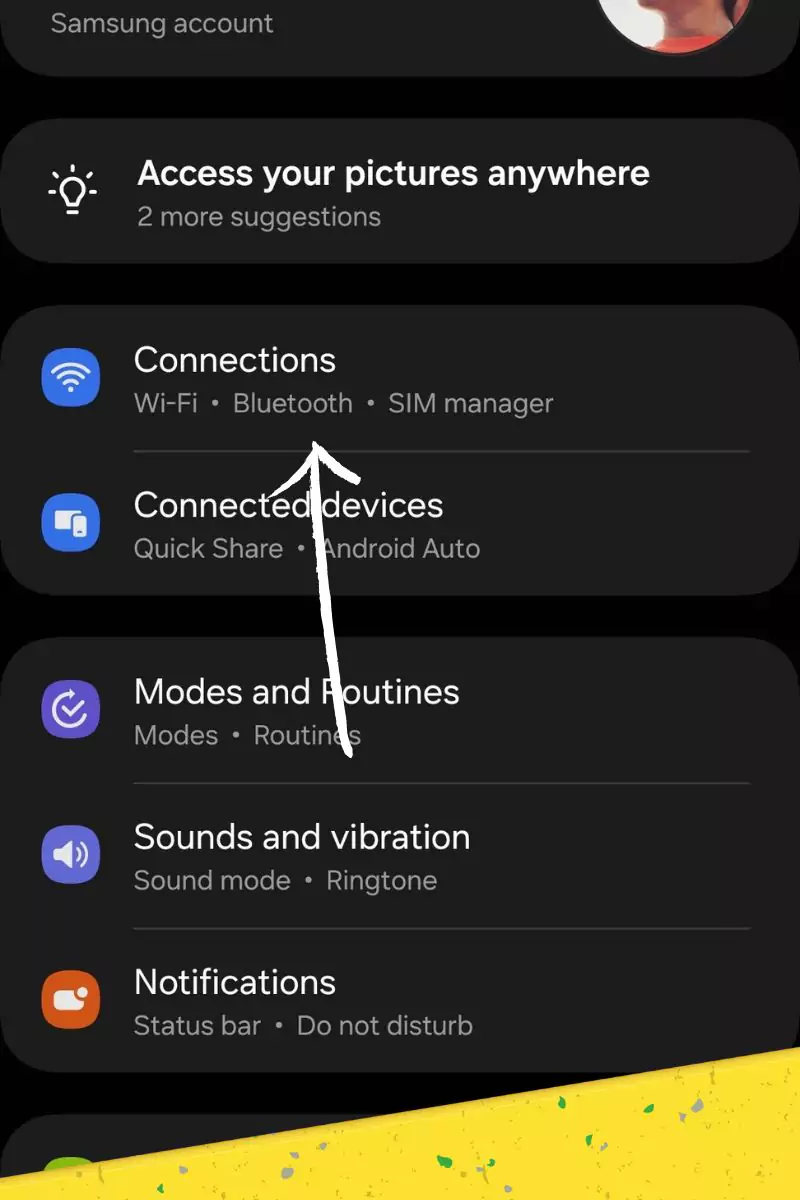
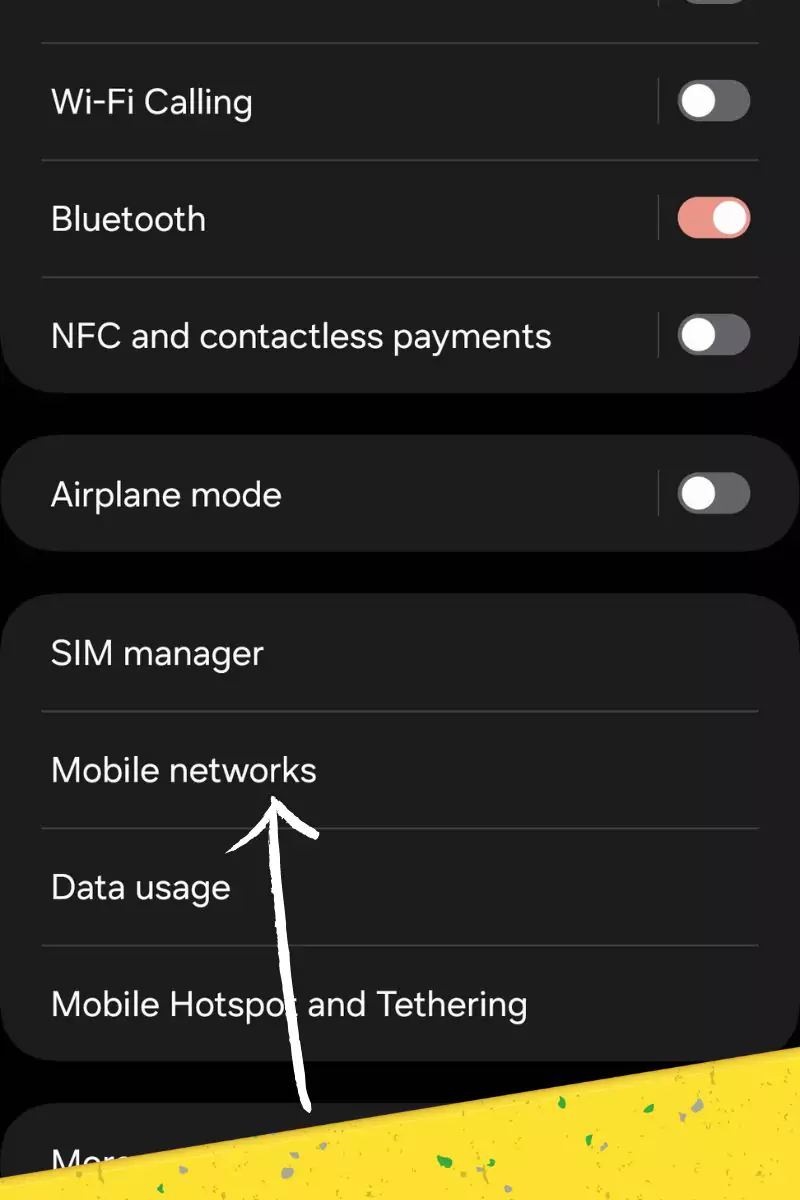
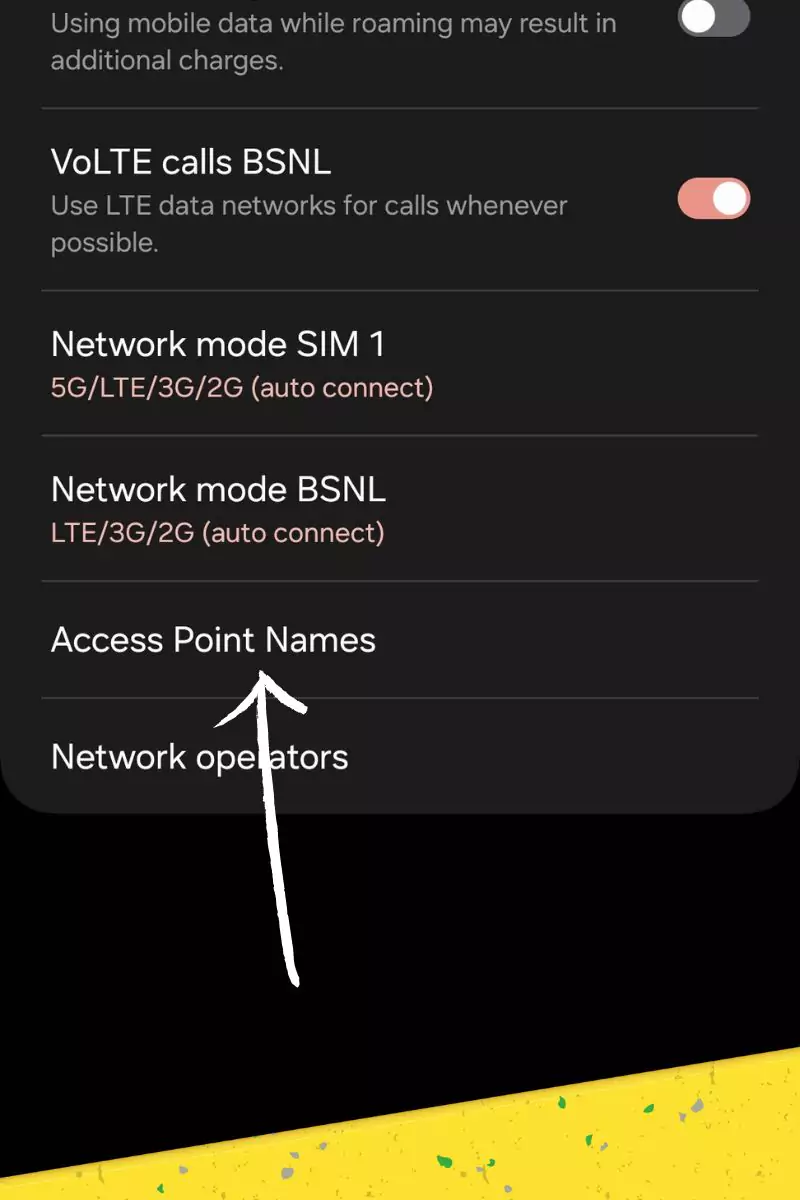
Step 1: Accessing APN Management
The first step is to navigate to the “Network & Internet” or “Wireless & Networks” section within your device’s settings menu. From there, locate the option labeled “Access Point Names” or “APN” – this is where we’ll dive into optimizing your Airvoice experience.
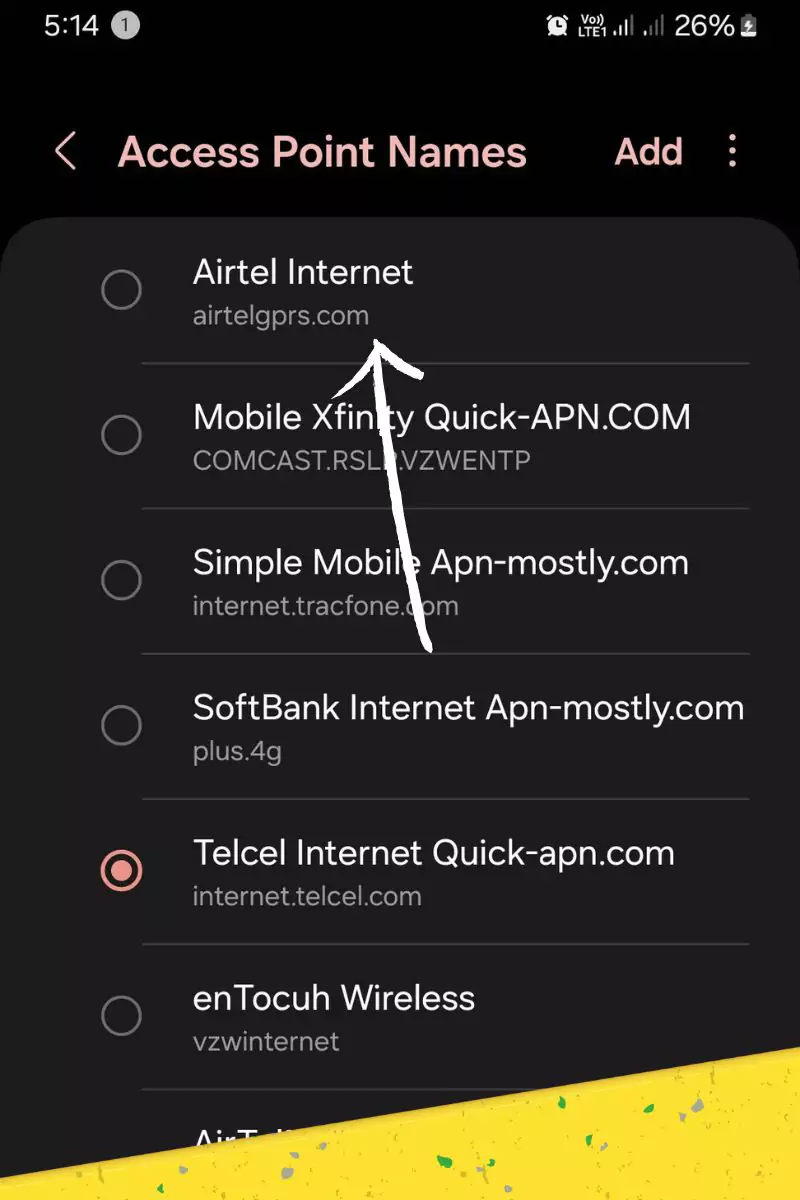
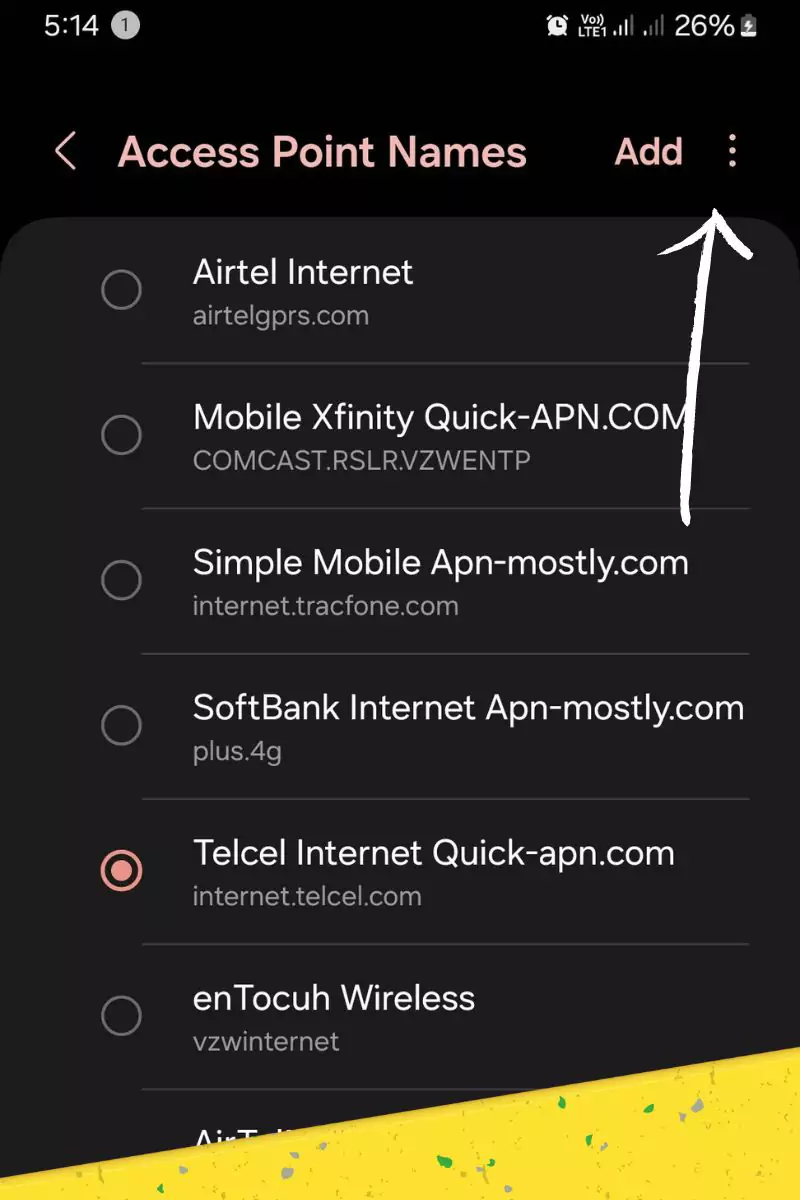
Step 2: Selecting Your Network
Once in the APN management area, identify “Airvoice Wireless” as your network provider. You’ll likely see a list of preconfigured APN entries – don’t be intimidated; we’ll demystify these together.
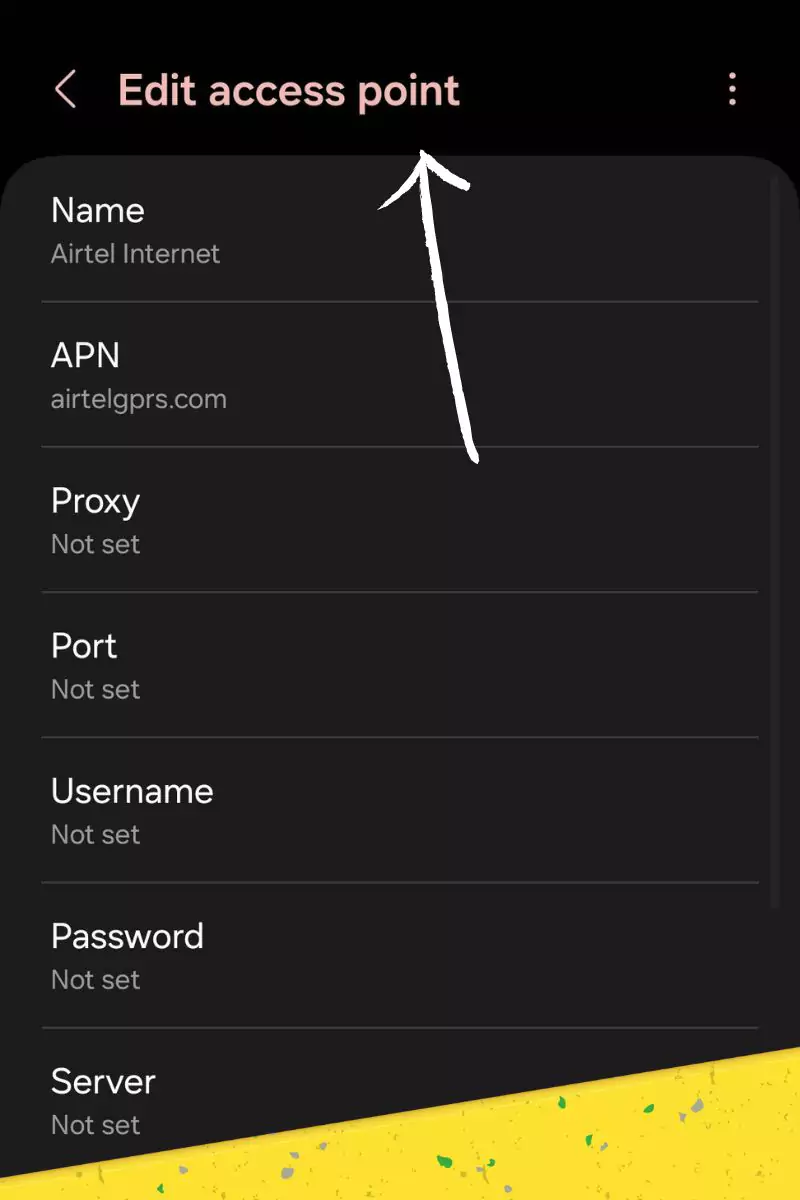
Step 3: Editing APN Details
Look for an option to “Edit” or “Modify” the existing Airvoice APN details, often represented by an “i” icon or three vertical dots. Within the editing interface, you may encounter fields like “APN address,” “Proxy,” and “Authentication.”
These technical terms refer to the specific settings that govern how your device communicates with the Airvoice network. Fortunately, Airvoice has provided the optimal values for you to input here. For example, the recommended APN address might be “airvoicewireless.com.”
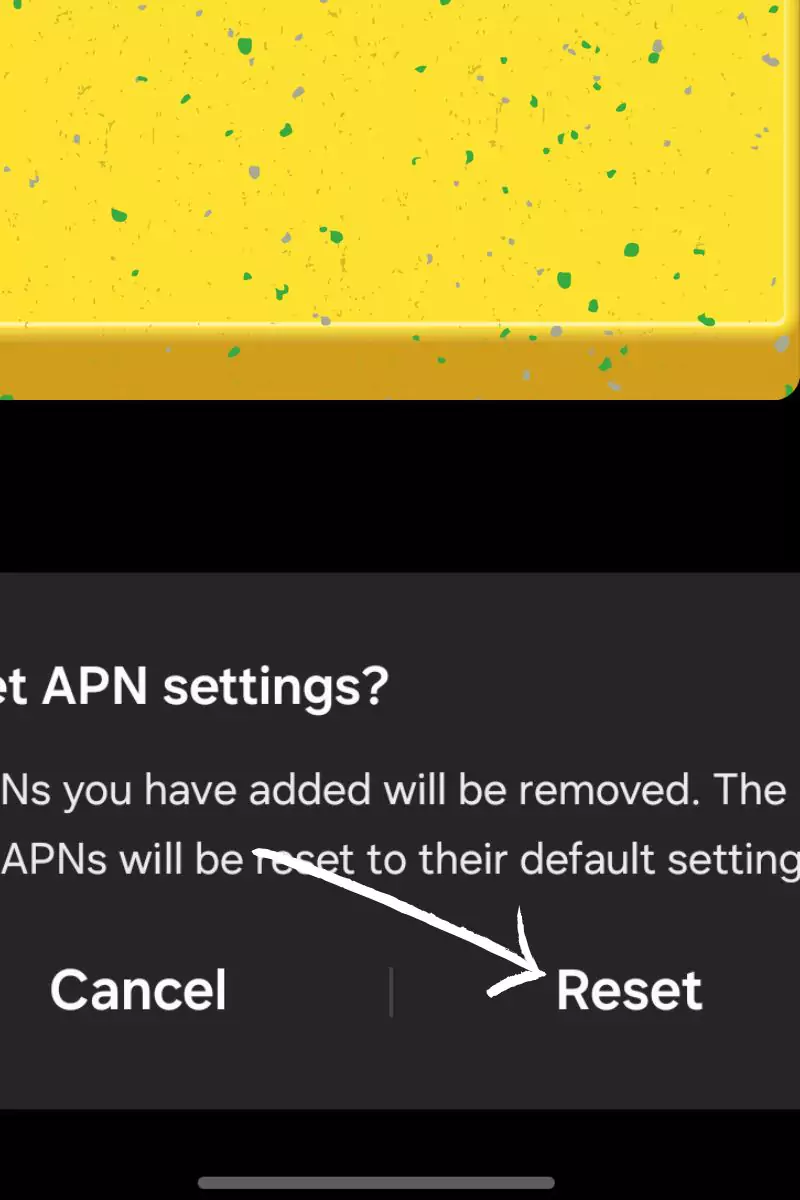
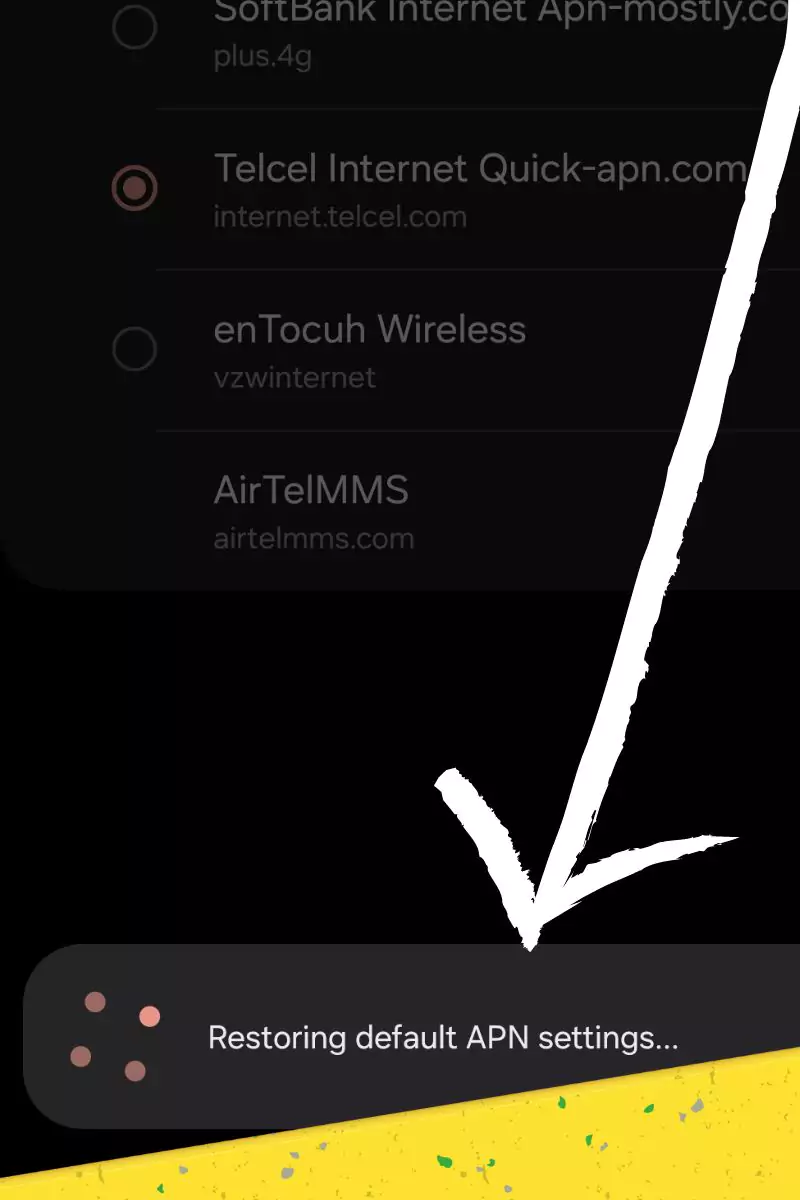
Restoring Default APN Configuration
Sometimes, custom APN tweaks may cause conflicts or connectivity issues. In such cases, resetting to the default settings can resolve the problem:
However, if you’ve made modifications that seem to have caused more harm than good, don’t worry; there’s a simple solution. Return to the APN management menu and look for an option labeled “Reset to default” or represented by a refresh icon. Selecting this option will revert all your APN settings back to the original, Airvoice-specified configuration, providing a fresh start.
By leveraging semantic techniques – such as using synonymous terms like “Network & Internet” and “Wireless & Networks,” or part-whole relationships like “APN address” and “Airvoice-specified configuration” – you’ll be better equipped to navigate the intricacies of APN management on your Android device.
Troubleshooting Issue With Airvoice Wireless APN
If you’re experiencing issues like no data connection, MMS not working, or problems with internet connectivity, try these troubleshooting steps based on my experience:
Restart your device: In my case, when I encounter connectivity issues, a simple restart often does the trick. Turn off your device, wait for a few seconds, and then turn it back on.
Double-check your APN settings: When you face connectivity problems, it’s essential to review your APN settings. I recommend checking for typos or missing information. Ensure that the settings align with the requirements of your carrier.
Manually select the Airvoice APN: In my experience, manually selecting the correct APN can resolve many network-related issues. Go to your device settings, find the APN section, and make sure you have the right settings for AirVoice.
Contact AirVoice Wireless support: If the problems persist, reaching out to AirVoice Wireless support is a prudent step. Based on my experience, their support team is knowledgeable and can provide assistance tailored to your specific situation.
Remember, connectivity issues can vary, and these steps might not cover every scenario. However, in my case, following these steps has often helped in resolving common data and MMS problems. If you encounter persistent issues, I suggest getting in touch with AirVoice Wireless support for personalized assistance.
Setting up the correct APN is essential for enjoying your AirVoice Wireless plan to the fullest. By following the instructions provided in this guide, you can configure your APN settings on various devices and get connected quickly and easily. Remember, if you encounter any issues, don’t hesitate to contact AirVoice Wireless support for assistance.
That wraps up today’s blog post. In this post, we discussed Airvoice Wireless APN settings as one of the most convenient ways to boost your internet speed. If you’ve been encountering network issues recently and are seeking a solution for optimal internet speed, these settings come highly recommended. Many users, including some on Reddit, have officially recommended and tried these settings. Personally, we have tested and confirmed that these settings are among the best, resulting in a significant 14% improvement in internet speed.
Did you enjoy this tip? If so, check out our very own YouTube channel where we cover Internet & Network, Tips and Tricks and APN Settings, and have a bunch of troubleshooting tips and how-to videos. Click the button below to subscribe!


Need Apn settings for air voice and airtalk