This is the exact blog post for the Telenor APN settings for the best internet speed and will give you an internet boost. This is official and proven to improve the internet speed for Telenor mobile data.
Why Configure Telenor APN Settings?
In most cases, Telenor automatically sends the necessary APN settings to your device. However, there are situations where manual configuration might be required:

- New phone or SIM card: A new device or SIM might not have the pre-loaded APN settings.
- Traveling to a new region: APN settings can vary depending on Telenor’s regional network configuration.
- Internet connectivity issues: Incorrect or missing APN information can cause internet access problems.
Telenor APN Settings
Internet Settings
| Setting | Value |
| Name | Telenor |
| APN | INTERNET |
| Proxy | Not Set |
| Port | Not Set |
| Username | TELENOR (case sensitive) |
| Password | TELENOR (case sensitive) |
| Server | Not Set |
| MMSC | Not Set |
| MMS Proxy | Not Set |
| MMS Port | Not Set |
| MCC | 410 |
| MNC | 06 |
| Authentication Type | Not Set |
| APN Type | default,supl |
| APN Protocol | IPv4 |
| APN Roaming Protocol | IPv4 |
| Enable/Disable APN | APN Enabled |
| Bearer | Unspecified |
| MVNO Type | None |
| MVNO Value | Not Set |


MMS Settings
| Setting | Value |
| Name | Telenor MMS |
| APN | MMS |
| Proxy | Not Set |
| Port | Not Set |
| Username | TELENOR (case sensitive) |
| Password | TELENOR (case sensitive) |
| Server | Not Set |
| MMSC | https://mmstelenor |
| MMS Proxy | 172.18.19.11 |
| MMS Port | 8080 |
| MCC | 410 |
| MNC | 06 |
| Authentication Type | Not Set |
| APN Type | MMS |
| APN Protocol | IPv4 |
| APN Roaming Protocol | IPv4 |
| Enable/Disable APN | APN Enabled |
| Bearer | Unspecified |
| MVNO Type | None |
| MVNO Value | Not Set |


Finding the Correct Telenor APN Settings
Embrace Automatic Configuration
I always start with automatic configuration. It’s like letting Telenor do the heavy lifting for you. In most cases, your device will receive the correct APN settings over the air. It’s simple, quick, and reduces the chance of human error.

Manual Configuration Magic
When automatic configuration plays hard to get, I roll up my sleeves and dive into manual setup. Here’s how I hunt down the correct APN settings:
- Telenor Website Treasure Hunt: I’ve spent countless hours navigating Telenor’s website. The APN settings are often hidden like buried treasure. I look for “APN settings” or “internet settings” in the support section. Pro tip: Use the site’s search function – it’s a real time-saver!
- Customer Support Lifeline: When all else fails, I dial up Telenor’s customer support. These folks are like APN wizards. They’ve helped me out of many connectivity pickles with region-specific APN details.

The Manual APN Configuration Dance
Now, here’s where it gets interesting. The path to APN settings can be as unique as your device. But don’t worry, I’ve got a general roadmap for you:
- Dive into your device’s Settings menu.
- Look for “Mobile networks” or “Cellular networks” – it’s like finding the right door in a hallway of possibilities.
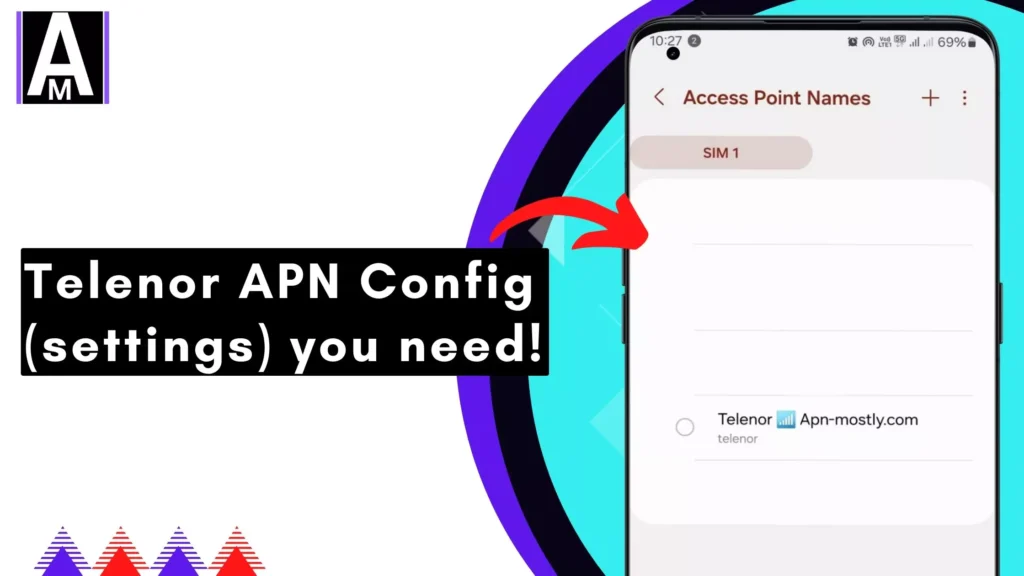
- Seek out “Access Point Names” (APN) settings – this is where the magic happens.
- If you’re adding a new APN, tap that “Add” or “+” button like you’re discovering a new world.
The APN Information Puzzle
Here’s where we piece together the APN puzzle:
- Name (APN): This is the heart of your configuration. I always double-check this with the info from Telenor.
- Username and Password: Often, these are blank. But I’ve learned to never assume – always verify with Telenor’s instructions.
- The Extra Fields: Sometimes, you’ll encounter fields like MMSC or MNC. These are like the secret sauce of your APN recipe. I always refer back to Telenor’s official info for these.
The Save and Test Ritual
After entering all the details, I save the configuration with a sense of accomplishment. But my work isn’t done! I always test the connection immediately. It’s like taking your newly configured APN for a test drive.
Troubleshooting Tips
Fix 1: Verify APN Settings Accuracy
I always start here. I meticulously check each field in the APN settings, paying close attention to capitalization and special characters. Once, I spent hours troubleshooting only to find a lowercase letter where there should’ve been an uppercase one!
Fix 2: APN Reset Magic
When in doubt, I wipe the slate clean. I reset to default settings and manually re-enter the Telenor APN details. It’s like giving your phone a fresh start, and you’d be surprised how often this simple step solves complex issues.
Fix 3: Network Mode Mastery
I’ve learned that forcing your phone into a specific network mode can work wonders. Sometimes, switching from 4G to 3G and back again jumpstarts the connection. It’s like giving your phone a little shake to wake it up.
Fix 4: Firmware Finesse
Updating your device’s firmware is crucial. I once had a persistent APN issue that vanished after a firmware update. It’s like teaching your old phone new tricks to communicate better with the network.
Fix 5: SIM Card Shenanigans
Don’t underestimate the power of a clean SIM card. I’ve fixed issues by gently cleaning the SIM with a soft eraser or even carefully reshaping a slightly warped card. It’s amazing how such a tiny piece of plastic can cause so much trouble!
Fix 6: Manual Network Selection Trick
Sometimes, I manually select the Telenor network to kick things into gear. It’s like telling your phone, “Hey, focus on this network!” I’ve seen this work when automatic selection fails for mysterious reasons.
Fix 7: The Hidden Cache Clear
Clearing the network settings cache is my secret weapon. On Android, I dive into recovery mode to do this. It’s like giving your phone’s network brain a fresh start, clearing out any cobwebs that might be causing issues.
Fix 8: Carrier Detective Work
I always check with Telenor support about local issues. Once, after hours of frustration, I discovered there was maintenance work in my area. Now, this is one of my first steps – it can save you a lot of time and headache!
Fix 9: APN Type Experimentation
Different devices sometimes prefer different APN types. I’ve solved persistent issues by switching from ‘default’ to ‘internet+mms’. It’s like finding the right key for a stubborn lock – sometimes you need to try a few before one fits.
Fix 10: Roaming Revelation
Here’s a counterintuitive trick: try enabling data roaming, even when you’re in your home area. I’ve seen this mysteriously solve connection issues. It’s like telling your phone to cast a wider net for network signals.
Conclusion
That wraps up our guide on Telenor APN settings. I’ve shared the best configurations for 4G and 5G LTE that work well in Pakistan, no matter what type of phone you’re using.
- Phone:
- Search “https://www.telenor.com.pk/contact-us/” for the right customer care number for your region.
- Give them a call and explain your internet issue.
- Live Chat:
- Visit “https://www.telenor.com.pk/” and look for the chat icon, usually at the bottom right corner.
- Click on it to connect with a support representative and discuss your problem.
- Email:
- Find the appropriate email address by searching “https://www.telenor.com.pk/contact-us/“.
- Send them an email detailing your internet issue and wait for a response.
- Social Media:
- Check if Telenor has dedicated social media pages for customer support.
- Reach out to them via direct message on platforms like Facebook or Twitter.
These settings should work for most people, but if you need something specific for gaming or other uses, just leave a comment or contact me directly.
I hope these APN settings help improve your internet experience with Telenor. Thanks for reading, and have a great day!