This is the ultimate blog post on manually adding these data settings. It might be necessary in various situations, like switching carriers, setting up a new phone, or troubleshooting connectivity issues. This guide will walk you through the steps for both Android and iPhone devices, particularly how you can add the manual data configurations.
Steps to Manually Add Data Settings
| Platform | Sweet Steps | Action |
|---|---|---|
| Android | 🍫 Gather the Goodies | Obtain accurate APN details from your carrier. 🍬 |
| 🧭 Navigate the Path | Find “Mobile Network” or “Access Point Names” in Settings. 🗺️ | |
| ➕ Add a New Friend | Tap “Add New APN” or the “+” symbol. 🤝️ | |
| Fill In Parameters | Fill in the APN information: Name, APN, Username, Password (if needed). 💖 | |
| 🤝 Save the Data configurations. | Tap “Save” to activate the new APN. 🔐 | |
| iOS | 🍎 Grab the Apple | Get the correct APN details from your carrier. 🍏 |
| ⚙️ Settings Safari | Go to “Settings” and navigate to “Cellular Data” or “Cellular Data Network”. 🧭 | |
| ➕ Add a New Friend | Tap on “Cellular Data Network” and then “Cellular Data Options.” Select “Cellular Data APN”. 🤝️ | |
| Fill In Parameters | Enter the APN details: Name, APN, Username, Password (if needed). 💖 | |
| 🤝 Save the Data settings | Tap “Done” to save the new APN configuration. 🔐 |
Now, what to add in the APN Name, APN, and APN Type is: If you don’t know what to add or where to find the data settings, simply follow these steps:
- Add any name, in our case, let’s name it ‘Mobile Data CONFIG.’ (Naming is only available for Android users)
- Then, add ‘Internet’ into the APN, which is the primary setting used to connect to your internet.
- Finally, in the APN Type field, add: ‘default,mms’. (no space after commas here)
Android
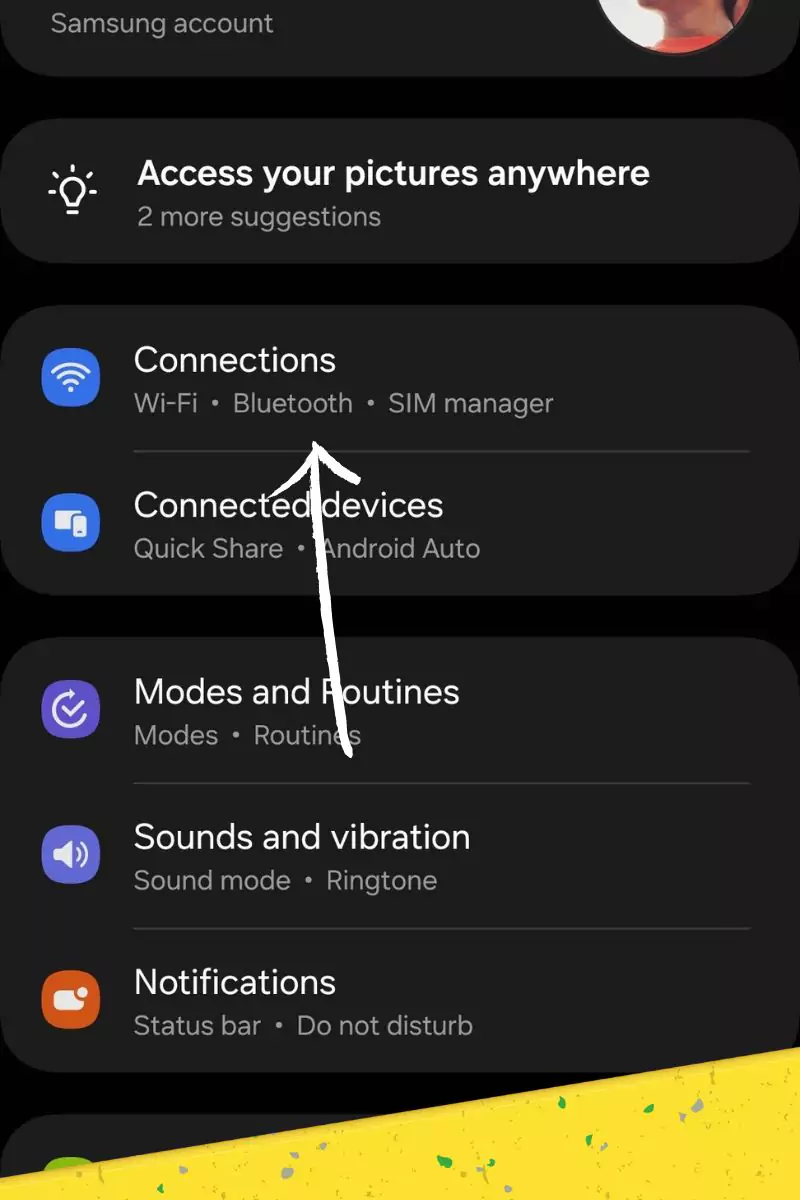
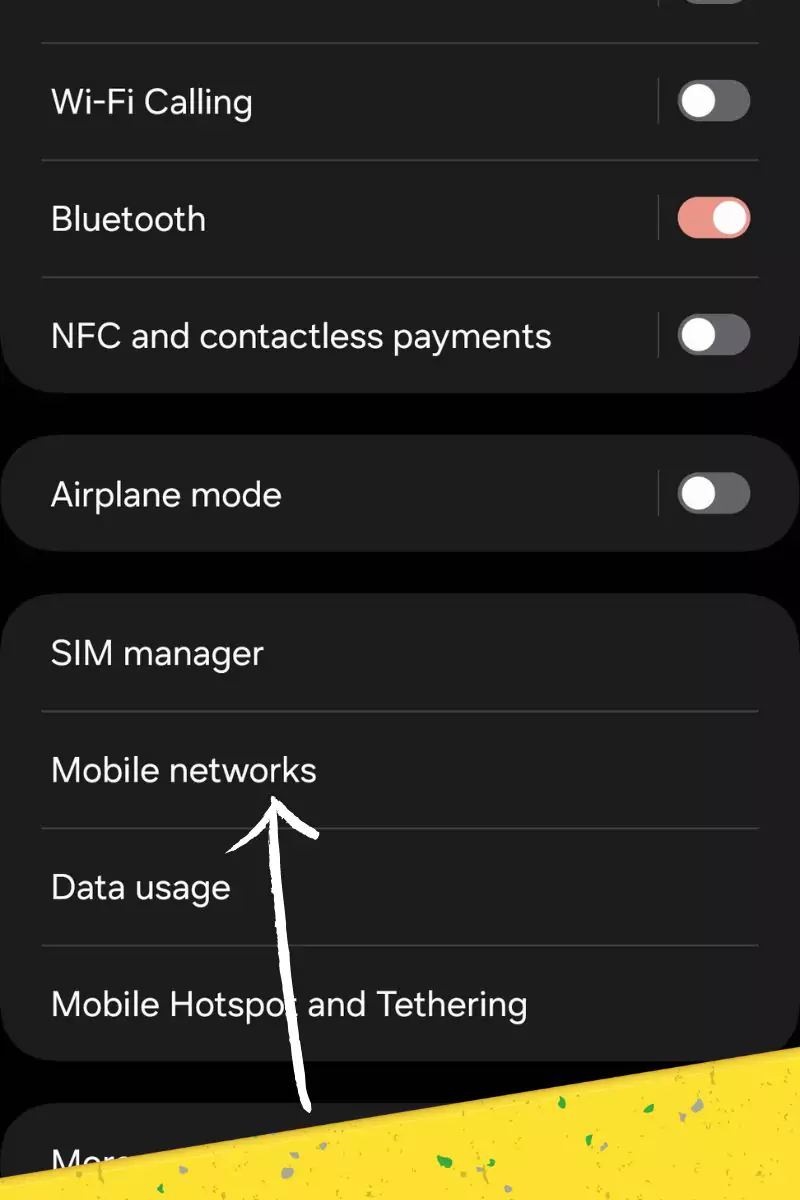
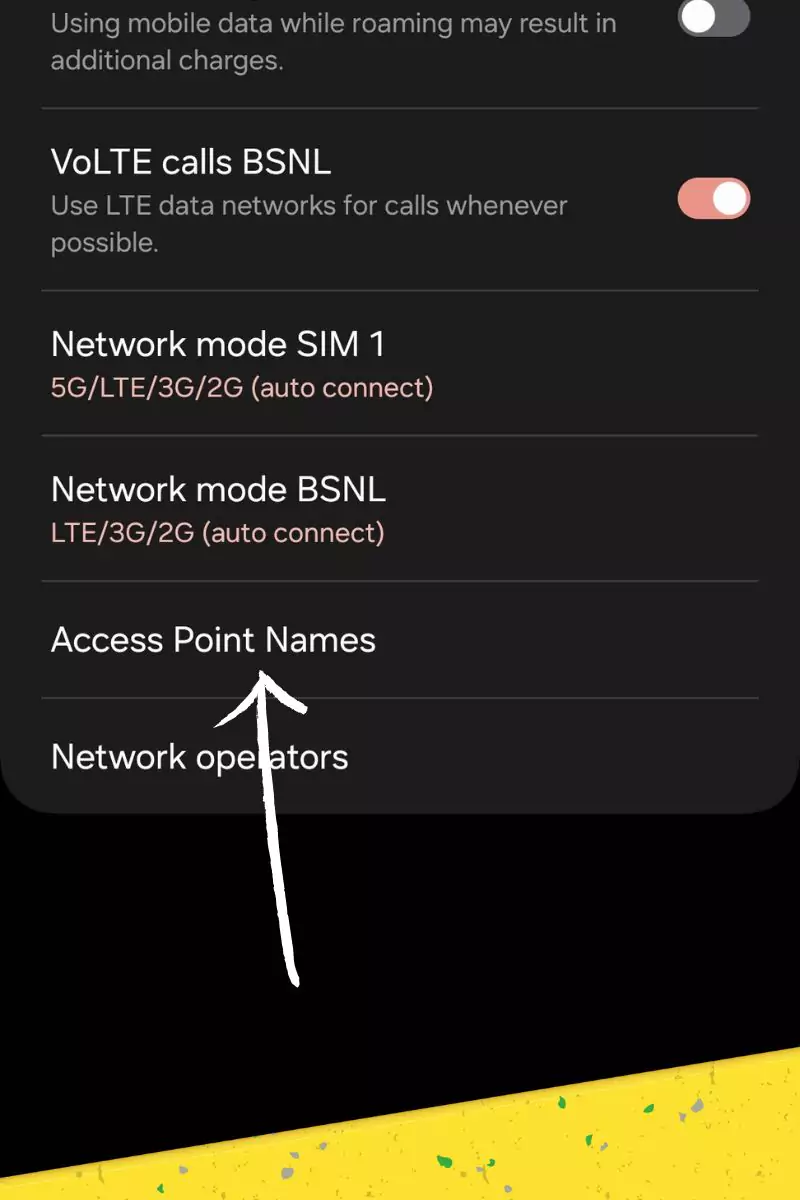
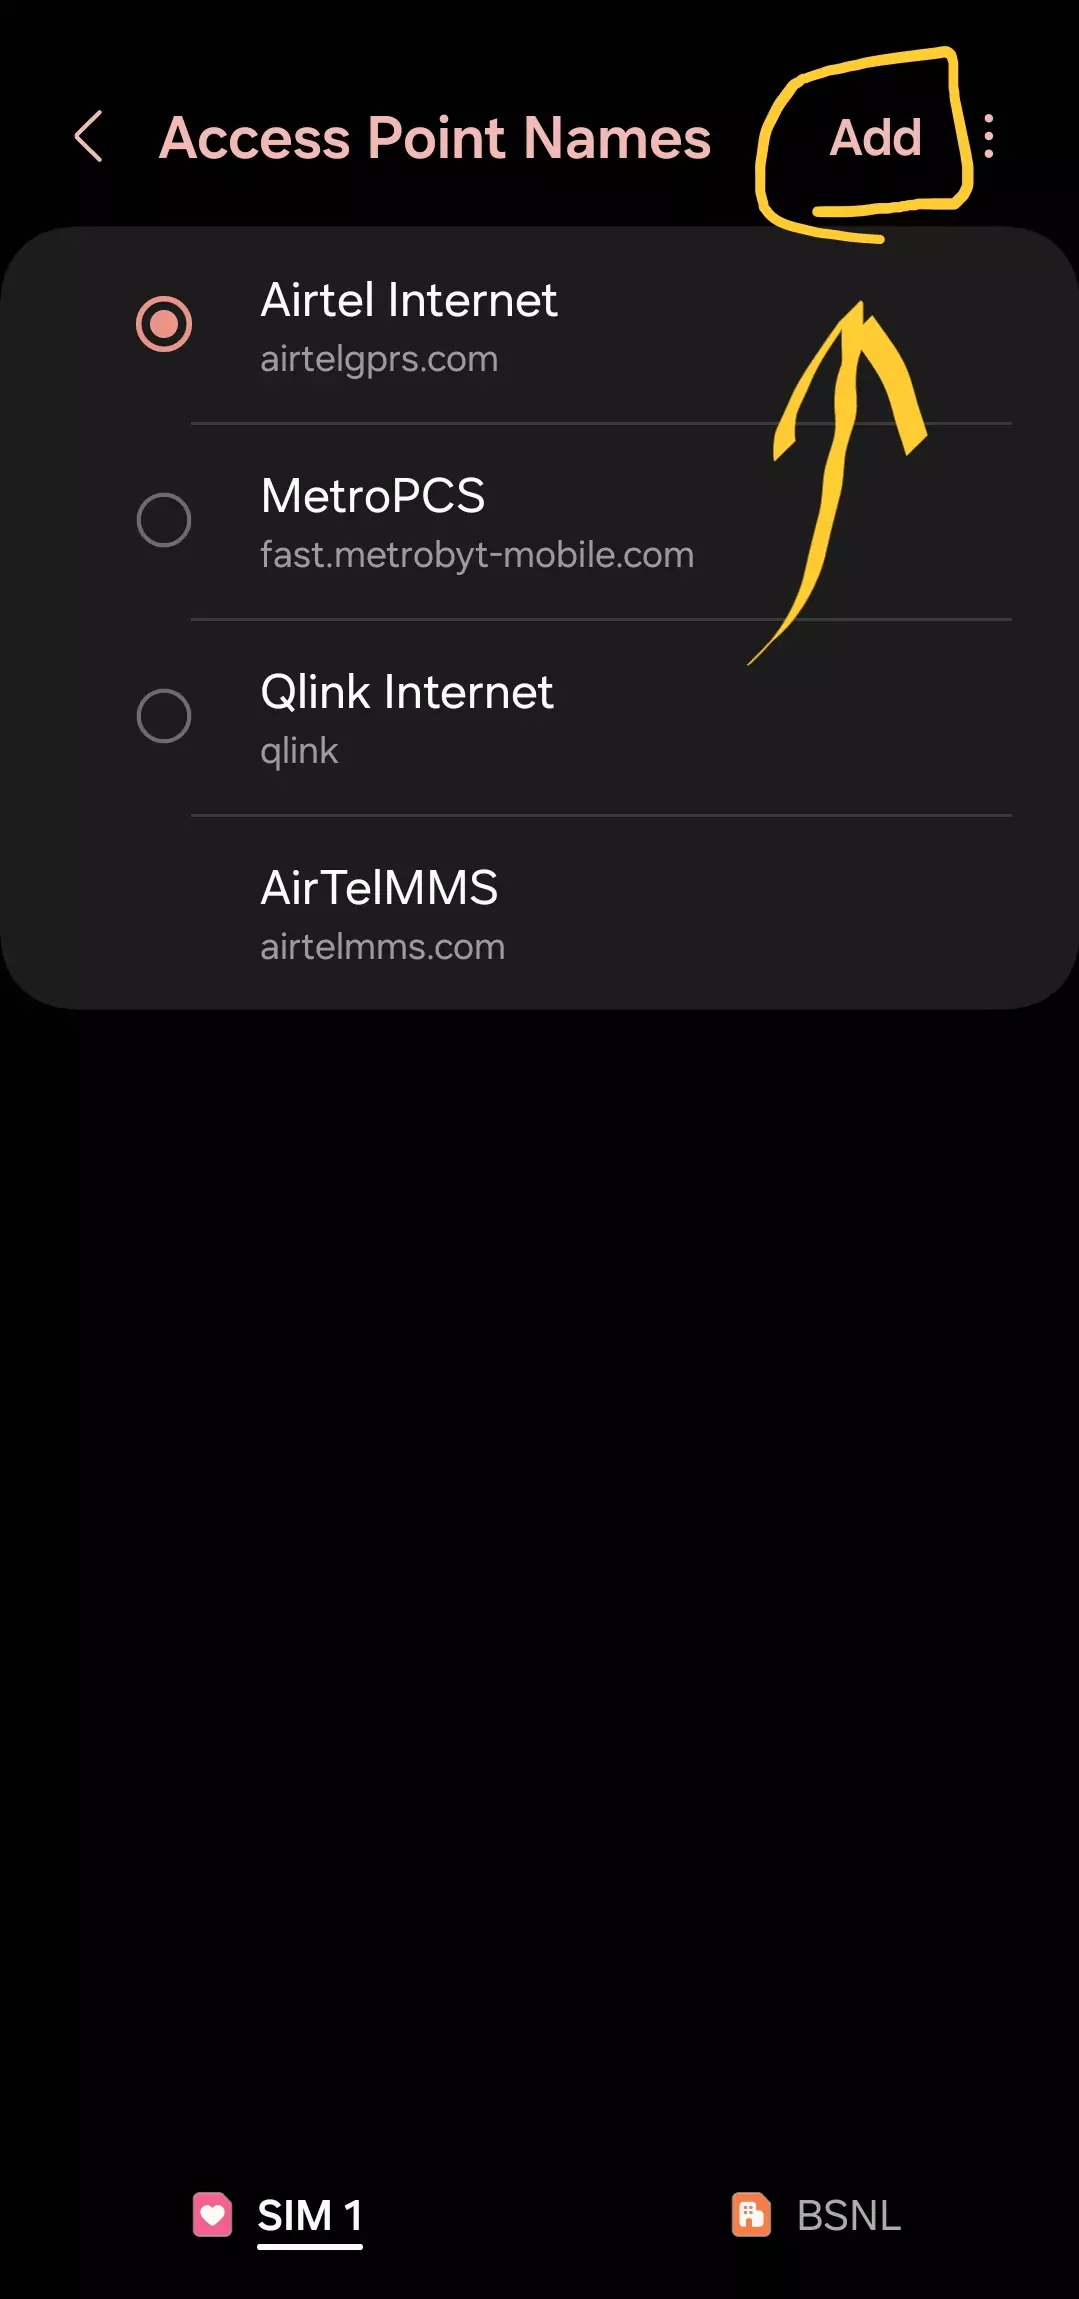


- Navigate: Locate the “Mobile Network” or “Access Point Names” section within your Android settings menu. This might vary slightly depending on your device manufacturer and Android version.
- Add New APN: Tap the “Add New APN” option or the “+” symbol.
- Enter Details: Fill in the required APN information given above. These details include Name, APN, APN Type, but other fields are specific to your carrier.
- Save: Once all details are entered, tap “Save” or the corresponding option to activate the new APN.
iPhone
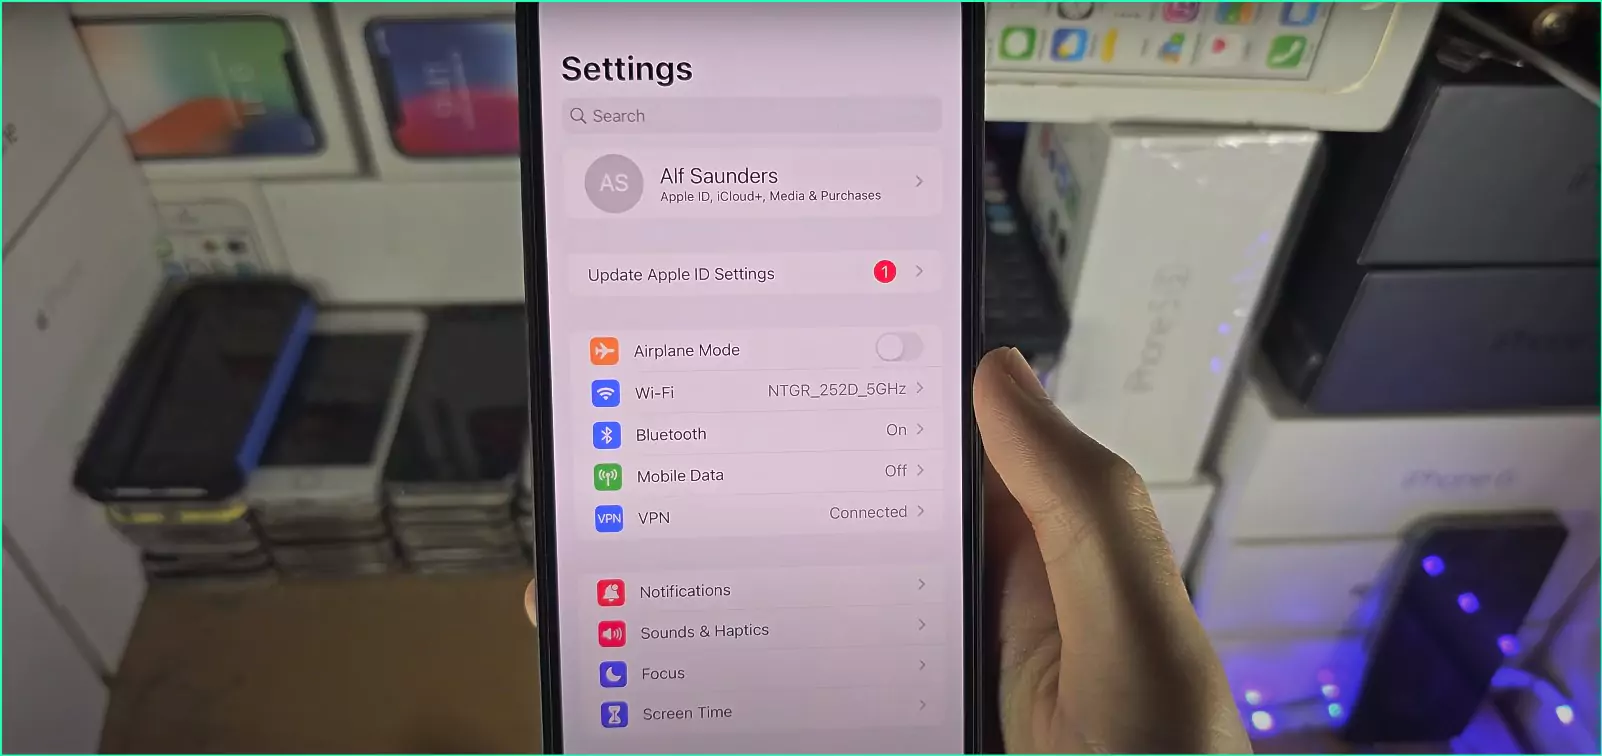

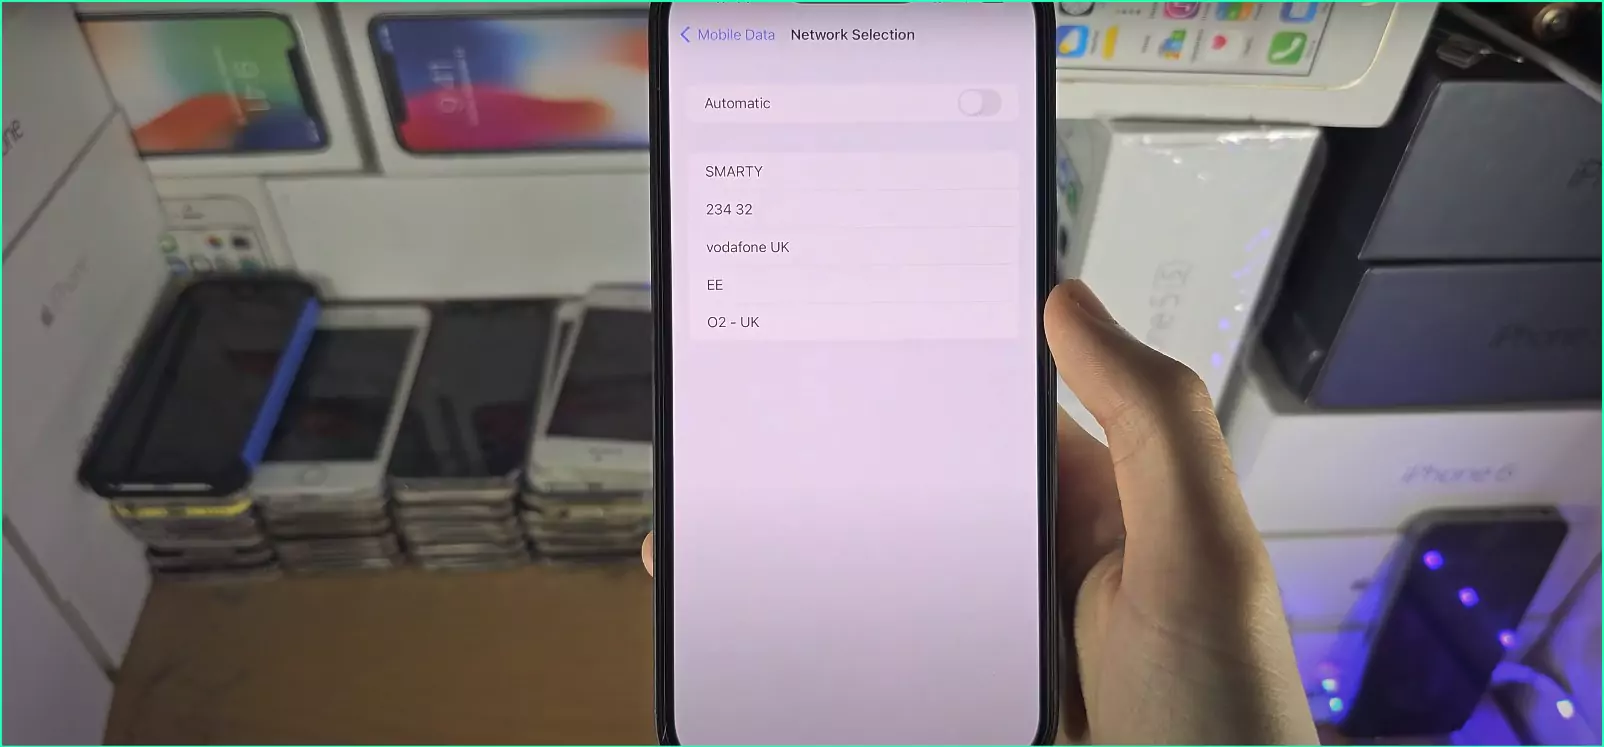
- Locate: Go to “Settings” and navigate to “Cellular Data” or “Cellular Data Network.”
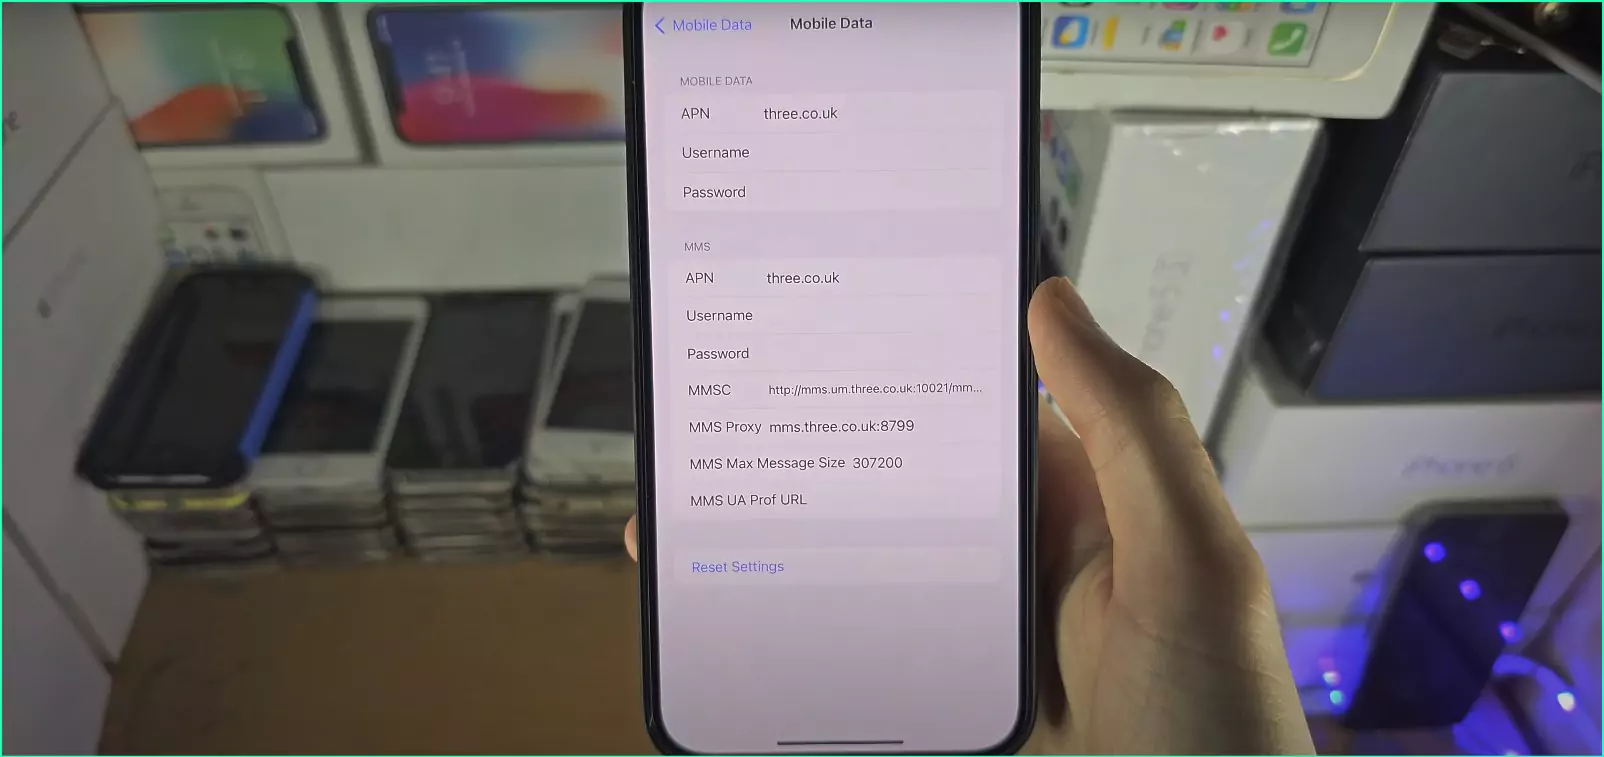
- Add New APN: Tap on “Cellular Data Network” and then “Cellular Data Options.” Select “Cellular Data APN.”
- Enter Details: Similar to Android, enter the APN details given above as as, setting APN to ‘Internet’, Setting the APN type to: “default,mms”.
- Save: After filling in all the necessary information, tap “Done” to save the new APN configuration.
If you’re an iPhone user, learn how to find the APN settings on your iPhone and follow this comprehensive guide to manually set up mobile data on your iOS device.
For Android users, get instructions on finding APN settings for different Android phone models and explore the process of manually configuring APN settings on your Android device with this detailed walkthrough
Advanced APN Settings
While the core APN components are crucial, some carriers might require additional settings depending on your network configuration. To learn more about the individual components of the APN this is the best place, but for now, Advance apn could include:
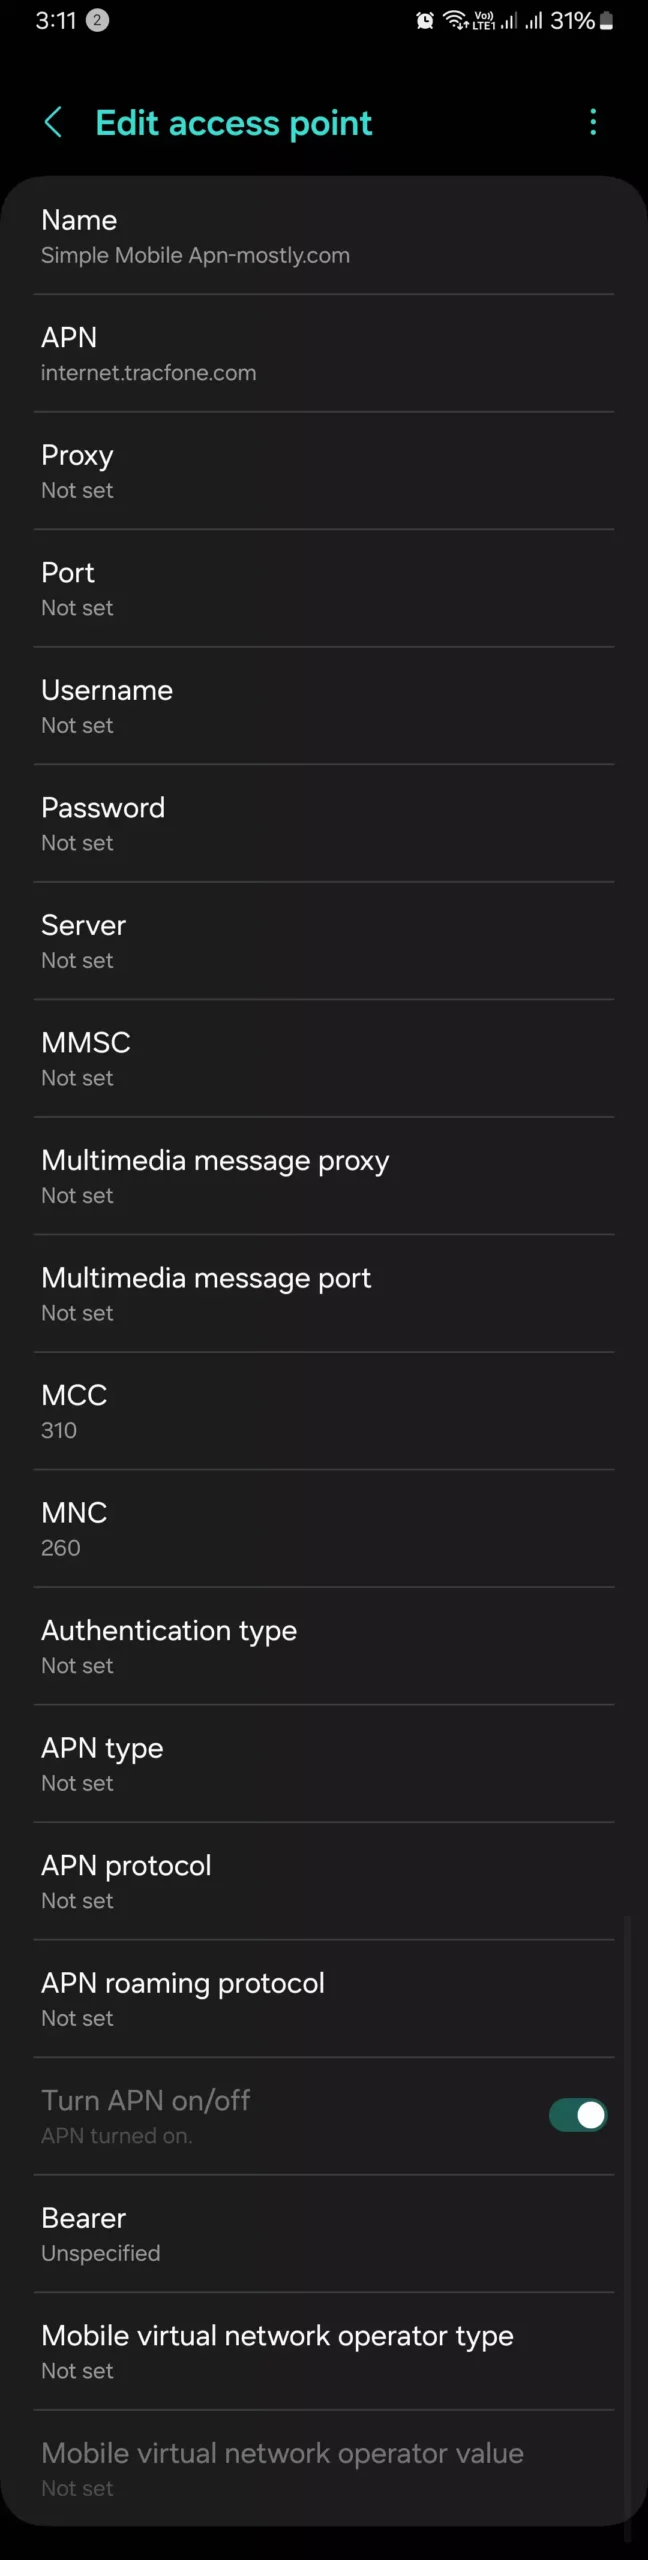
- One of the advanced settings you may encounter is the Authentication Type. Options like PAP (Password Authentication Protocol), CHAP (Challenge Handshake Authentication Protocol), or EAP-SIM (Extensible Authentication Protocol for Subscriber Identity Modules) might be necessary for specific network authentication protocols. These settings ensure that your device is properly authenticated and authorized to access the carrier’s network.
- Another advanced setting you might come across is the Proxy Settings. In rare cases, certain networks might require proxy server details for internet access. These settings essentially act as intermediaries between your device and the internet, potentially enhancing security or enabling specific network configurations.
- Additionally, some carriers might utilize different APN Types for various services like MMS (Multimedia Messaging Service), internet access, or tethering. Ensuring that you have the correct APN Type for the service you’re attempting to access can be crucial for optimal performance and functionality.
Important Considerations
- Accurate Information: It’s crucial to obtain the correct APN settings from your mobile carrier. Inaccurate details might lead to connectivity issues.
- If you do encounter problems after adding the APN settings, don’t panic. First, double-check for any typos or missing information. Sometimes, even a minor error can cause significant connectivity issues. Additionally, you can consult your carrier’s support resources or try restarting your device, as a simple restart can often resolve temporary glitches or connectivity hiccups.
- It’s important to note that in some cases, your device might automatically configure data settings based on your carrier’s network. Additionally, your carrier’s support team might be able to assist you with manual setup, providing you with the necessary guidance and information.
Conclusion
I recall a situation where one of my colleagues, let’s call him Michael, decided to use generic APN settings he found online for his Android device. While his intentions were good, the settings didn’t match his carrier’s specific requirements, and he ended up with no mobile data connectivity whatsoever. Fortunately, we were able to resolve the issue by visiting his carrier’s website, finding the correct APN details, and following APN-Mostly’s step-by-step guide to manually configure the settings.
I hope you find this information helpful and that it empowers you to take control of your device’s connectivity settings. If you have any further questions or need additional guidance, please don’t hesitate to reach out to me. I’m always here to support you and ensure you have the knowledge and tools necessary to make the most of your digital devices.
And as always, if you found this information valuable, let us know in the comment section below, or simply upvote from the comment section. Your feedback helps us understand whether we’re providing you with the guidance and support you need. Thank you for being a part of this learning journey, and have a wonderful day!